
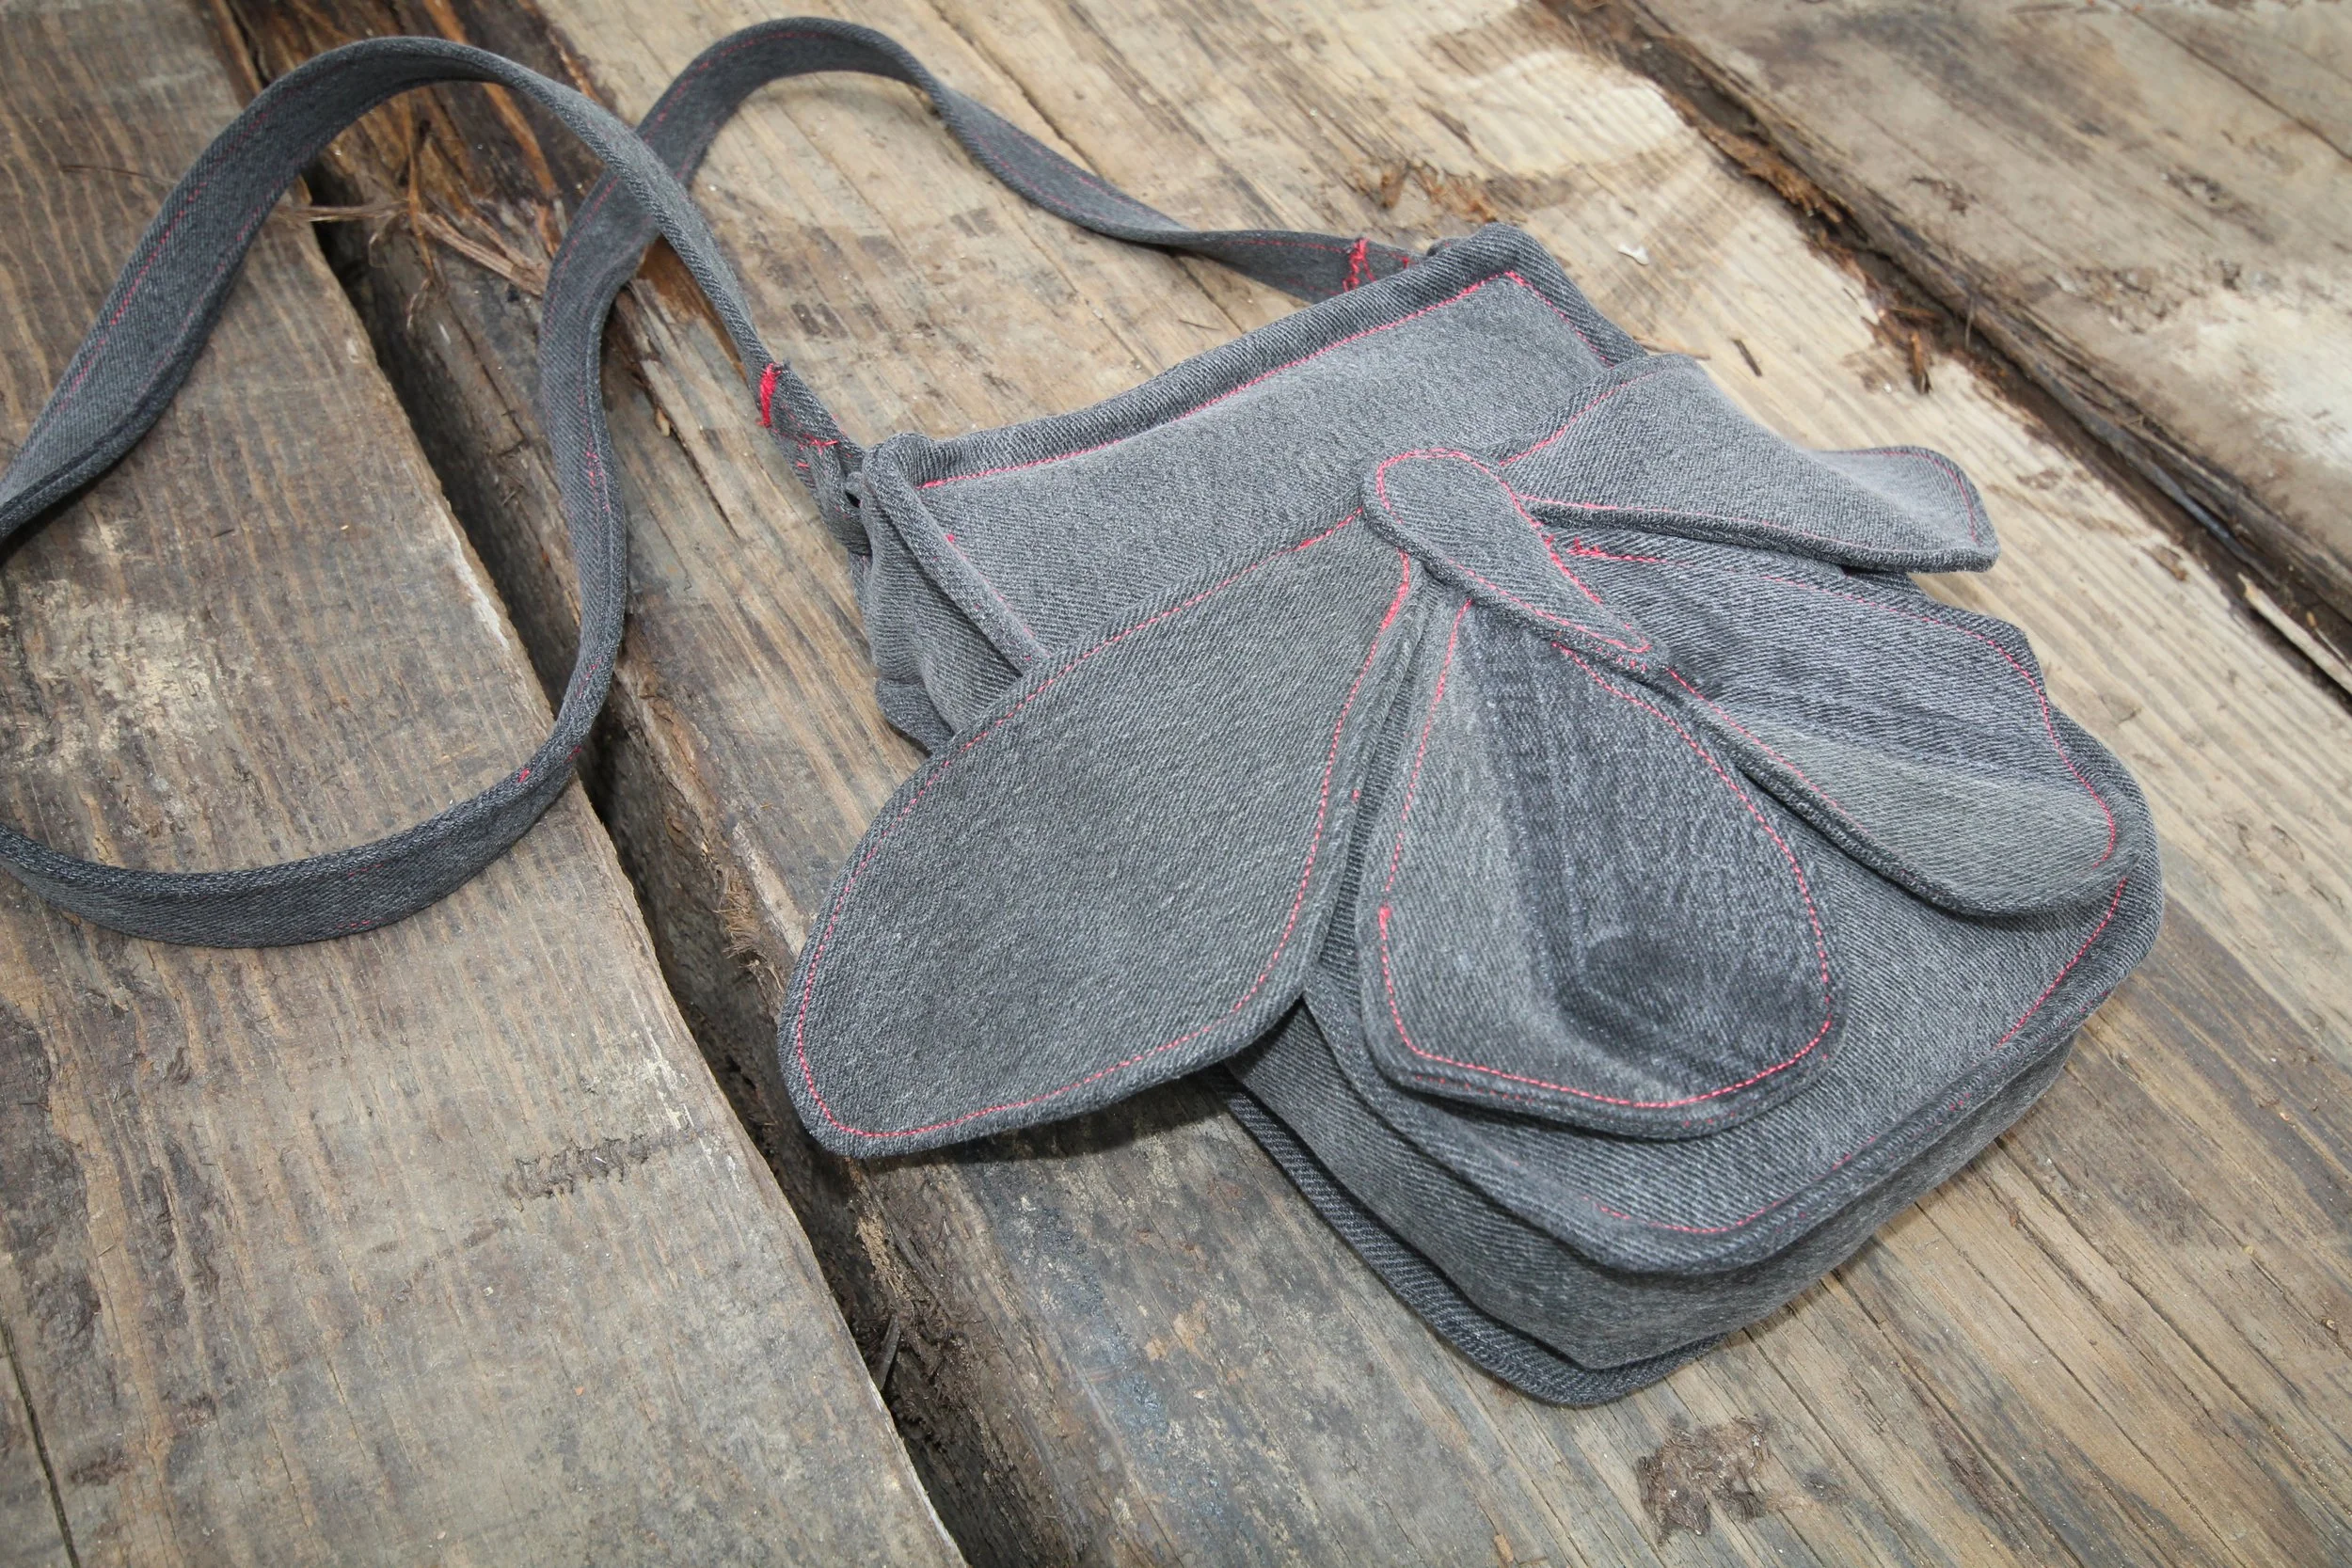
Rain’s Moth Bag Tutorial
I’ve always loved accessories that feel like tiny works of art—something that sparks joy every time you wear it. The Moth Bag is one of those pieces for me. It’s a blend of function and creativity, inspired by the delicate yet bold presence of moths. This tutorial will guide you through making your own, step by step.
Sewing this bag is a great way to experiment with texture, appliqué, and even a little bit of upcycling and even potentially zero waste practices if you want to use fabric scraps for decoration and/or stuffing. It’s designed to be approachable, even if you’re still building confidence with sewing bags. And don’t worry—there will be pictures to guide you along the way!
Find the free printable PDF pattern for the moth wings as well as a free downloadable PDF instructional booklet here.
If you are an experienced sewer or pattern maker, I would love any advice or feedback you have to offer as this is my very first sewing pattern! Send me an email at contact@rainsreworks.com or leave a comment below :)

Materials You'll Need:
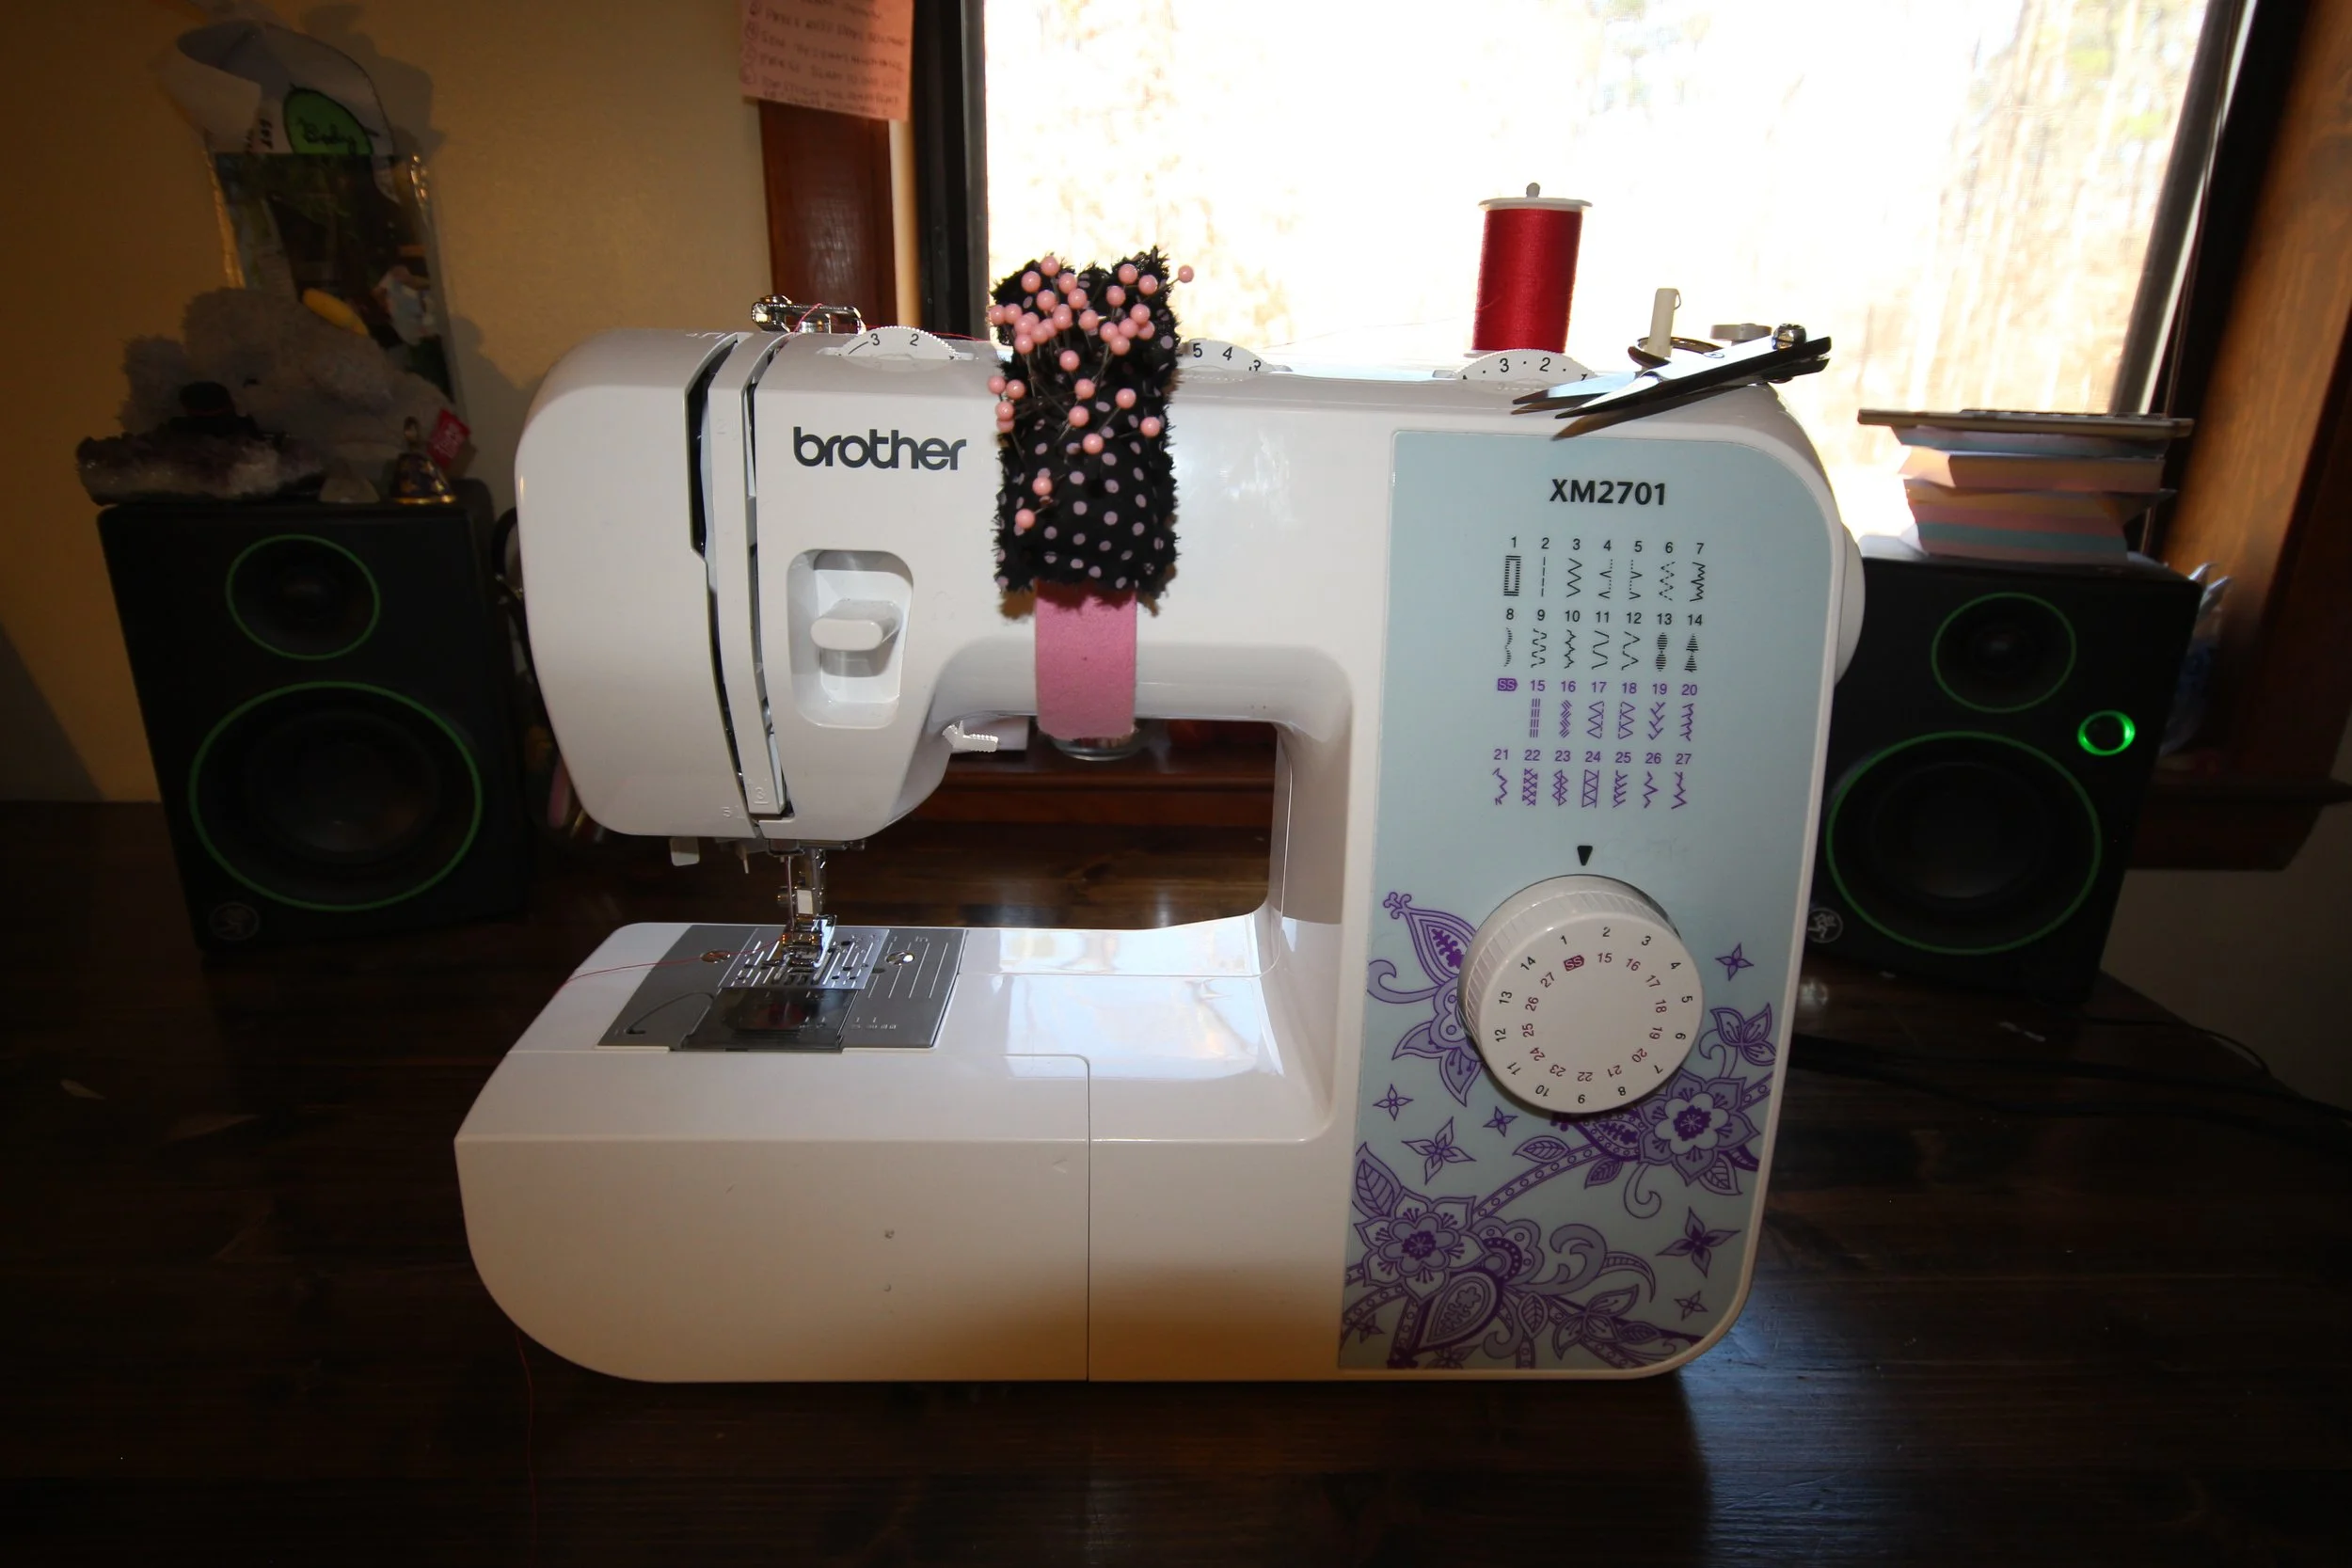
Sewing machine (if sewing denim I reccomend 100/16 sized needles)
100% polyester all-purpose thread
Fabric scissors and/or rotary cutter & mat
Chalk or fabric marker
Iron
Pins or wonder clips
Ruler
8-inch zipper (or longer—it’s easier to work with!)
Optional hardware:
Two D-rings
Two snap hooks with swivels for detachable straps
Strap slider (to make the strap adjustable)
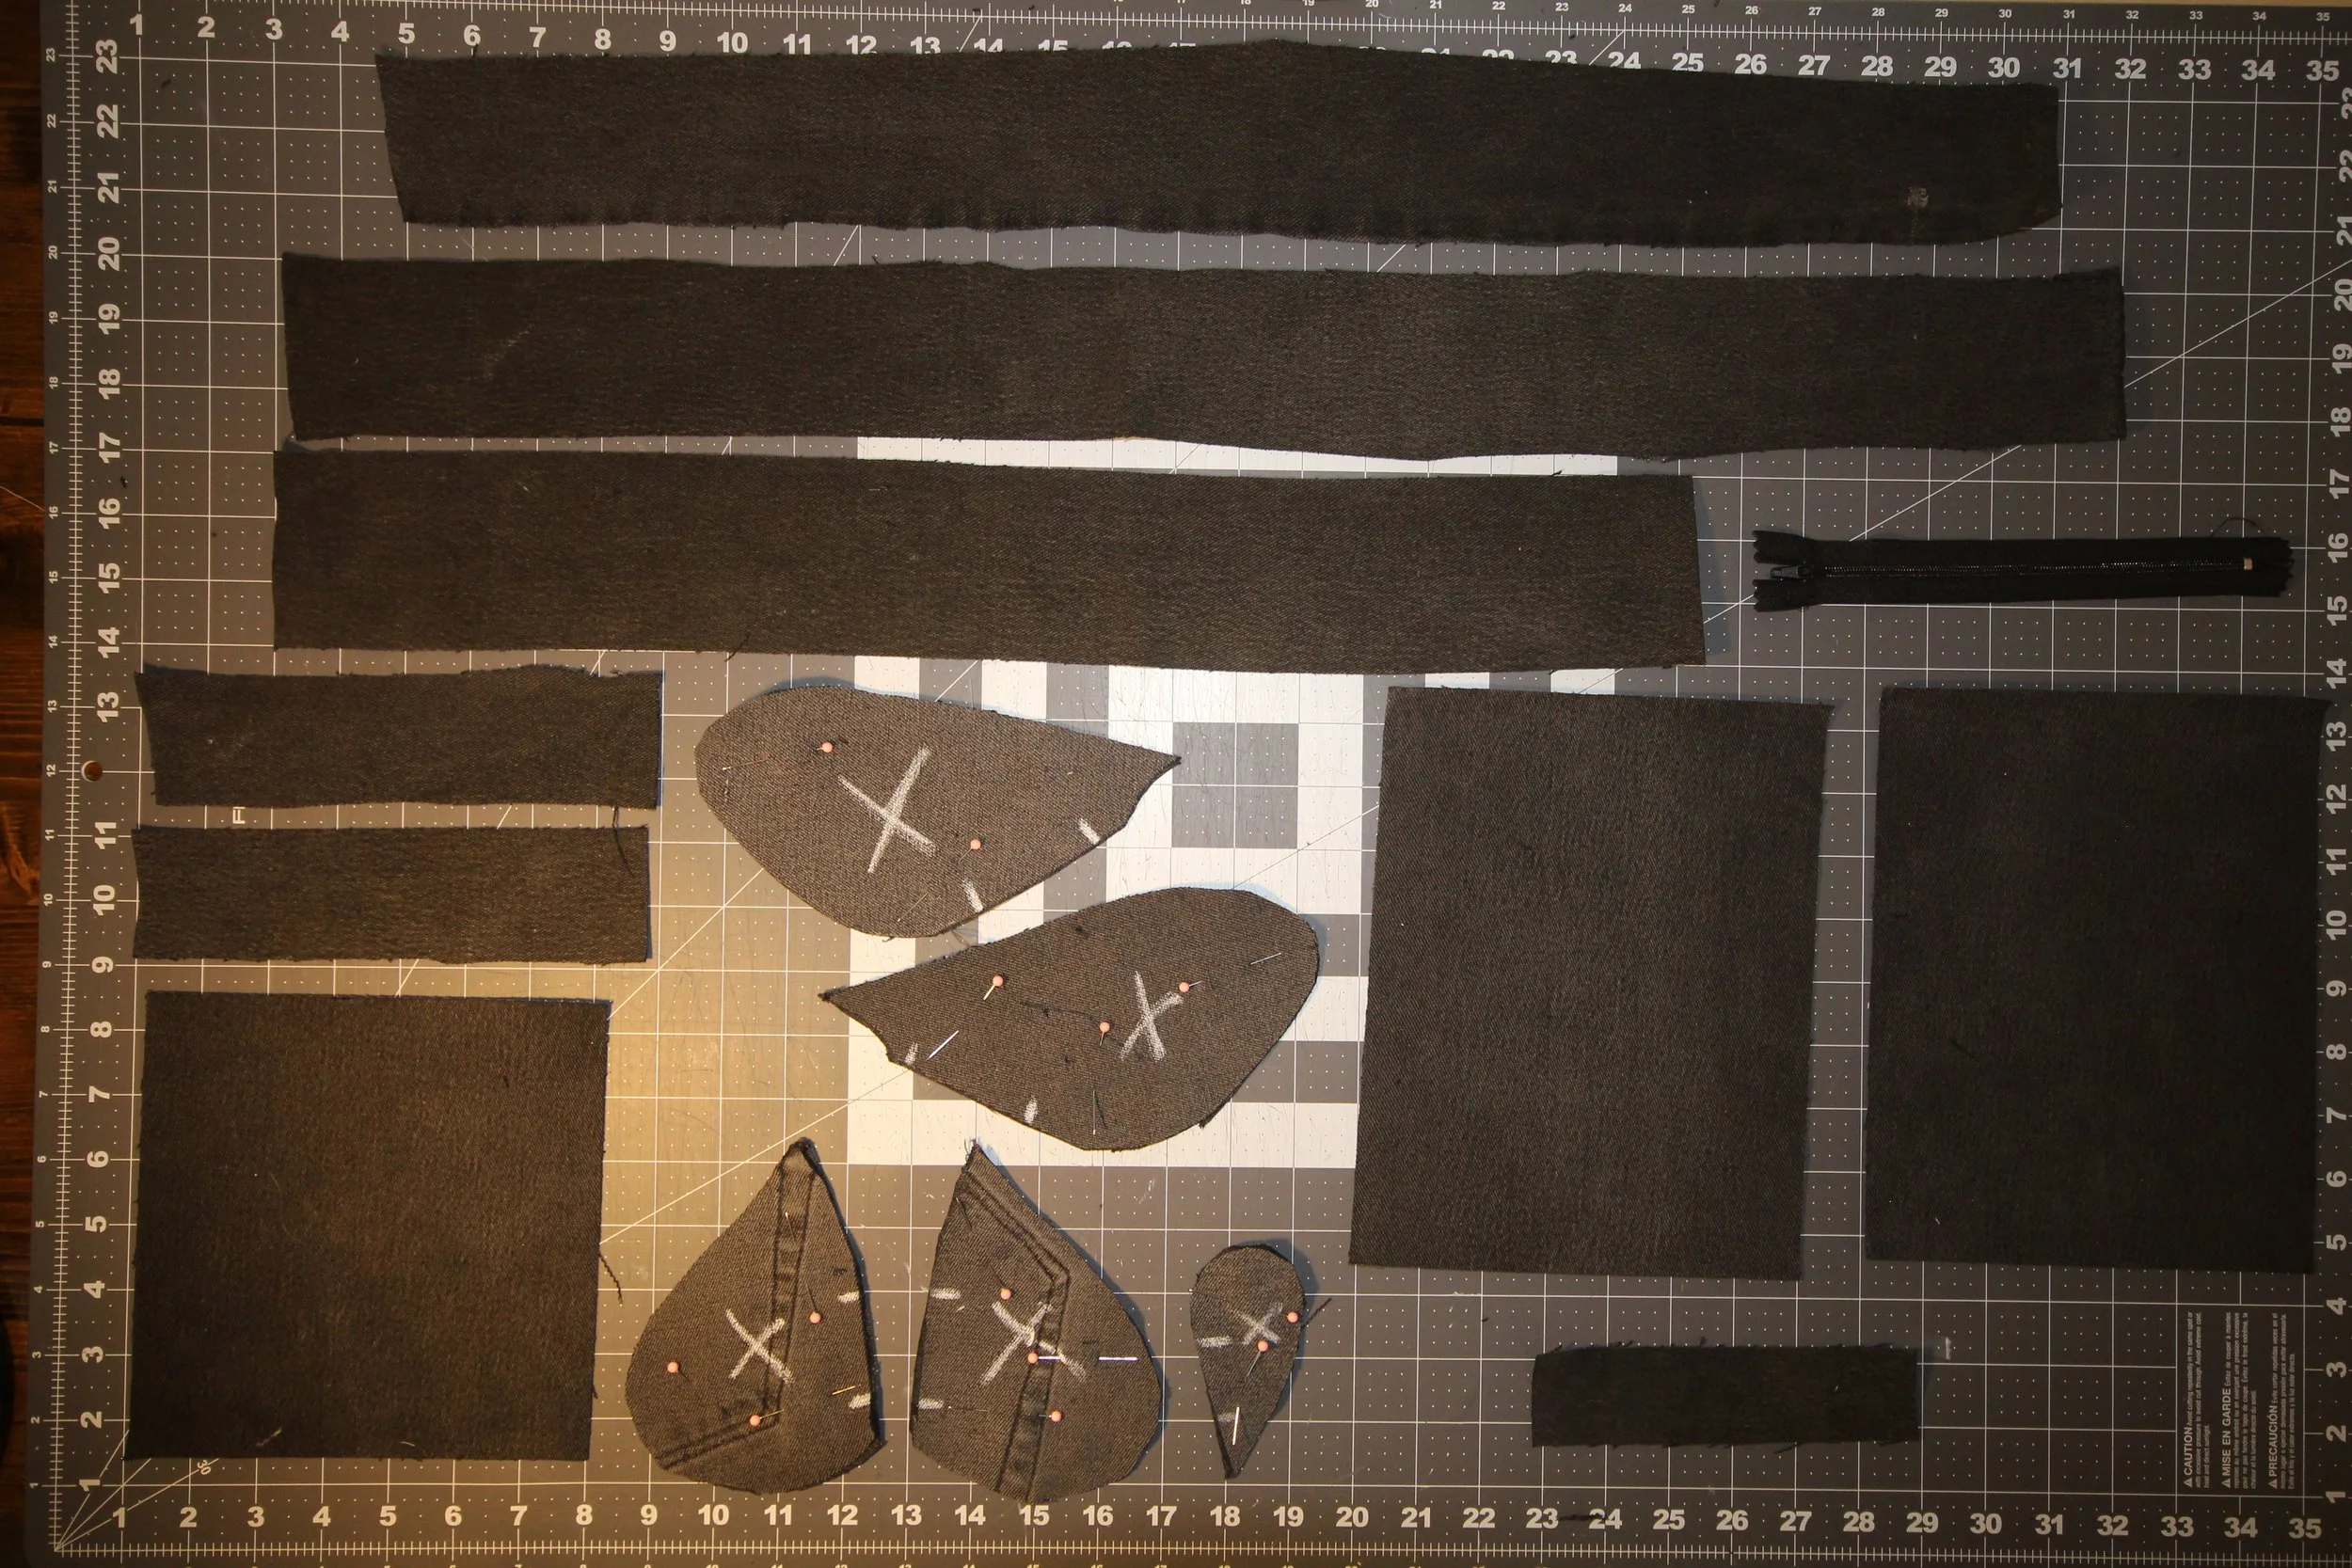
Step 1: Prepping & Cutting the Fabric
Before we dive into sewing, let's set ourselves up for success:
Prewash and iron your fabric to prevent shrinkage and ensure accurate cutting.
Print and cut out the moth pattern pieces. Double-check the 1-inch test square to make sure the scaling is correct.
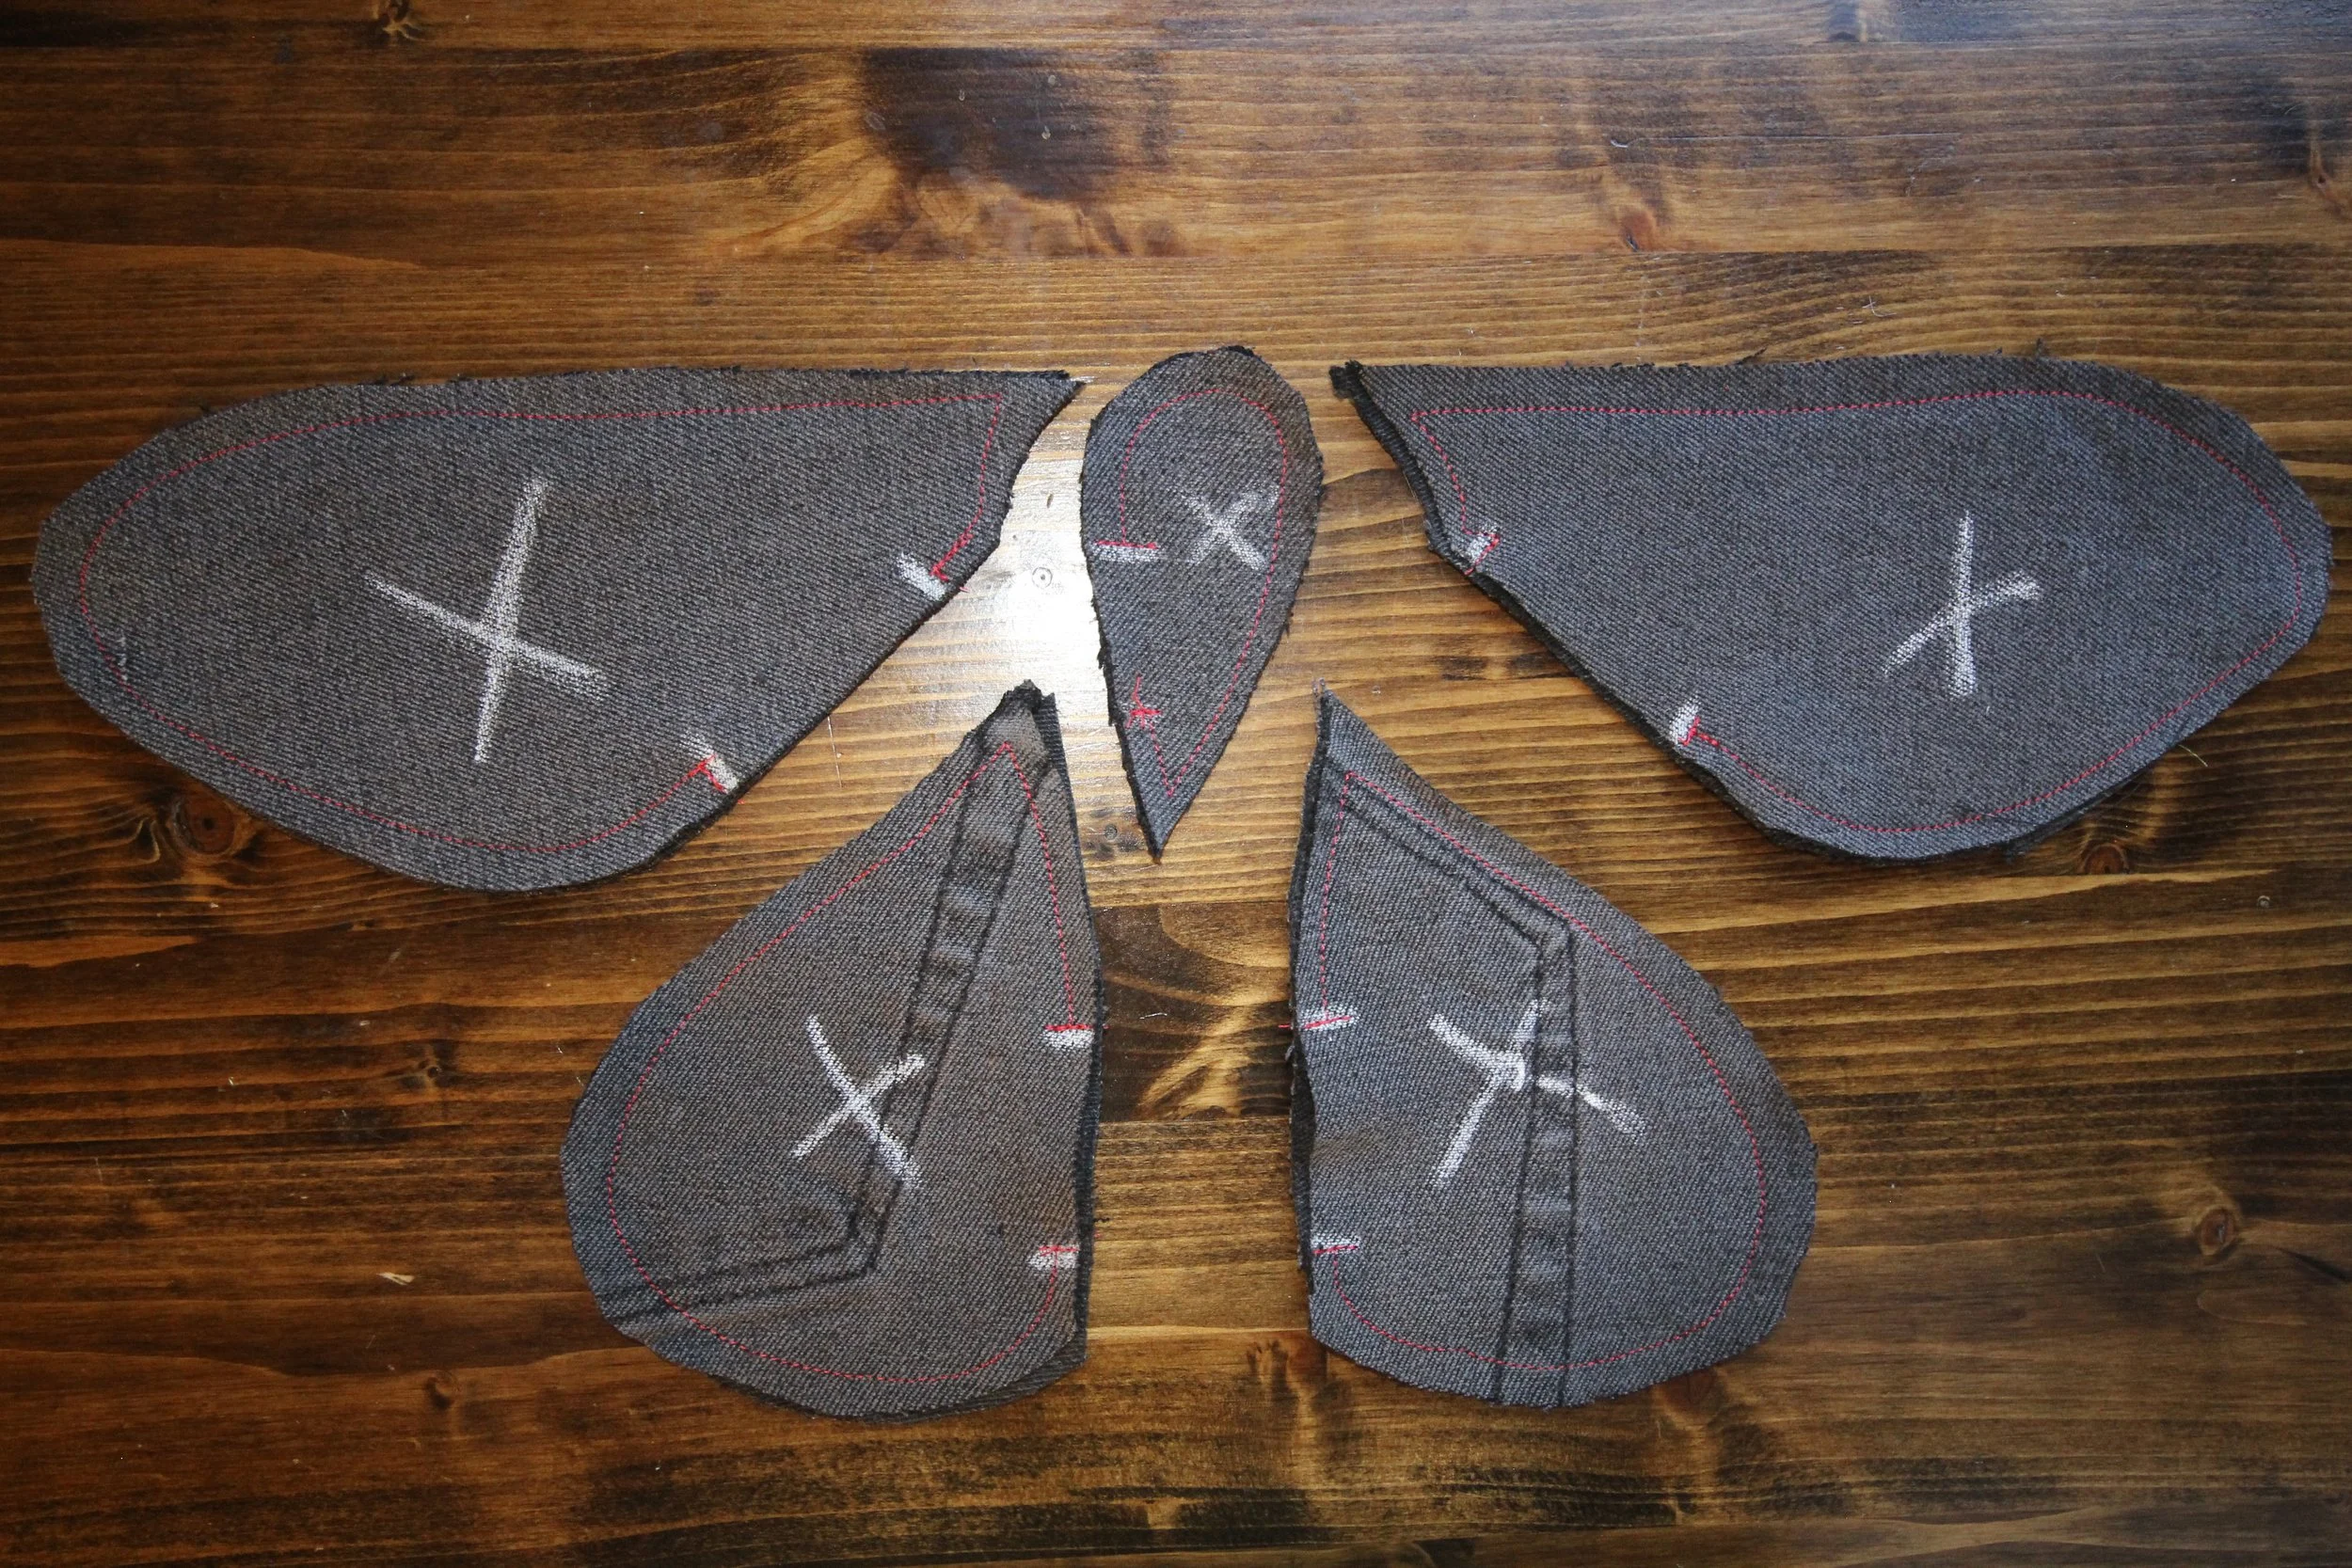
Cut the moth wings: Fold your fabric in half, right sides together, trace the pattern, pin, and cut. This way, you’ll get symmetrical wings that are already pinned and ready to sew!
Round the bottom corners of the front, back, and pocket pieces with a coffee cup or another round object for a softer look.
Scrap usage: Got tiny fabric scraps? Don’t throw them away! You can cut them up even smaller and use them as stuffing for the moth wings, adding a quilted effect once we apply decorative stitching.
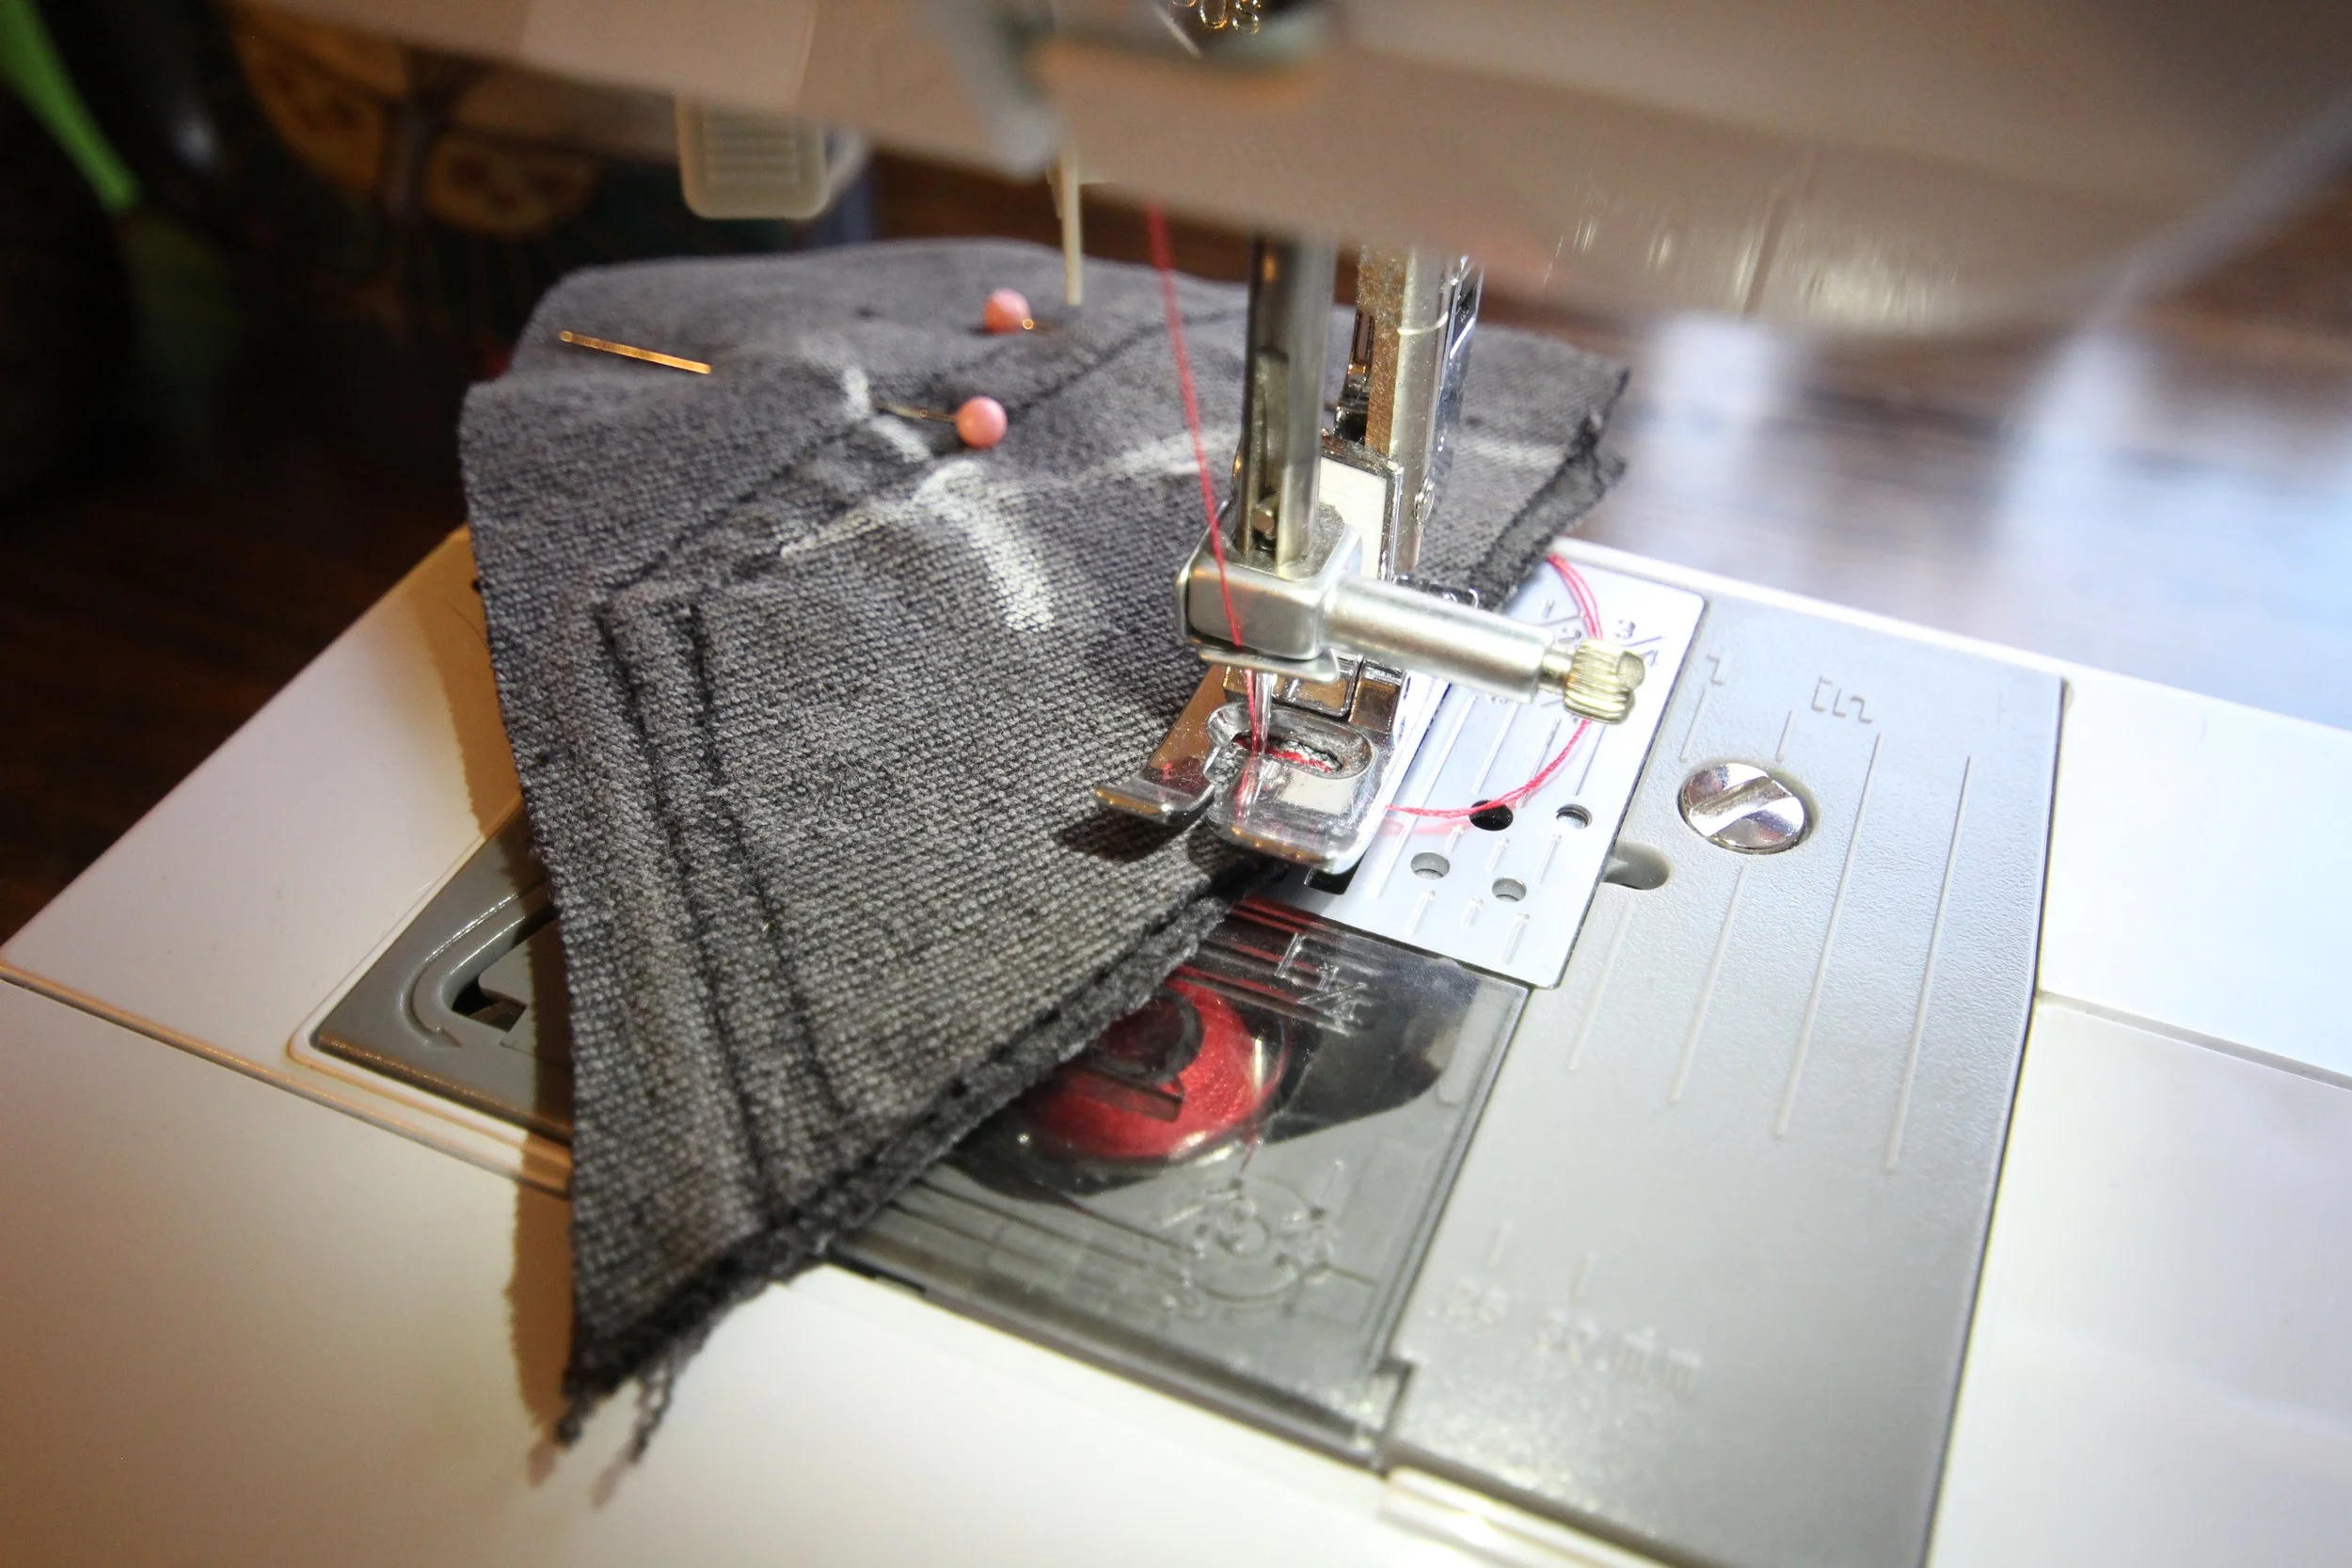
Step 2: Assembling the Moth Pieces
Now, let’s bring our moth to life:
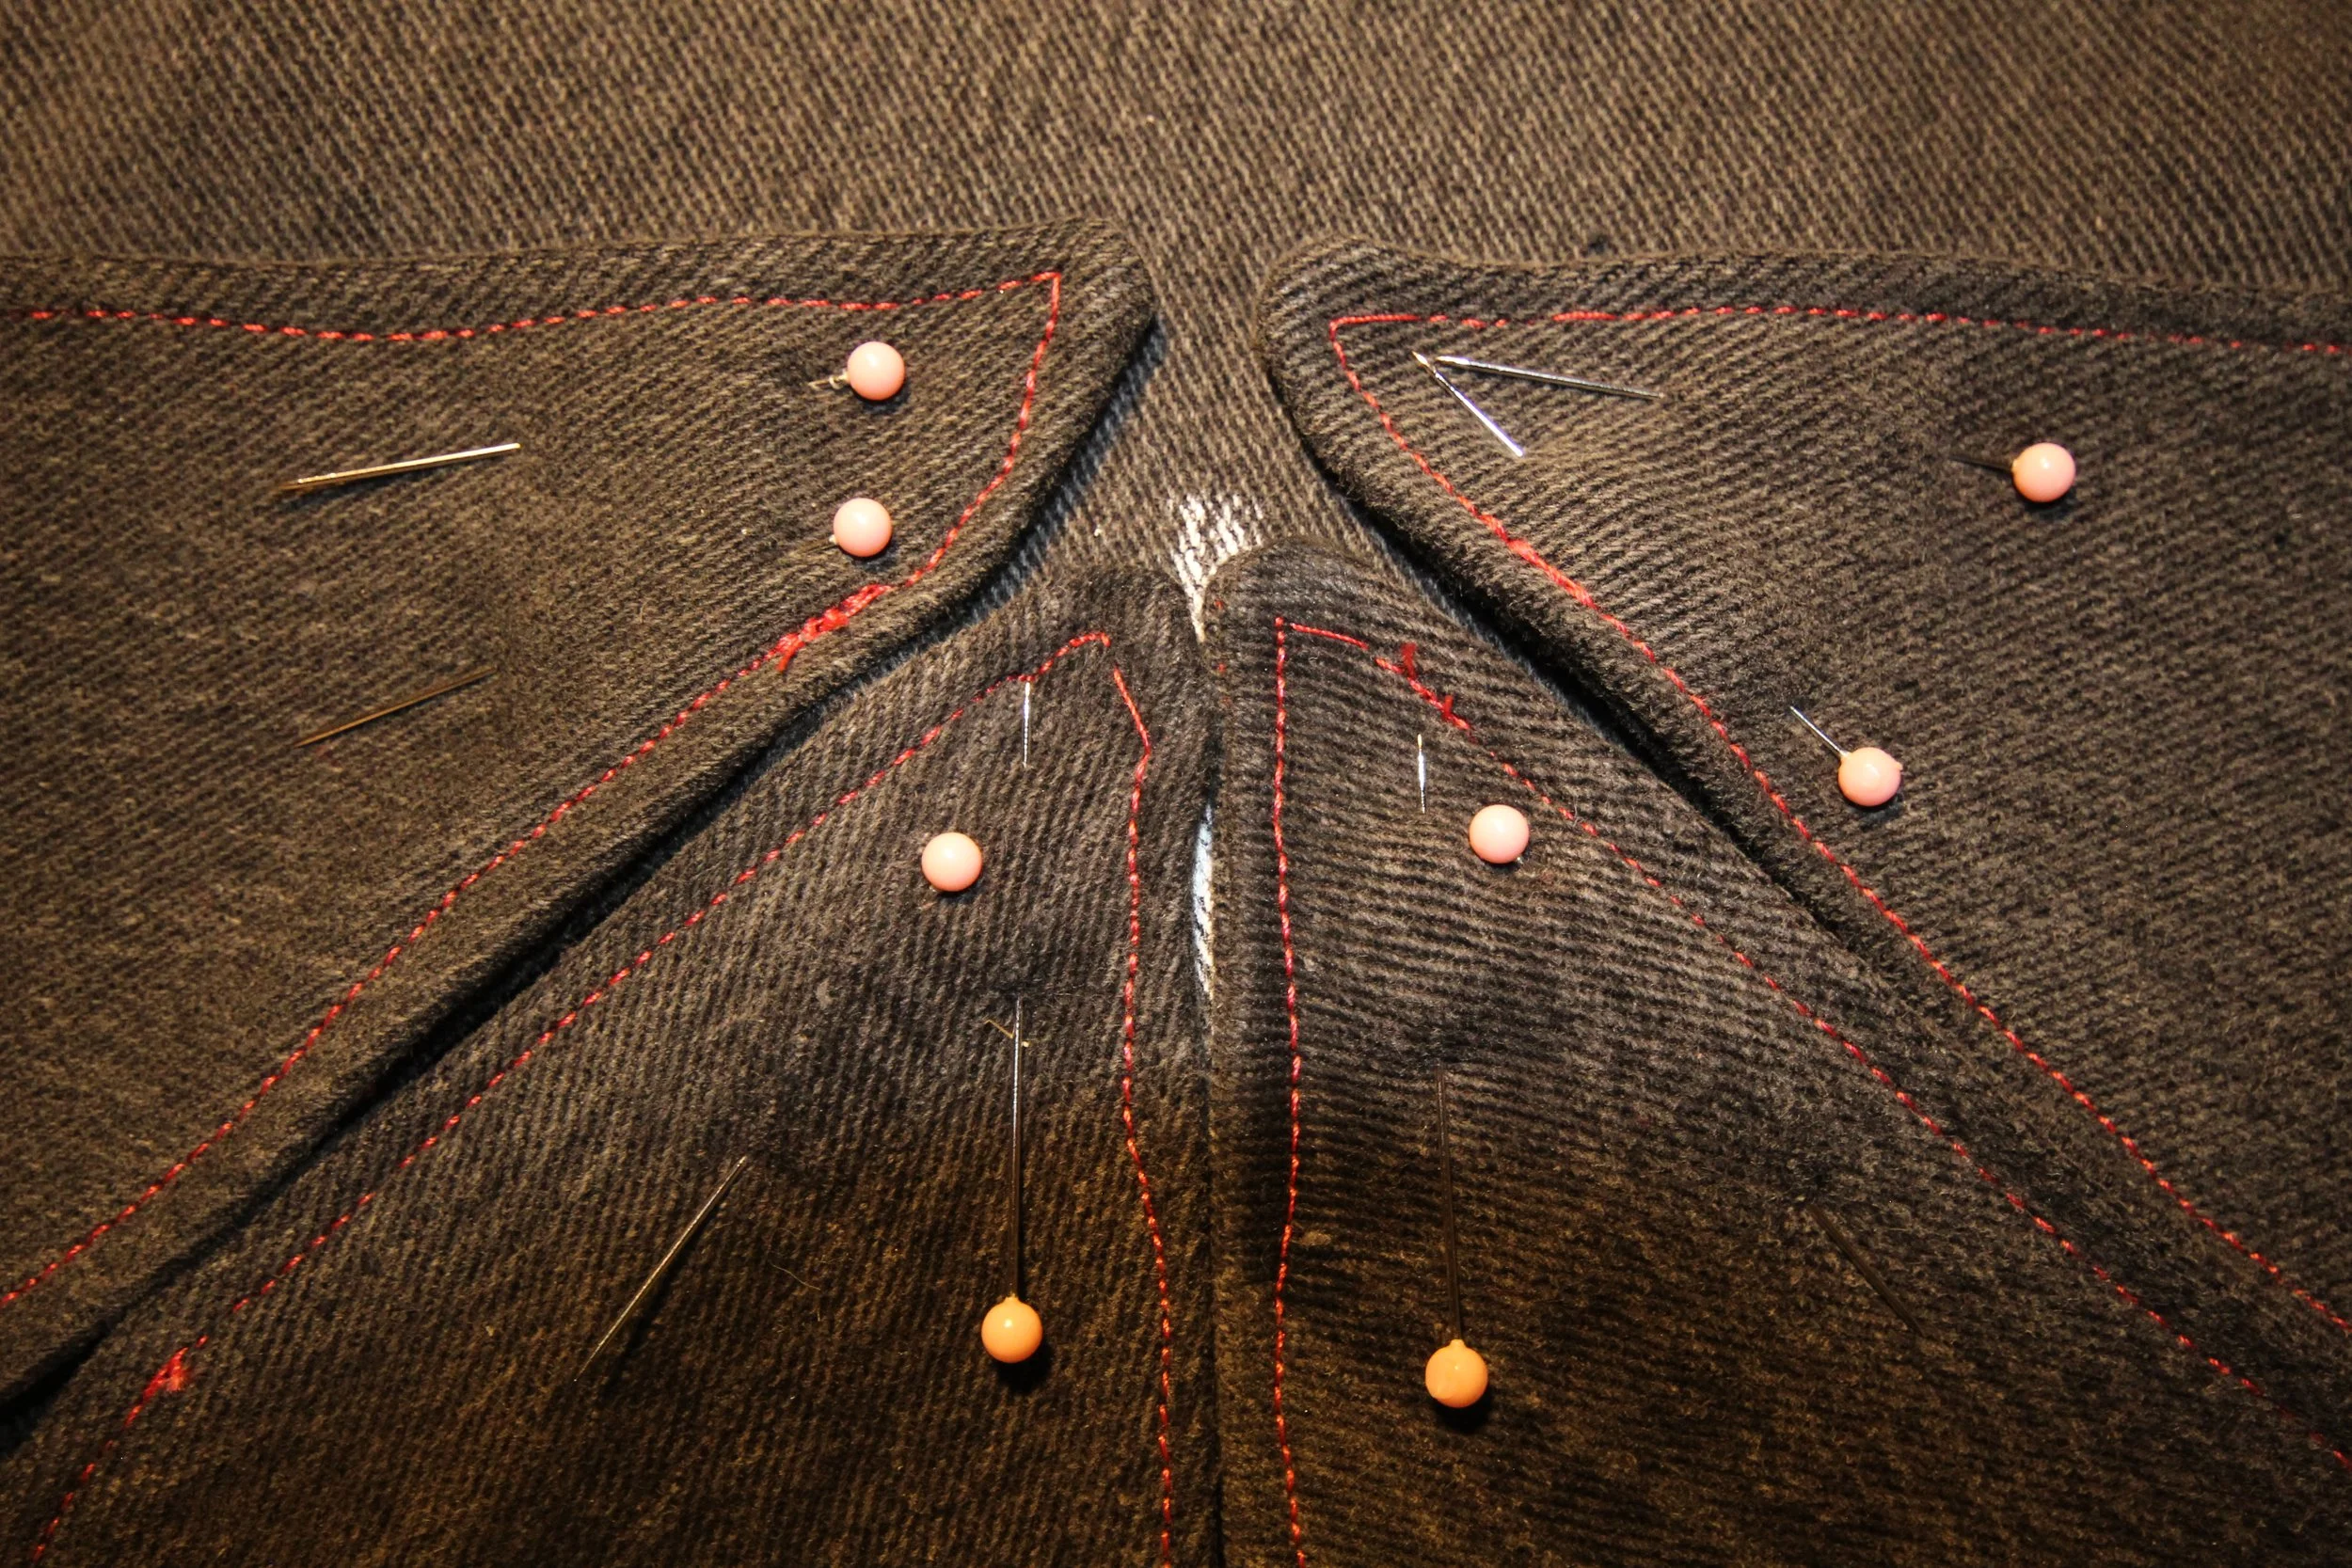
1. Sew the wings and body right sides together with a ¼-inch seam allowance. Leave a small 2-inch gap for turning.

2. Trim and clip around curves to reduce bulk when turning the wings out.
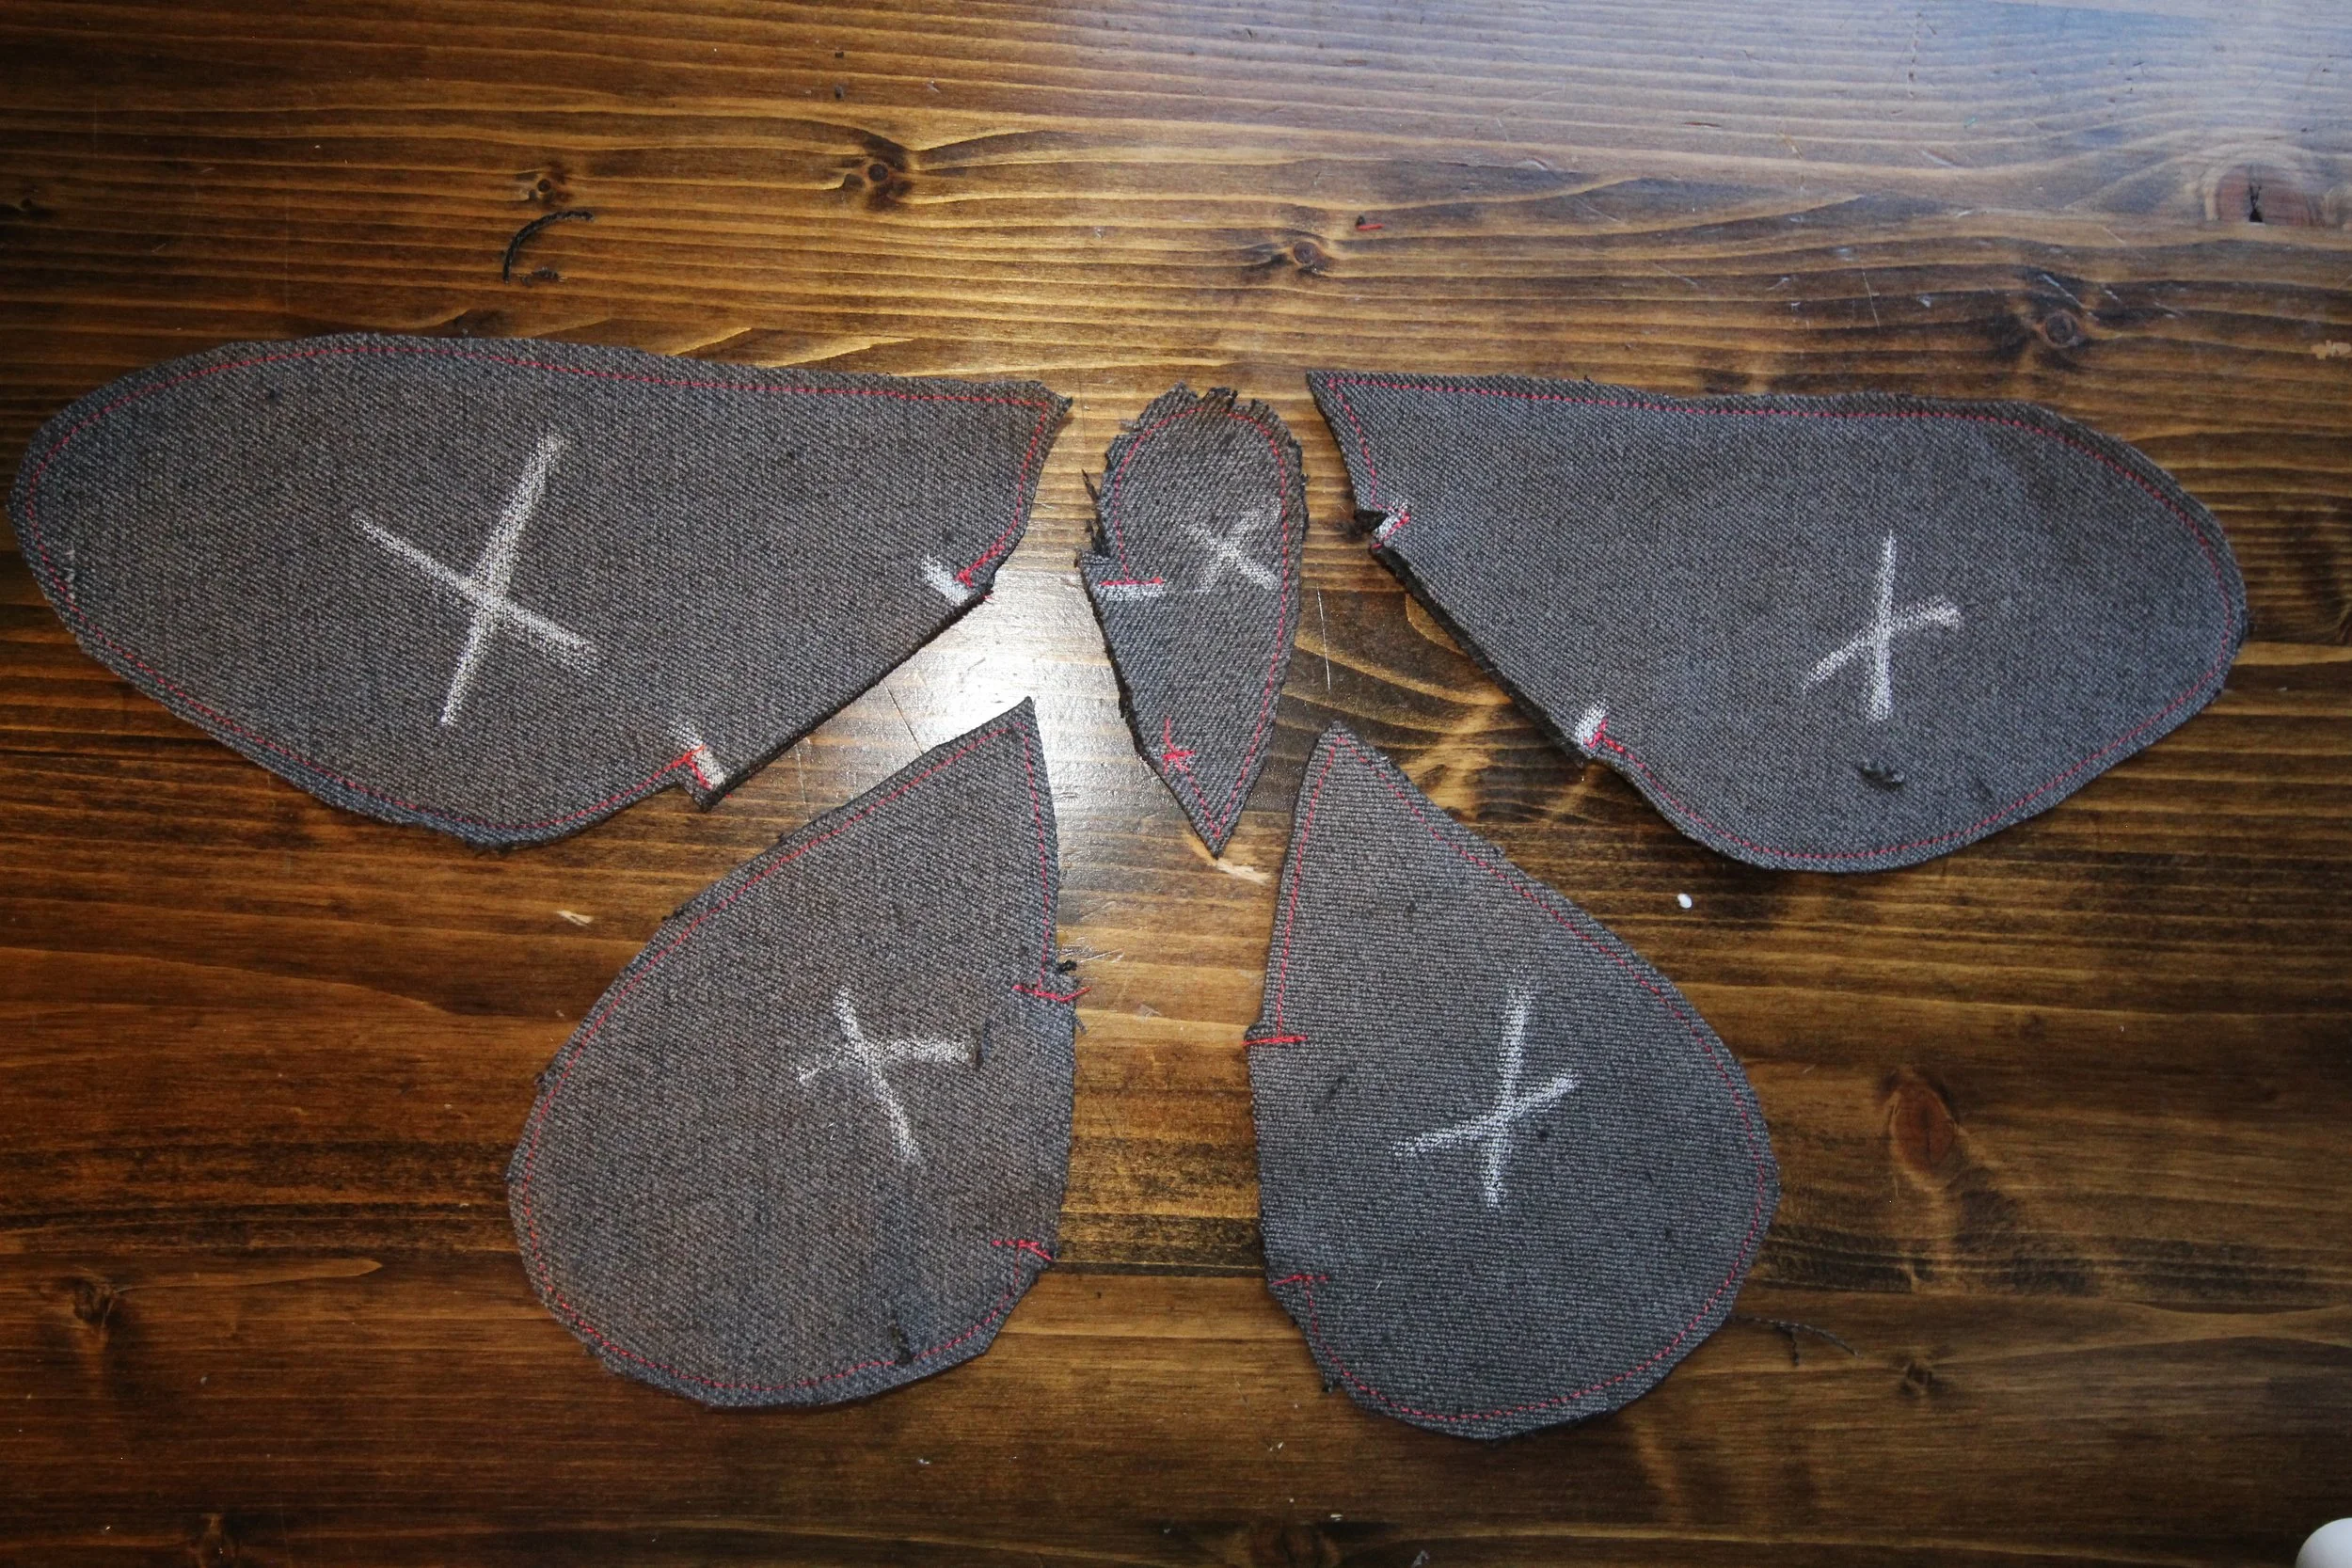
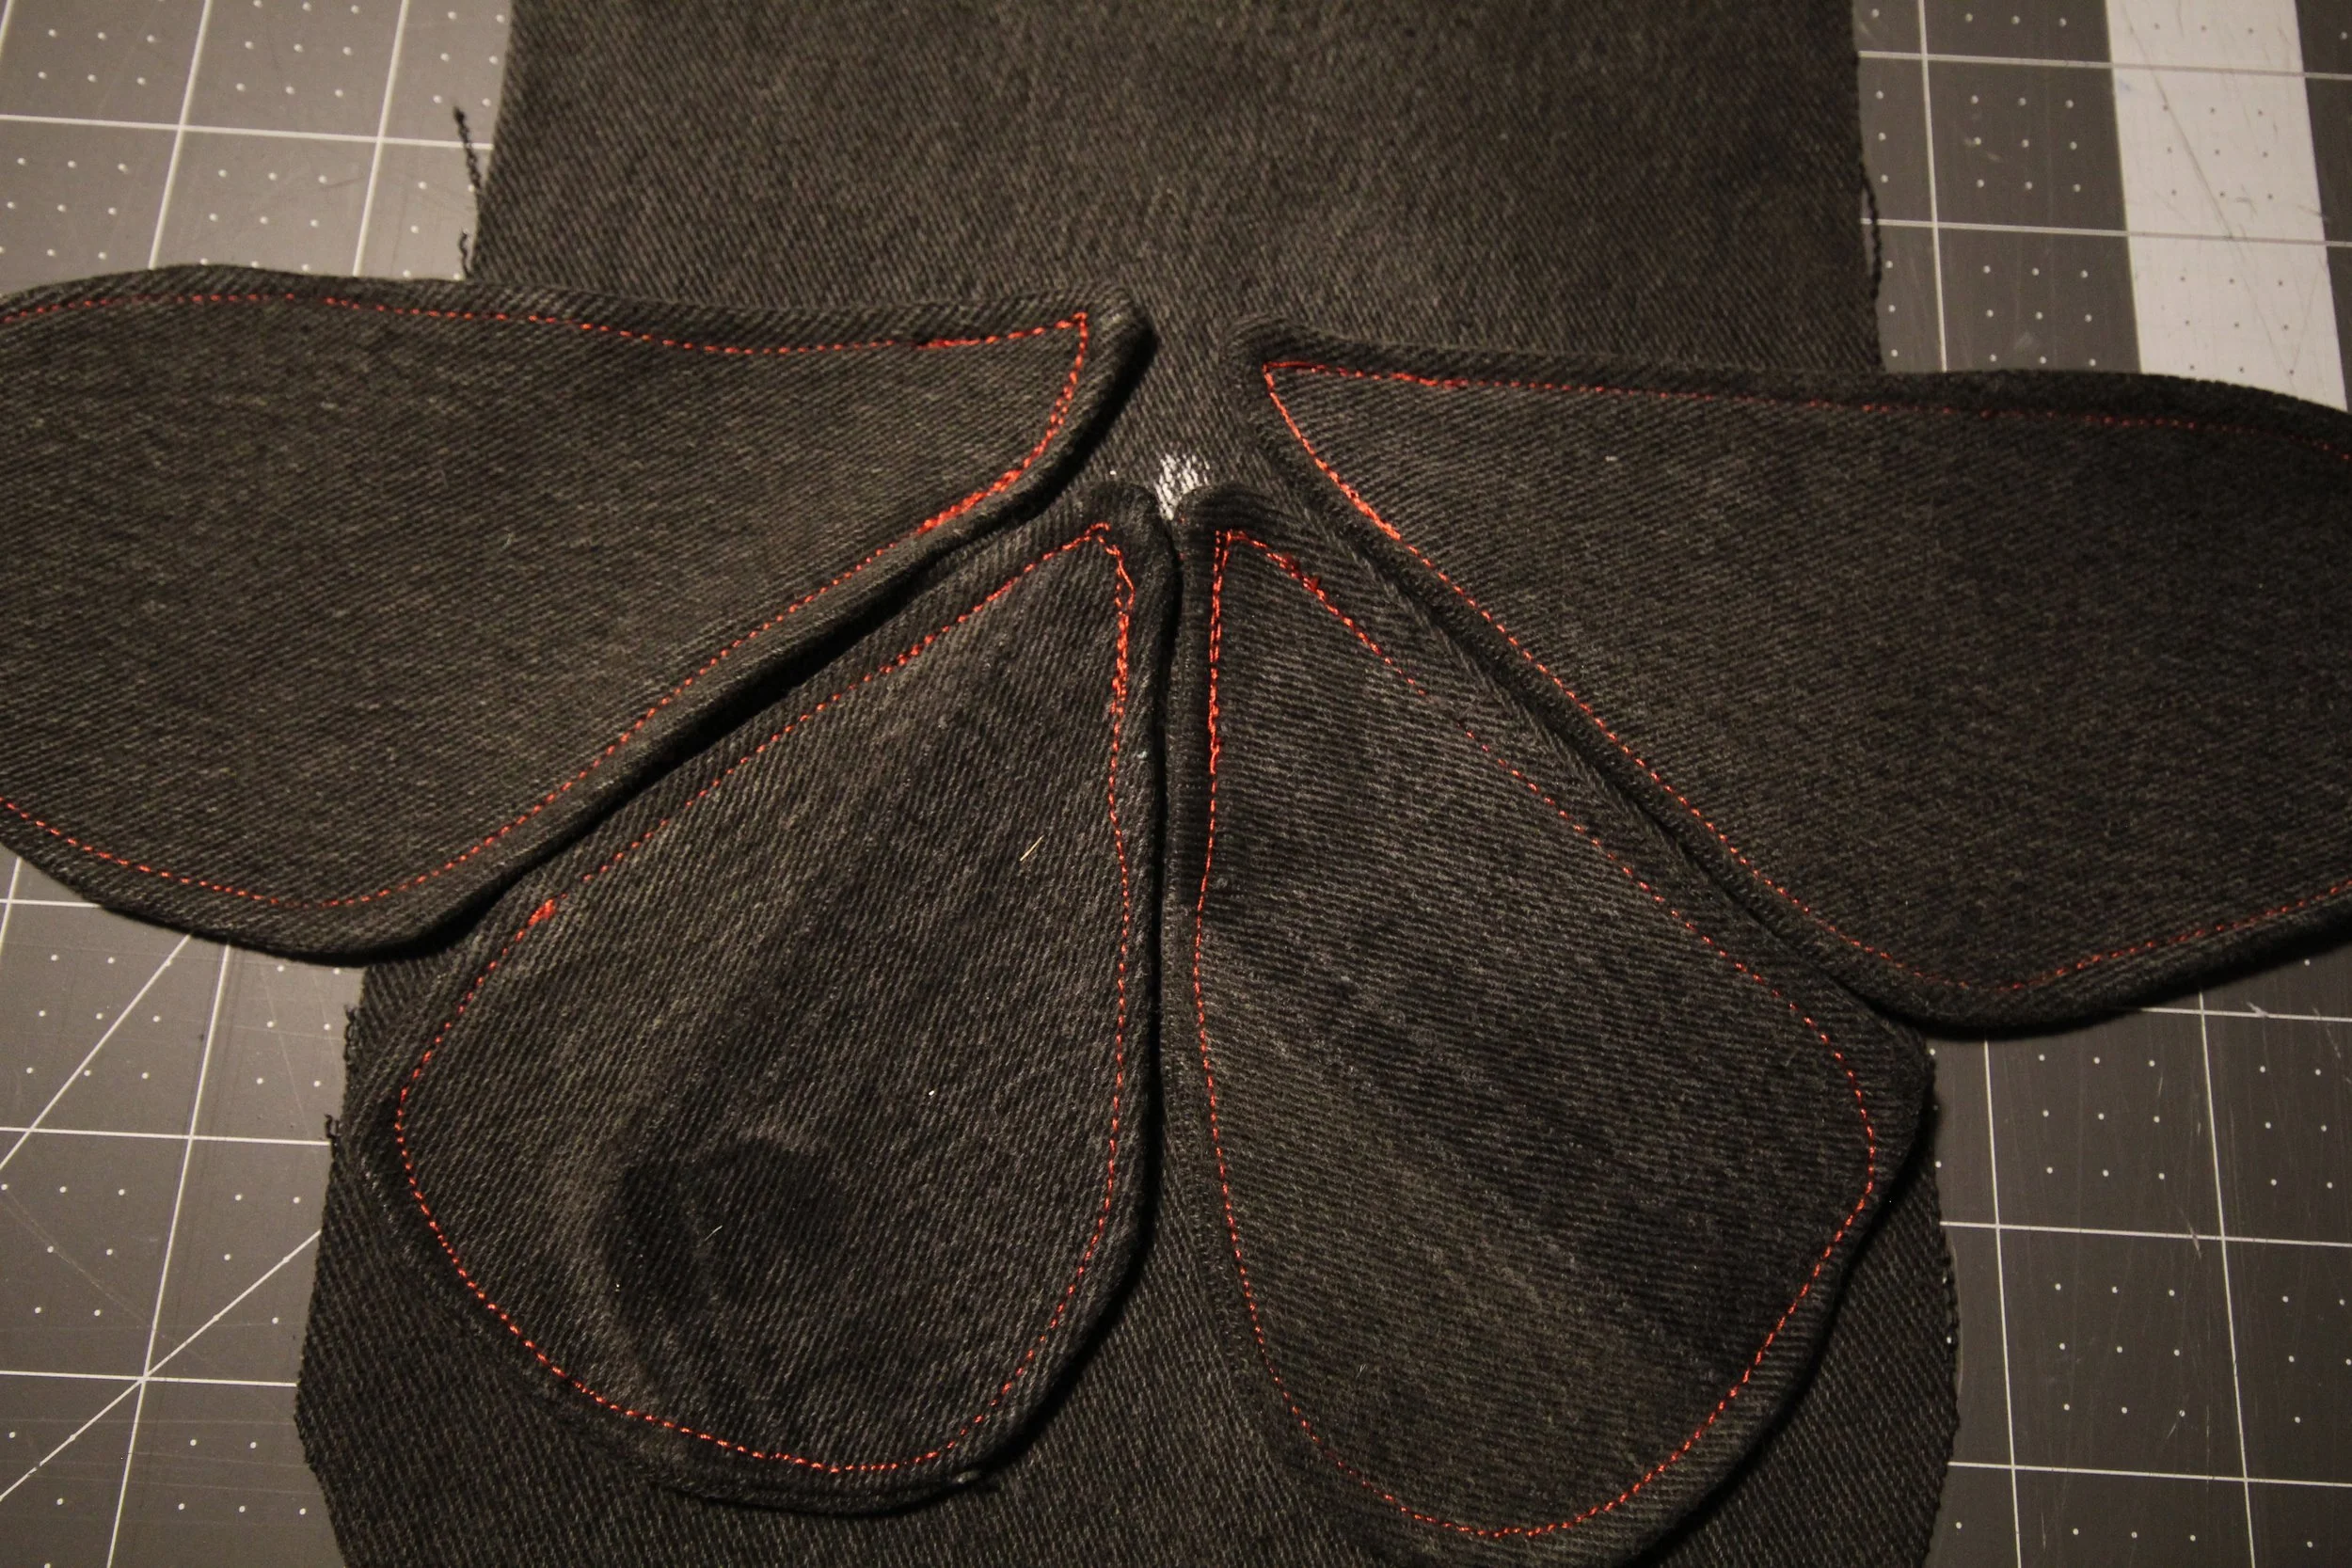
3. Turn right side out and press, making sure the seams aren’t rolling to one side.
4. Stuff the wings (optional) for a little dimension.
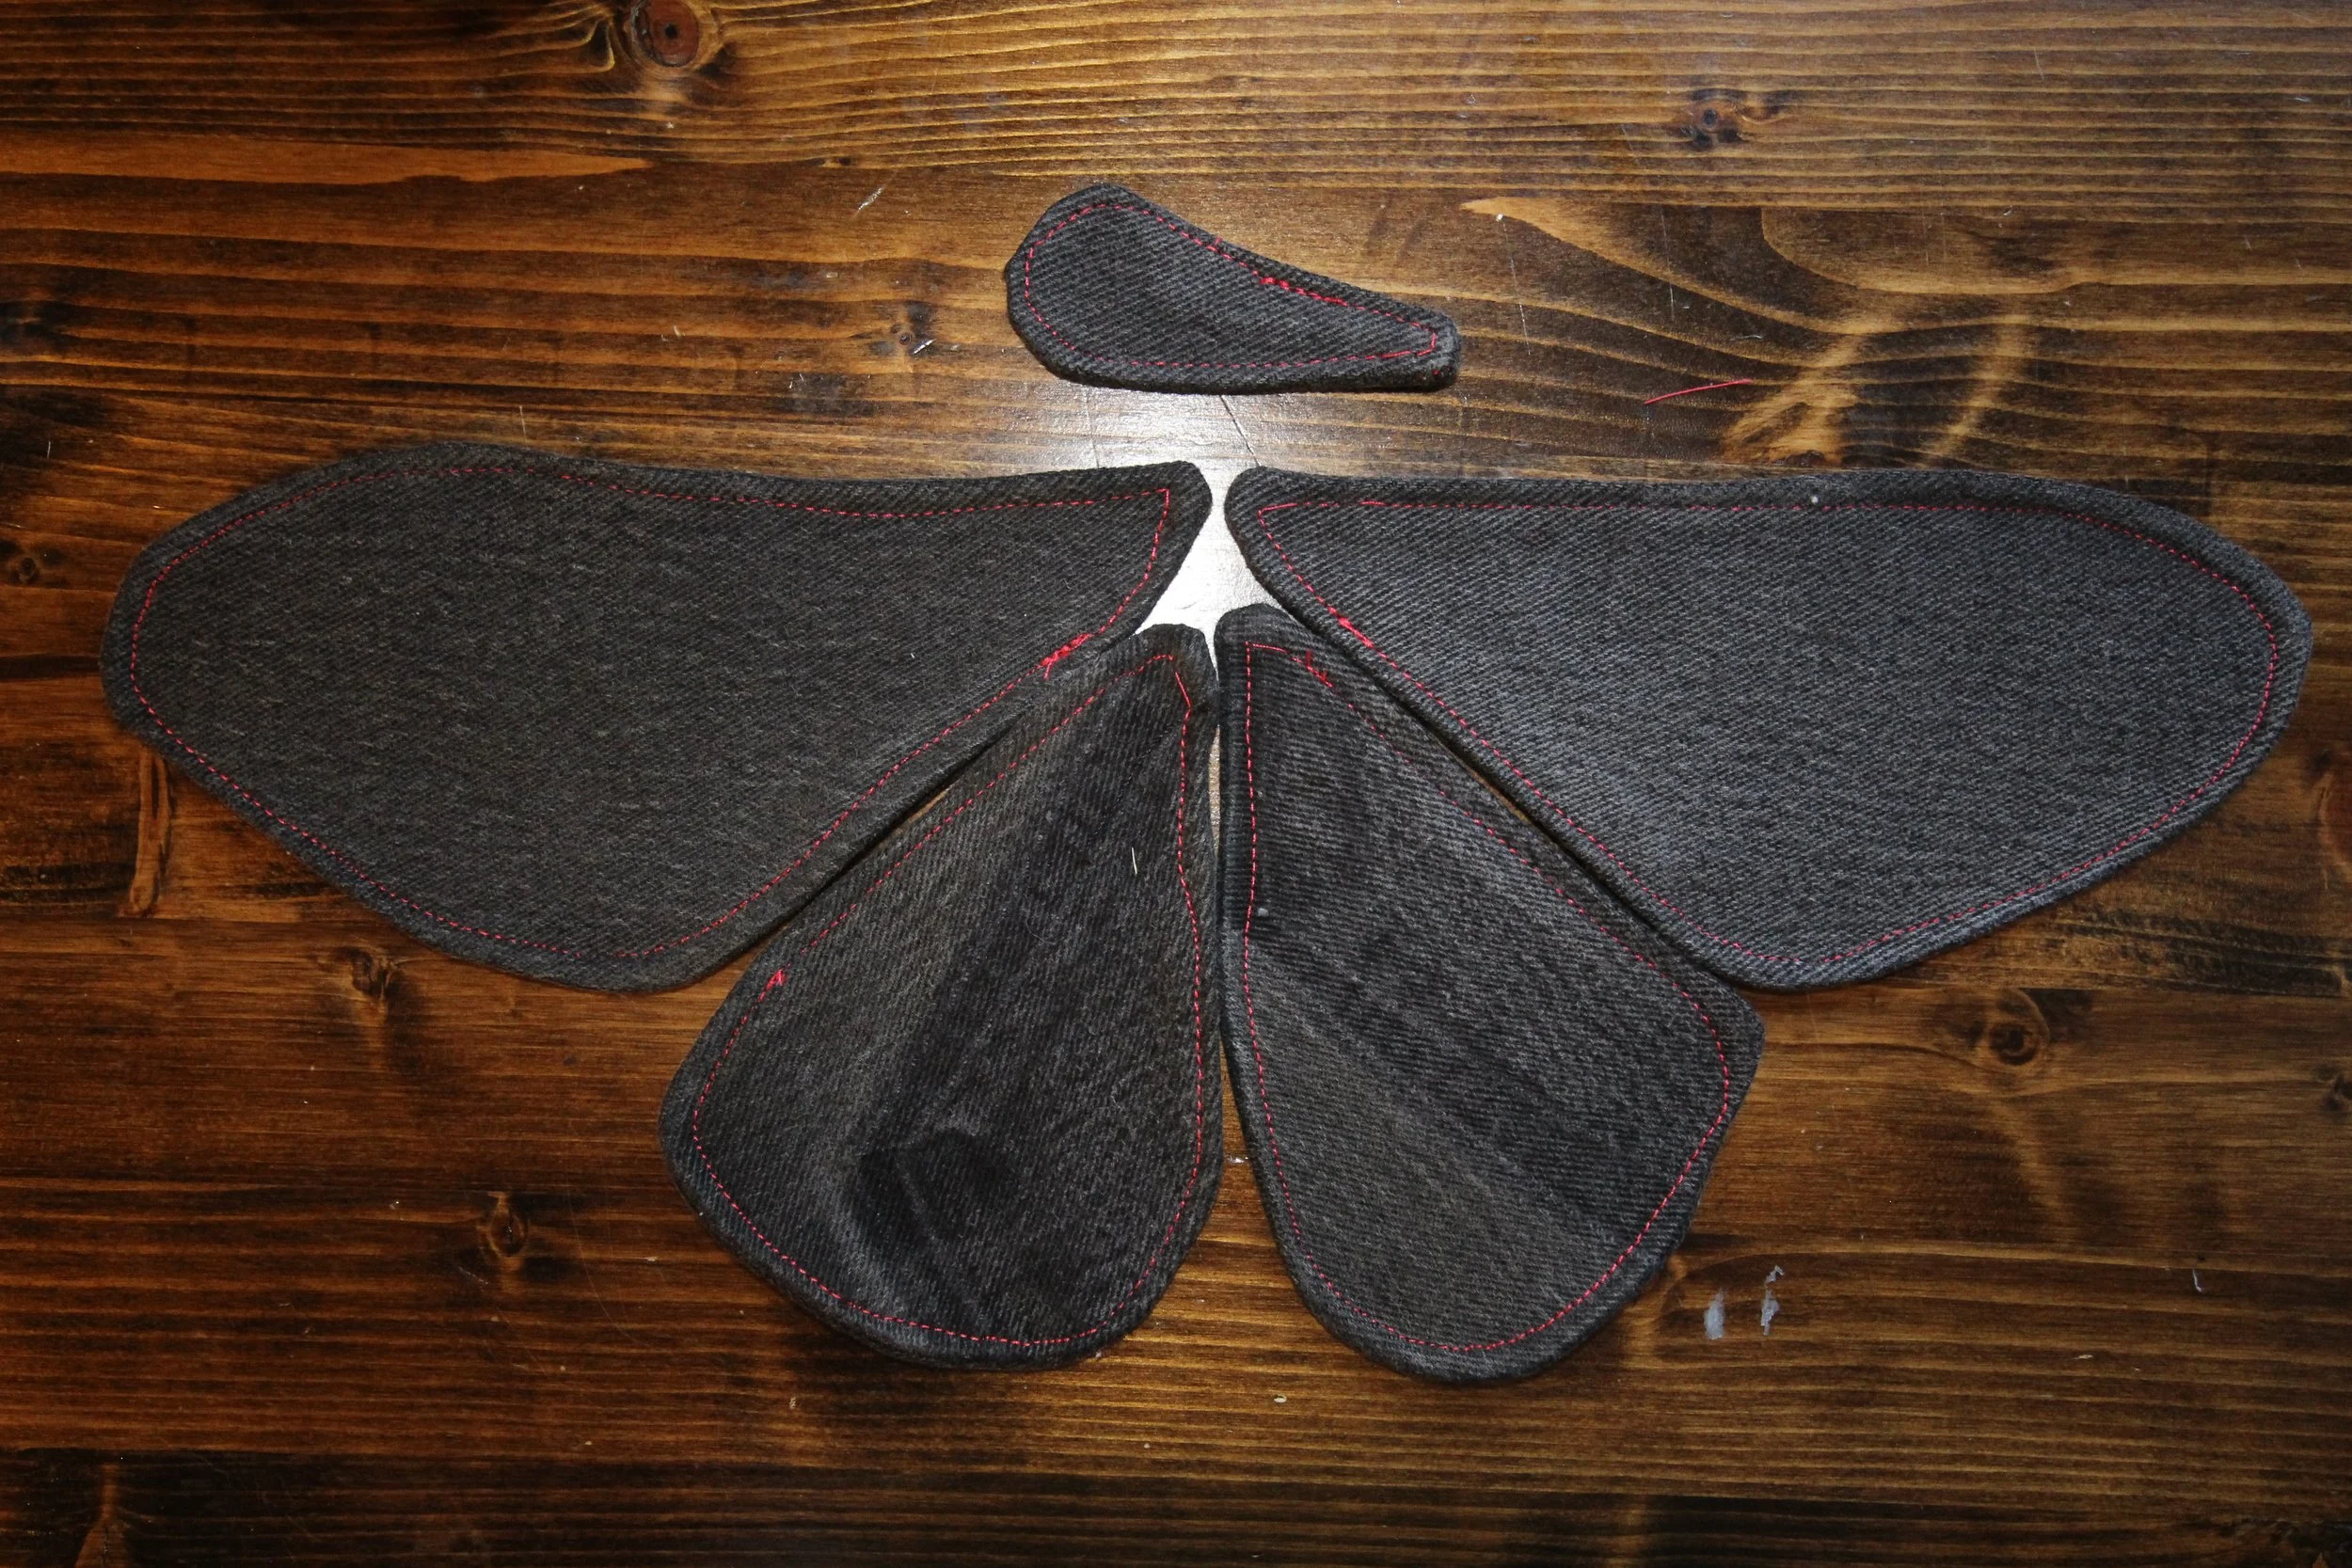
5. Topstitch around all moth pieces as close to the edge as possible (about ⅛ inch) for a polished look.
Step 3: Decorating the Wings
This is where you can really make your bag unique! For the purpose of this tutorial, I decided to keep the wings as they were. I’ll include a photo of my first moth bag I made for inspiration - I decorated the wings with teeny scraps from my scrap bin!
If you want to know more about appliqué techniques and fun ways to design your wings, check out the tutorial on YouTube where I go into detail about this step!

Cut fabric scraps into shapes and arrange them on the wings—experiment with color, layering, and contrast.
Use hand stitching, beads, or even fabric markers and paint for extra embellishment.
If using appliqué, a little Elmer’s liquid all-purpose glue can hold small pieces in place before sewing (don’t worry, it washes out! Just be sure to let the glue fully dry before sewing - otherwise you’ll junk up your needle!).
Step 4: Attaching the Moth to the Bag
Now that our moth is ready, it’s time to make it part of the bag!
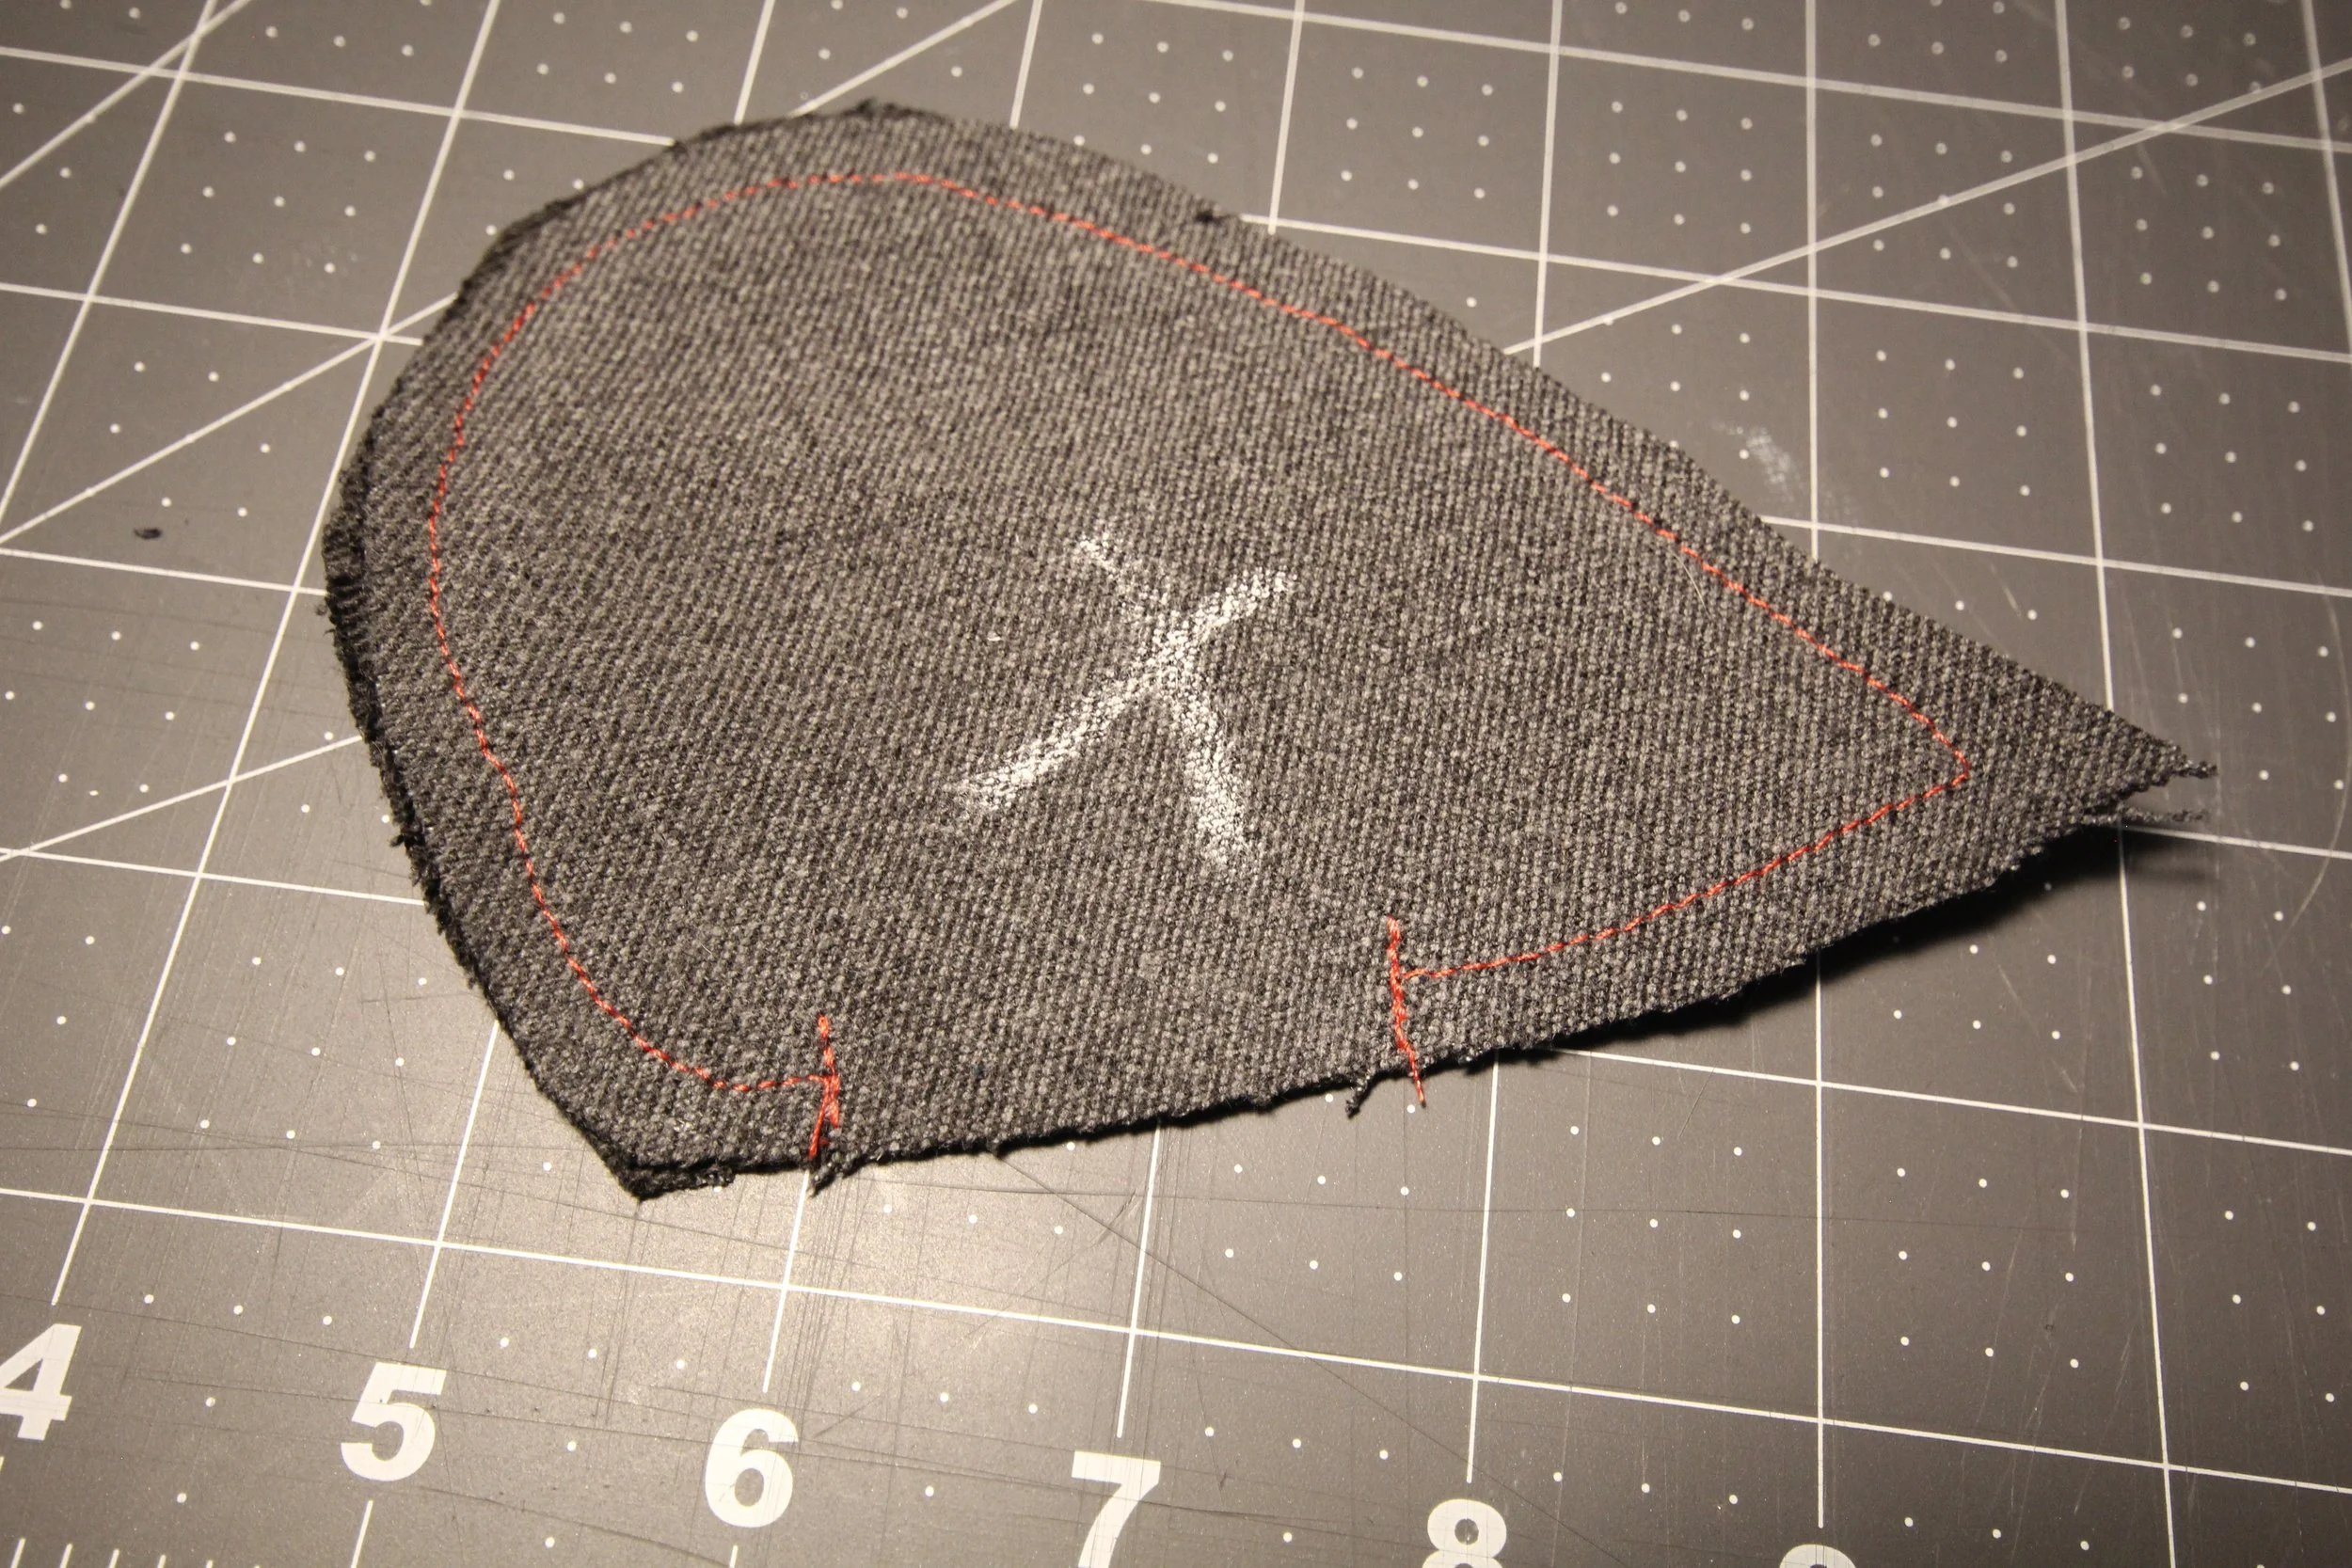
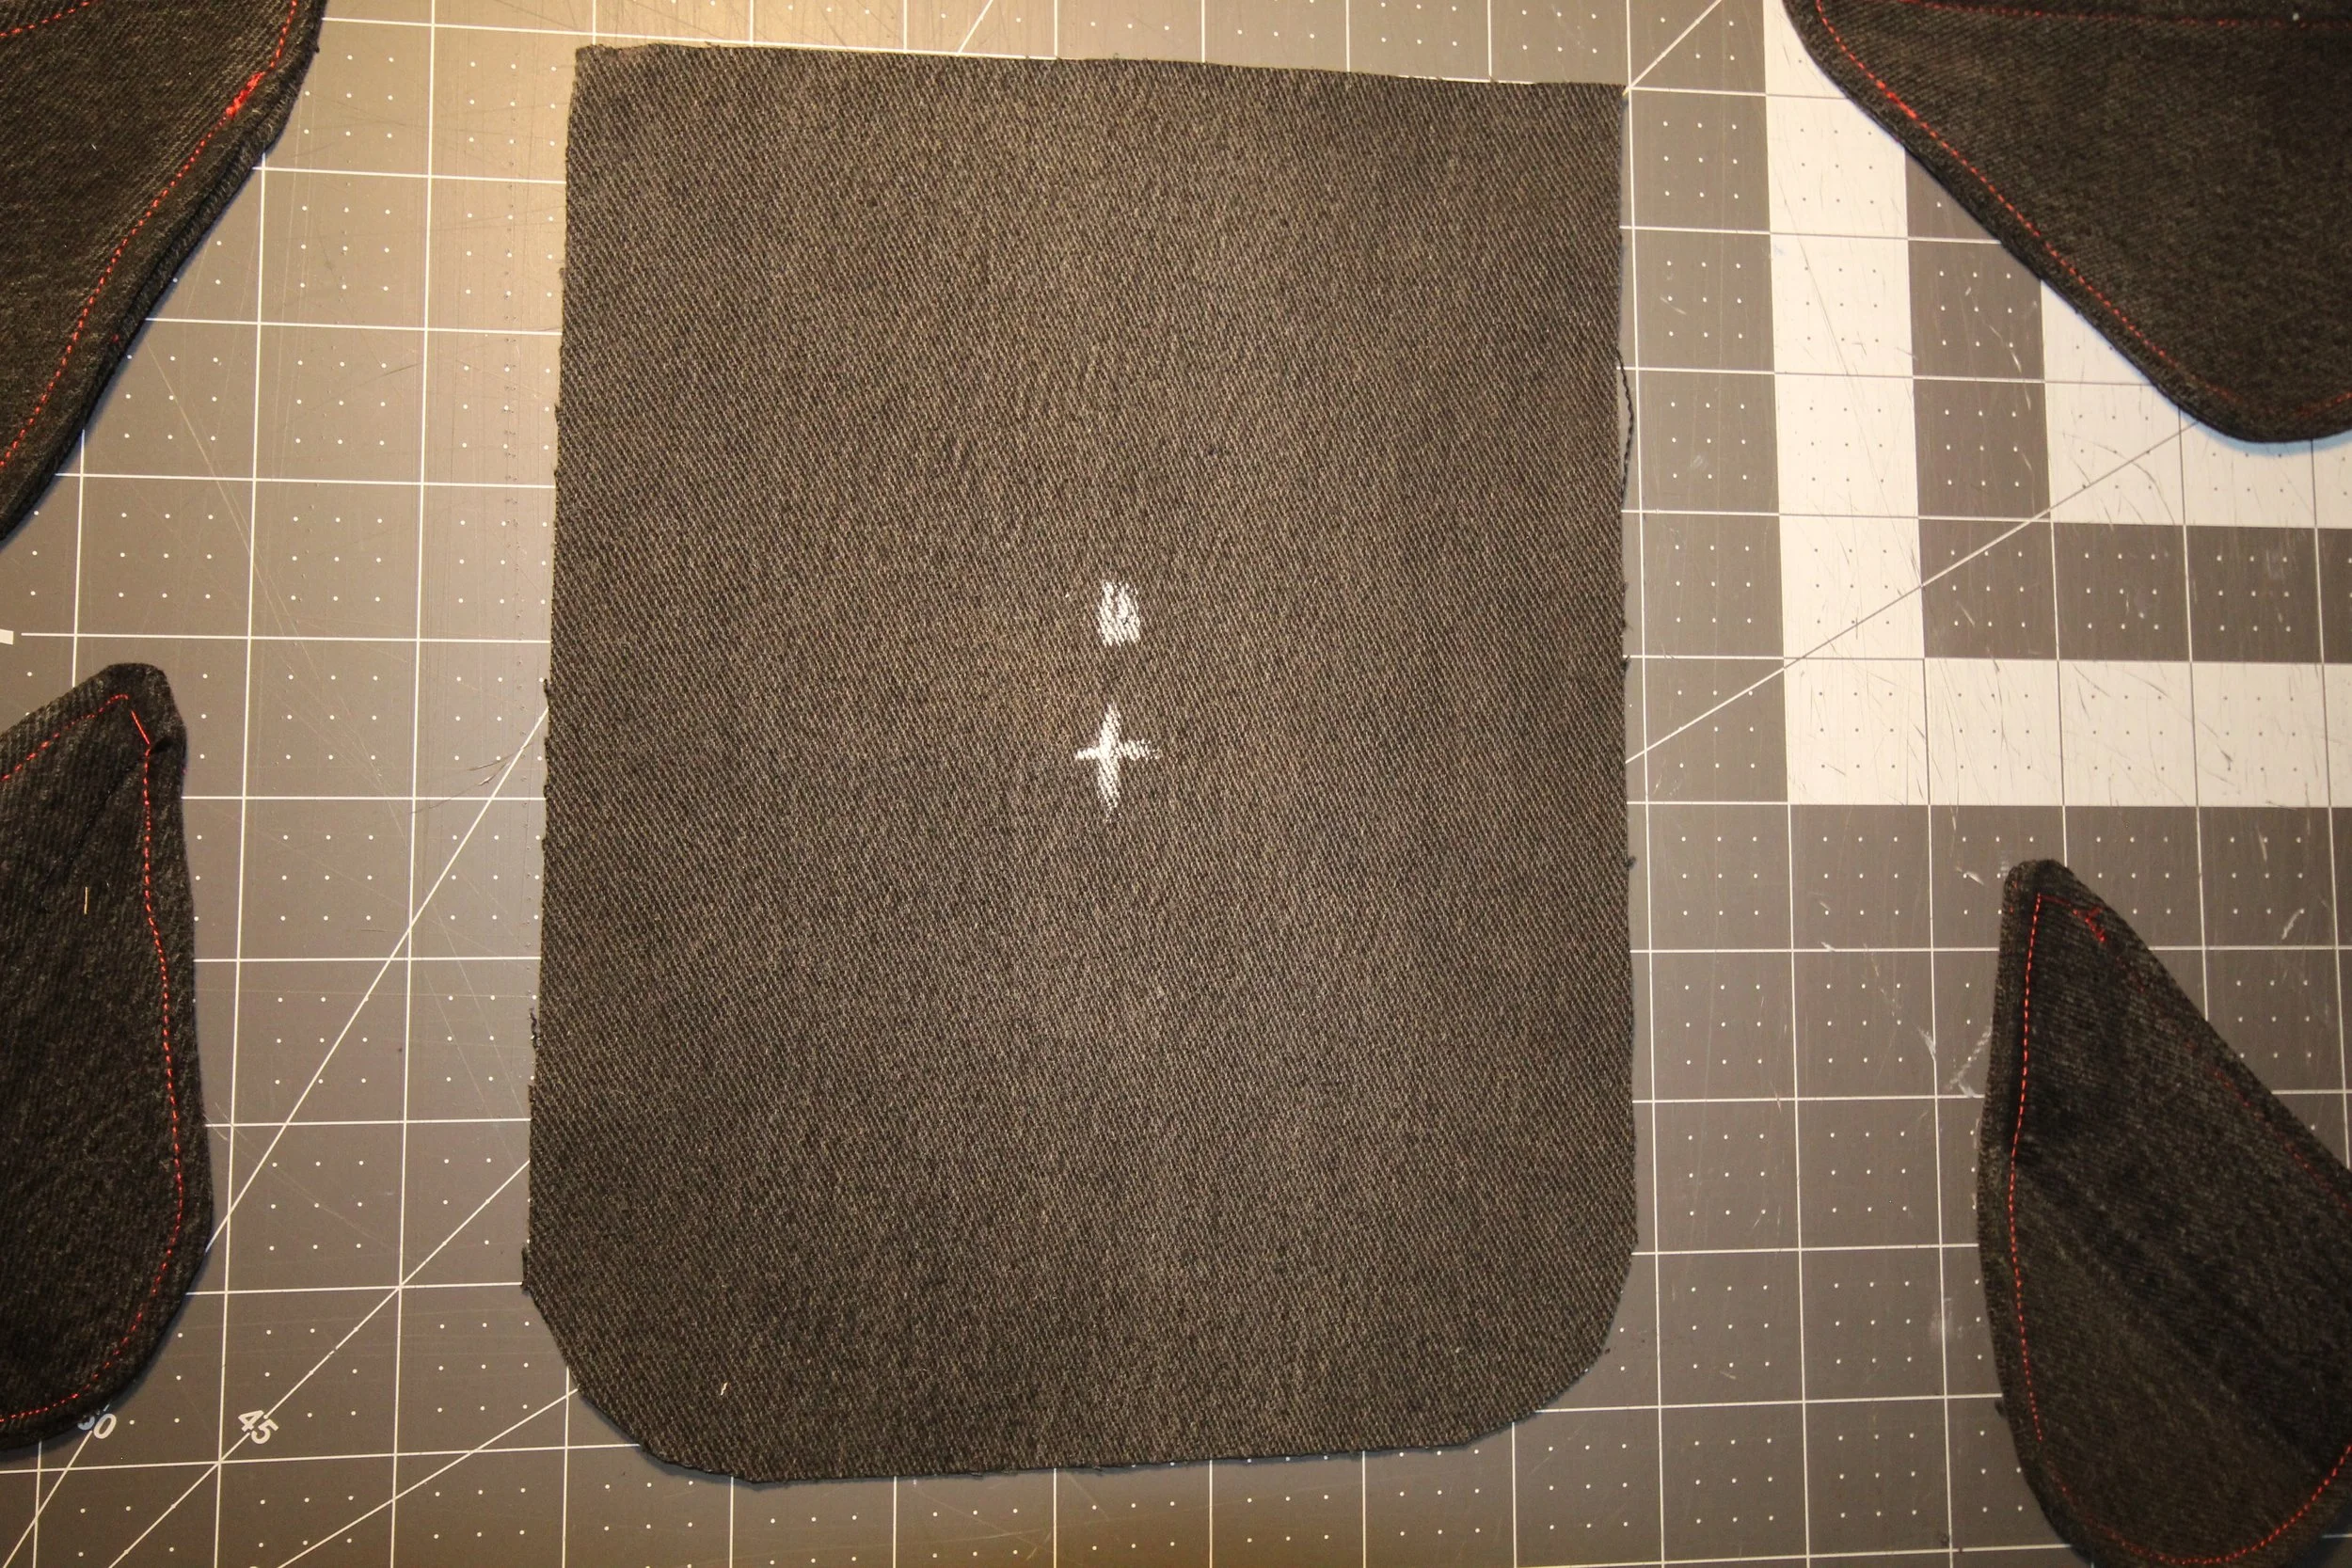
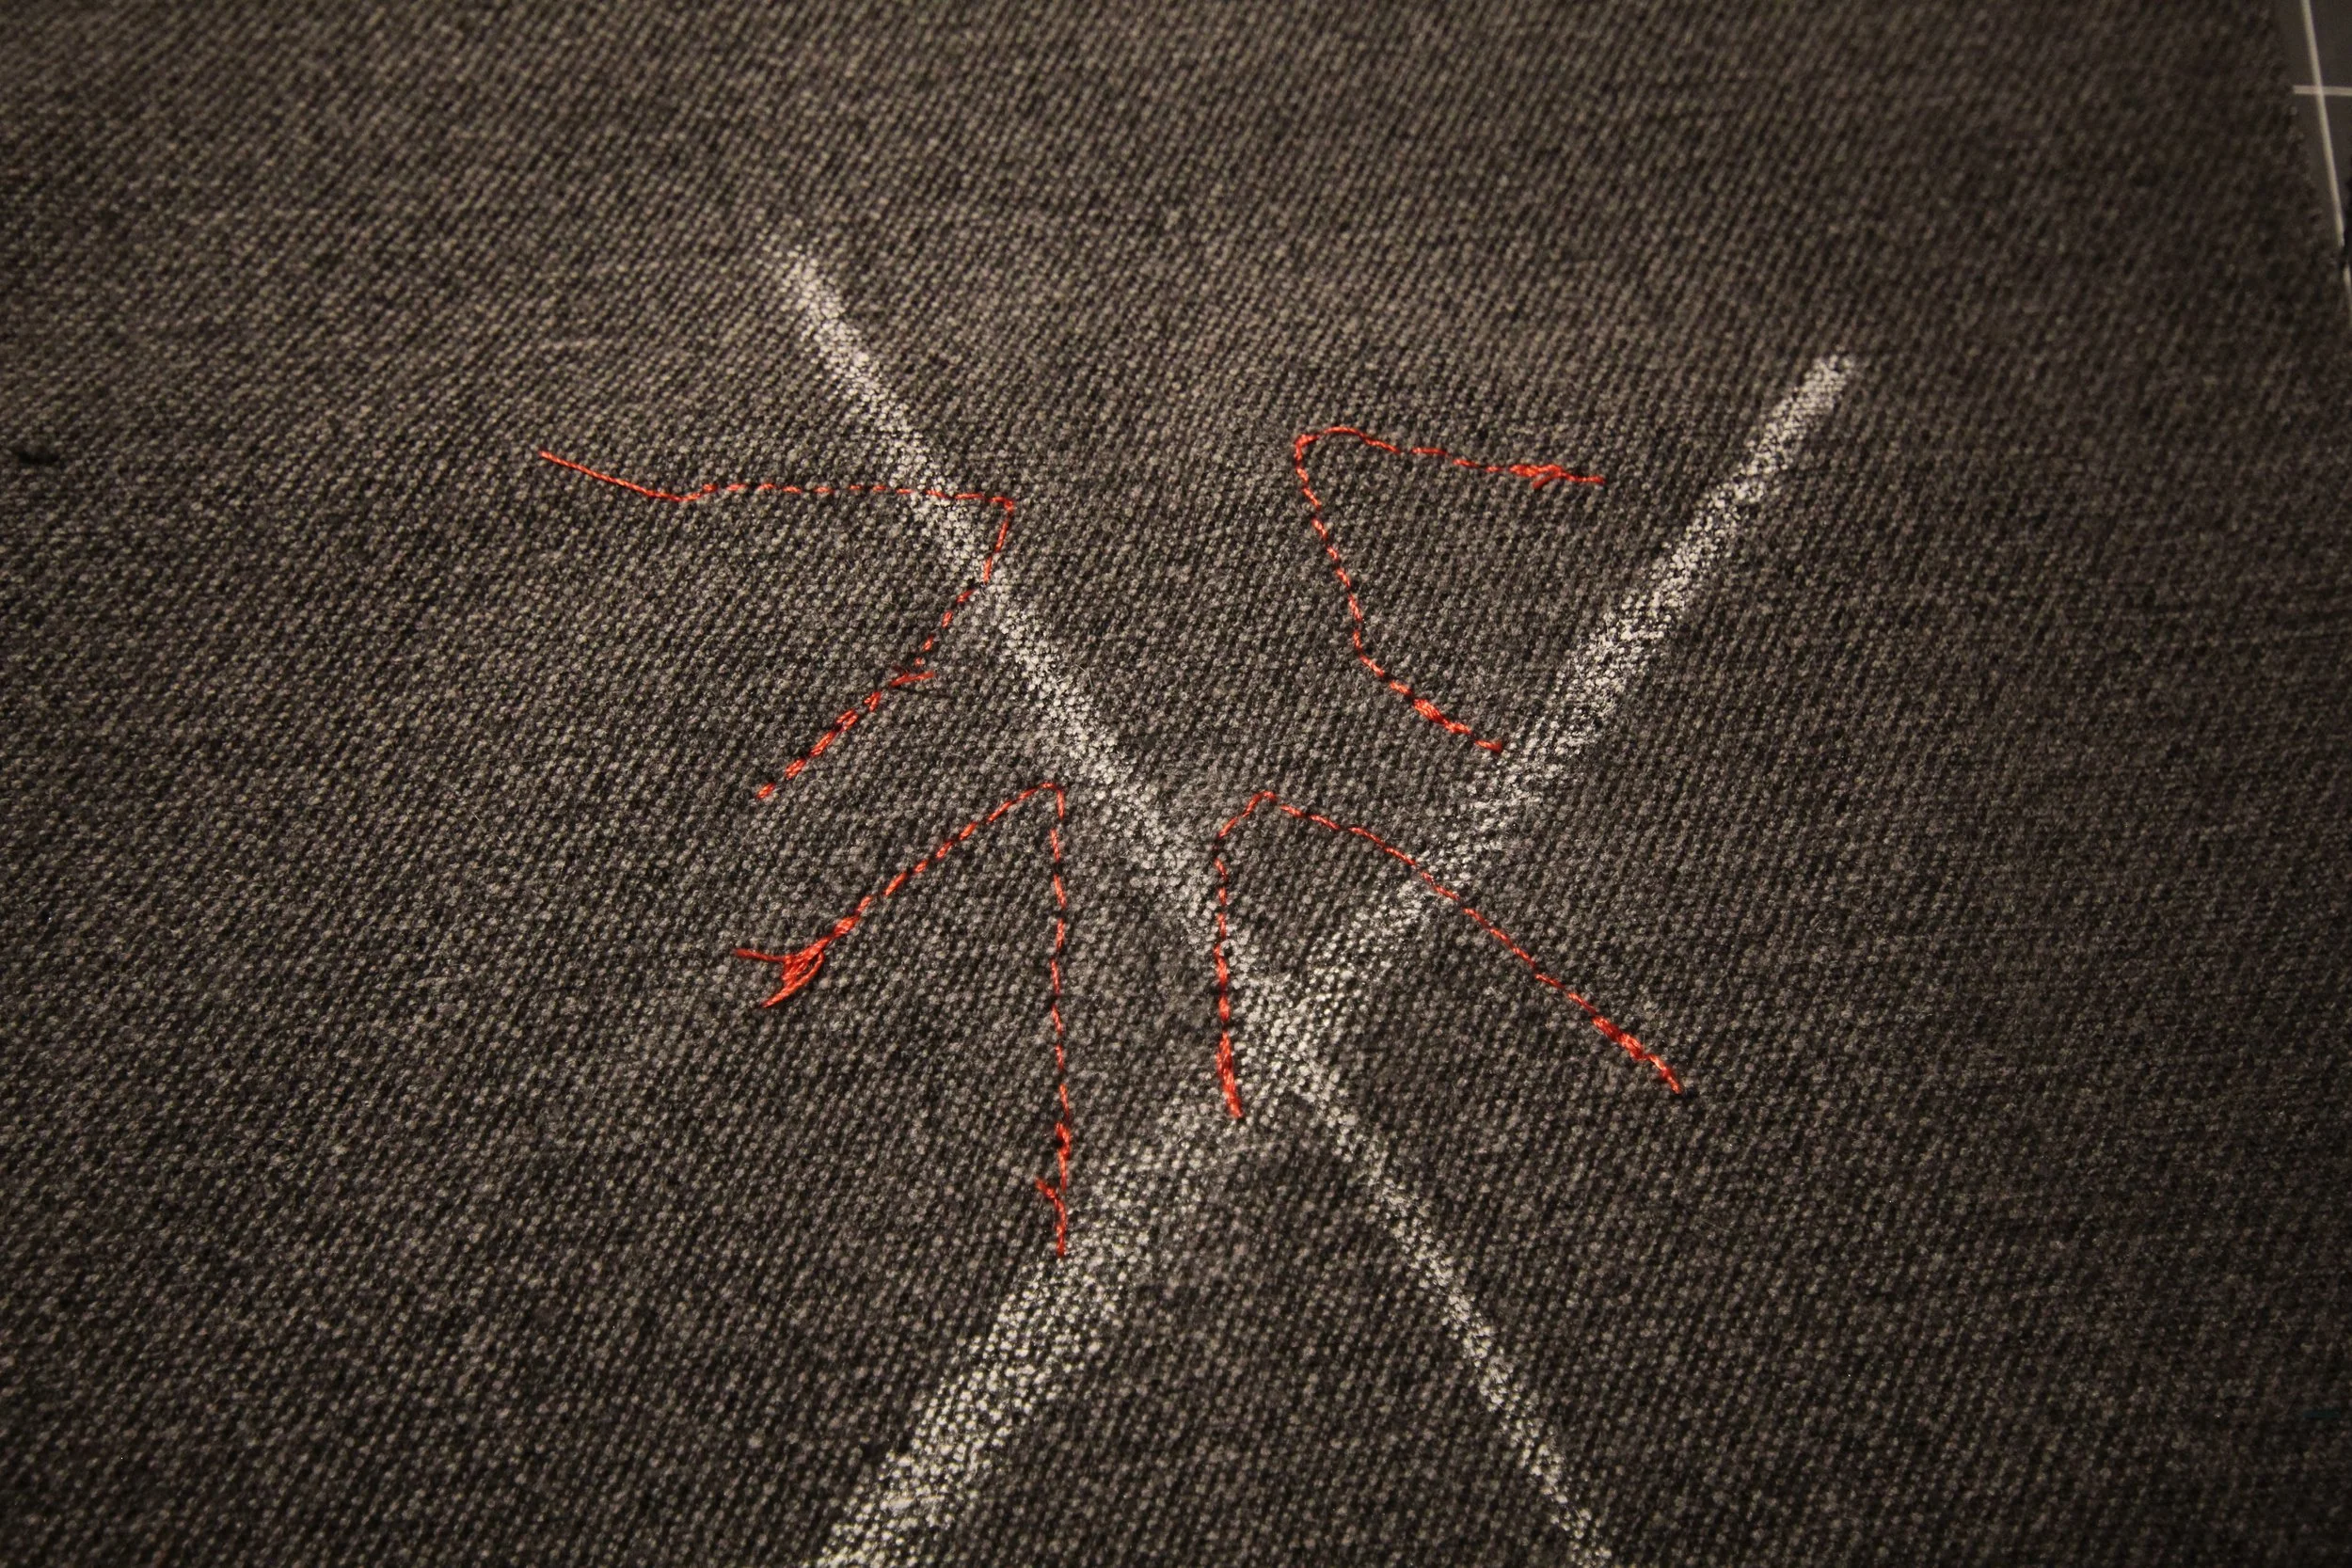
1. Find the center of the front panel by folding it in half both ways and marking the middle.
2. Measure 1 inch up from the center toward the bag’s top opening—this is where the moth body will be placed.
3. Pin and sew the wings first, stitching only at the top corners so they remain free and fluttery.
4. Pin and sew the body on top, covering the upper wing corners.
Step 5: Preparing the Pocket
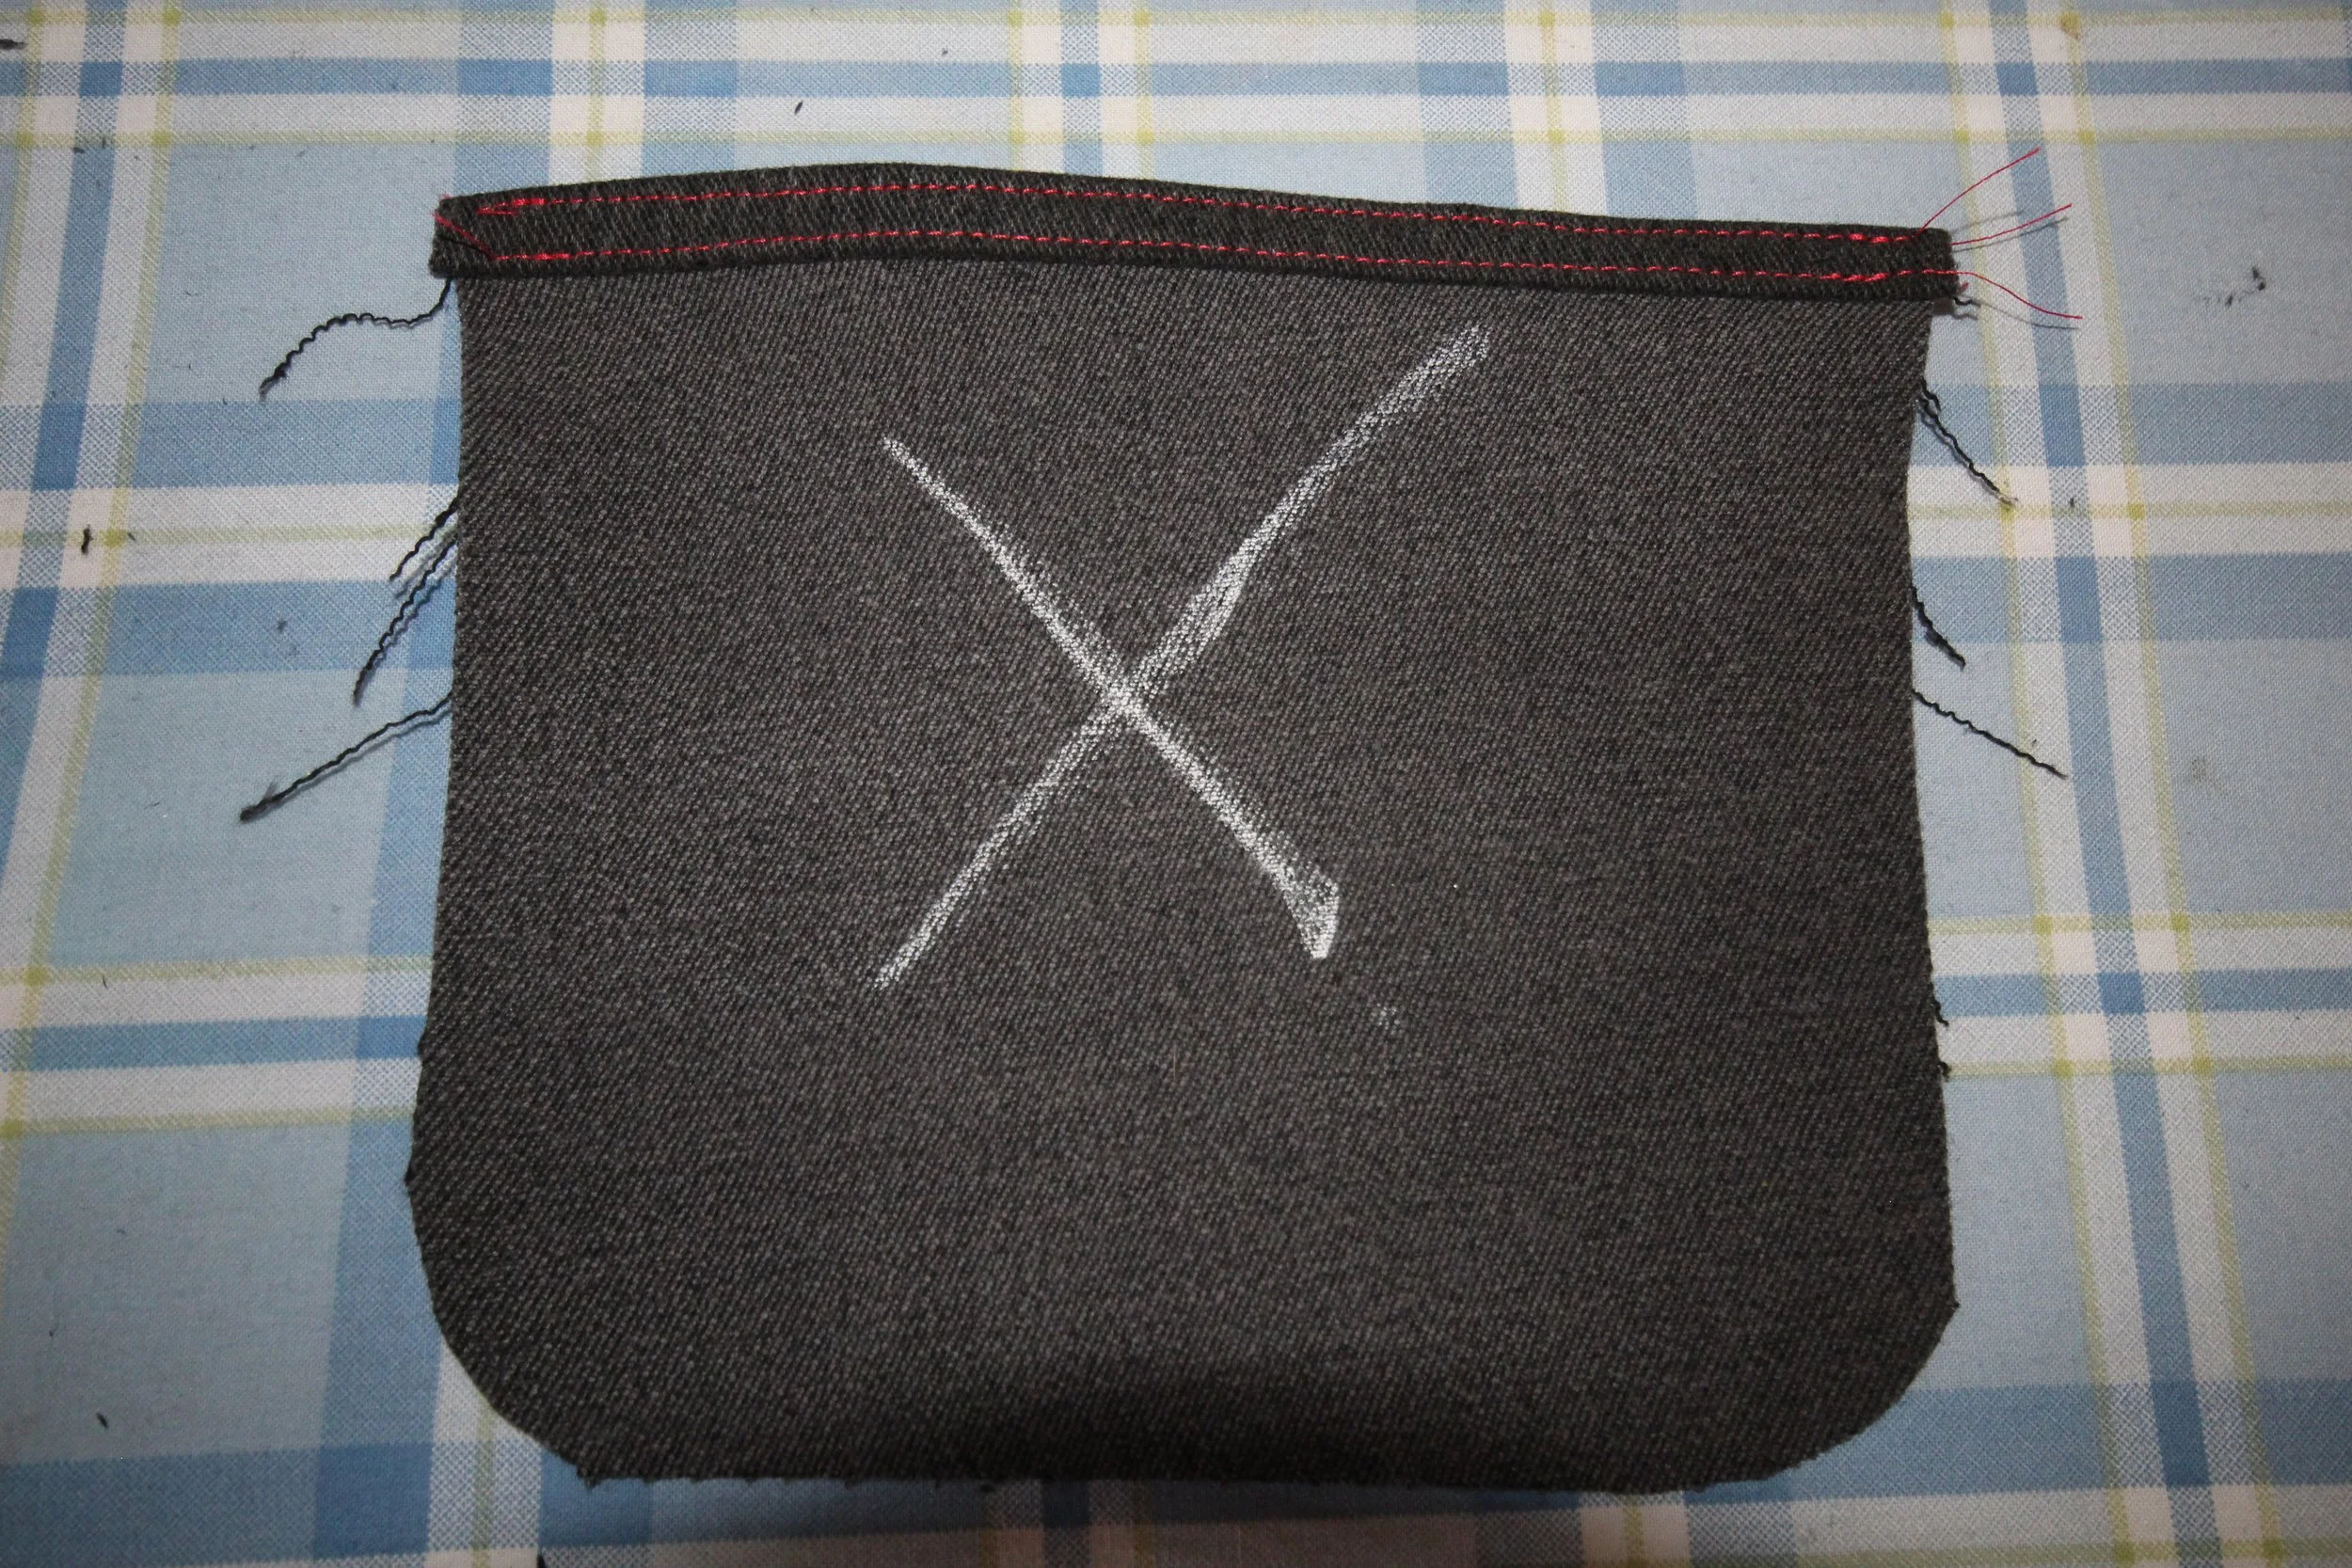
Fold the top edge of the pocket down twice by ¼ inch each time and press.
Stitch along the fold twice for durability and a clean finish.
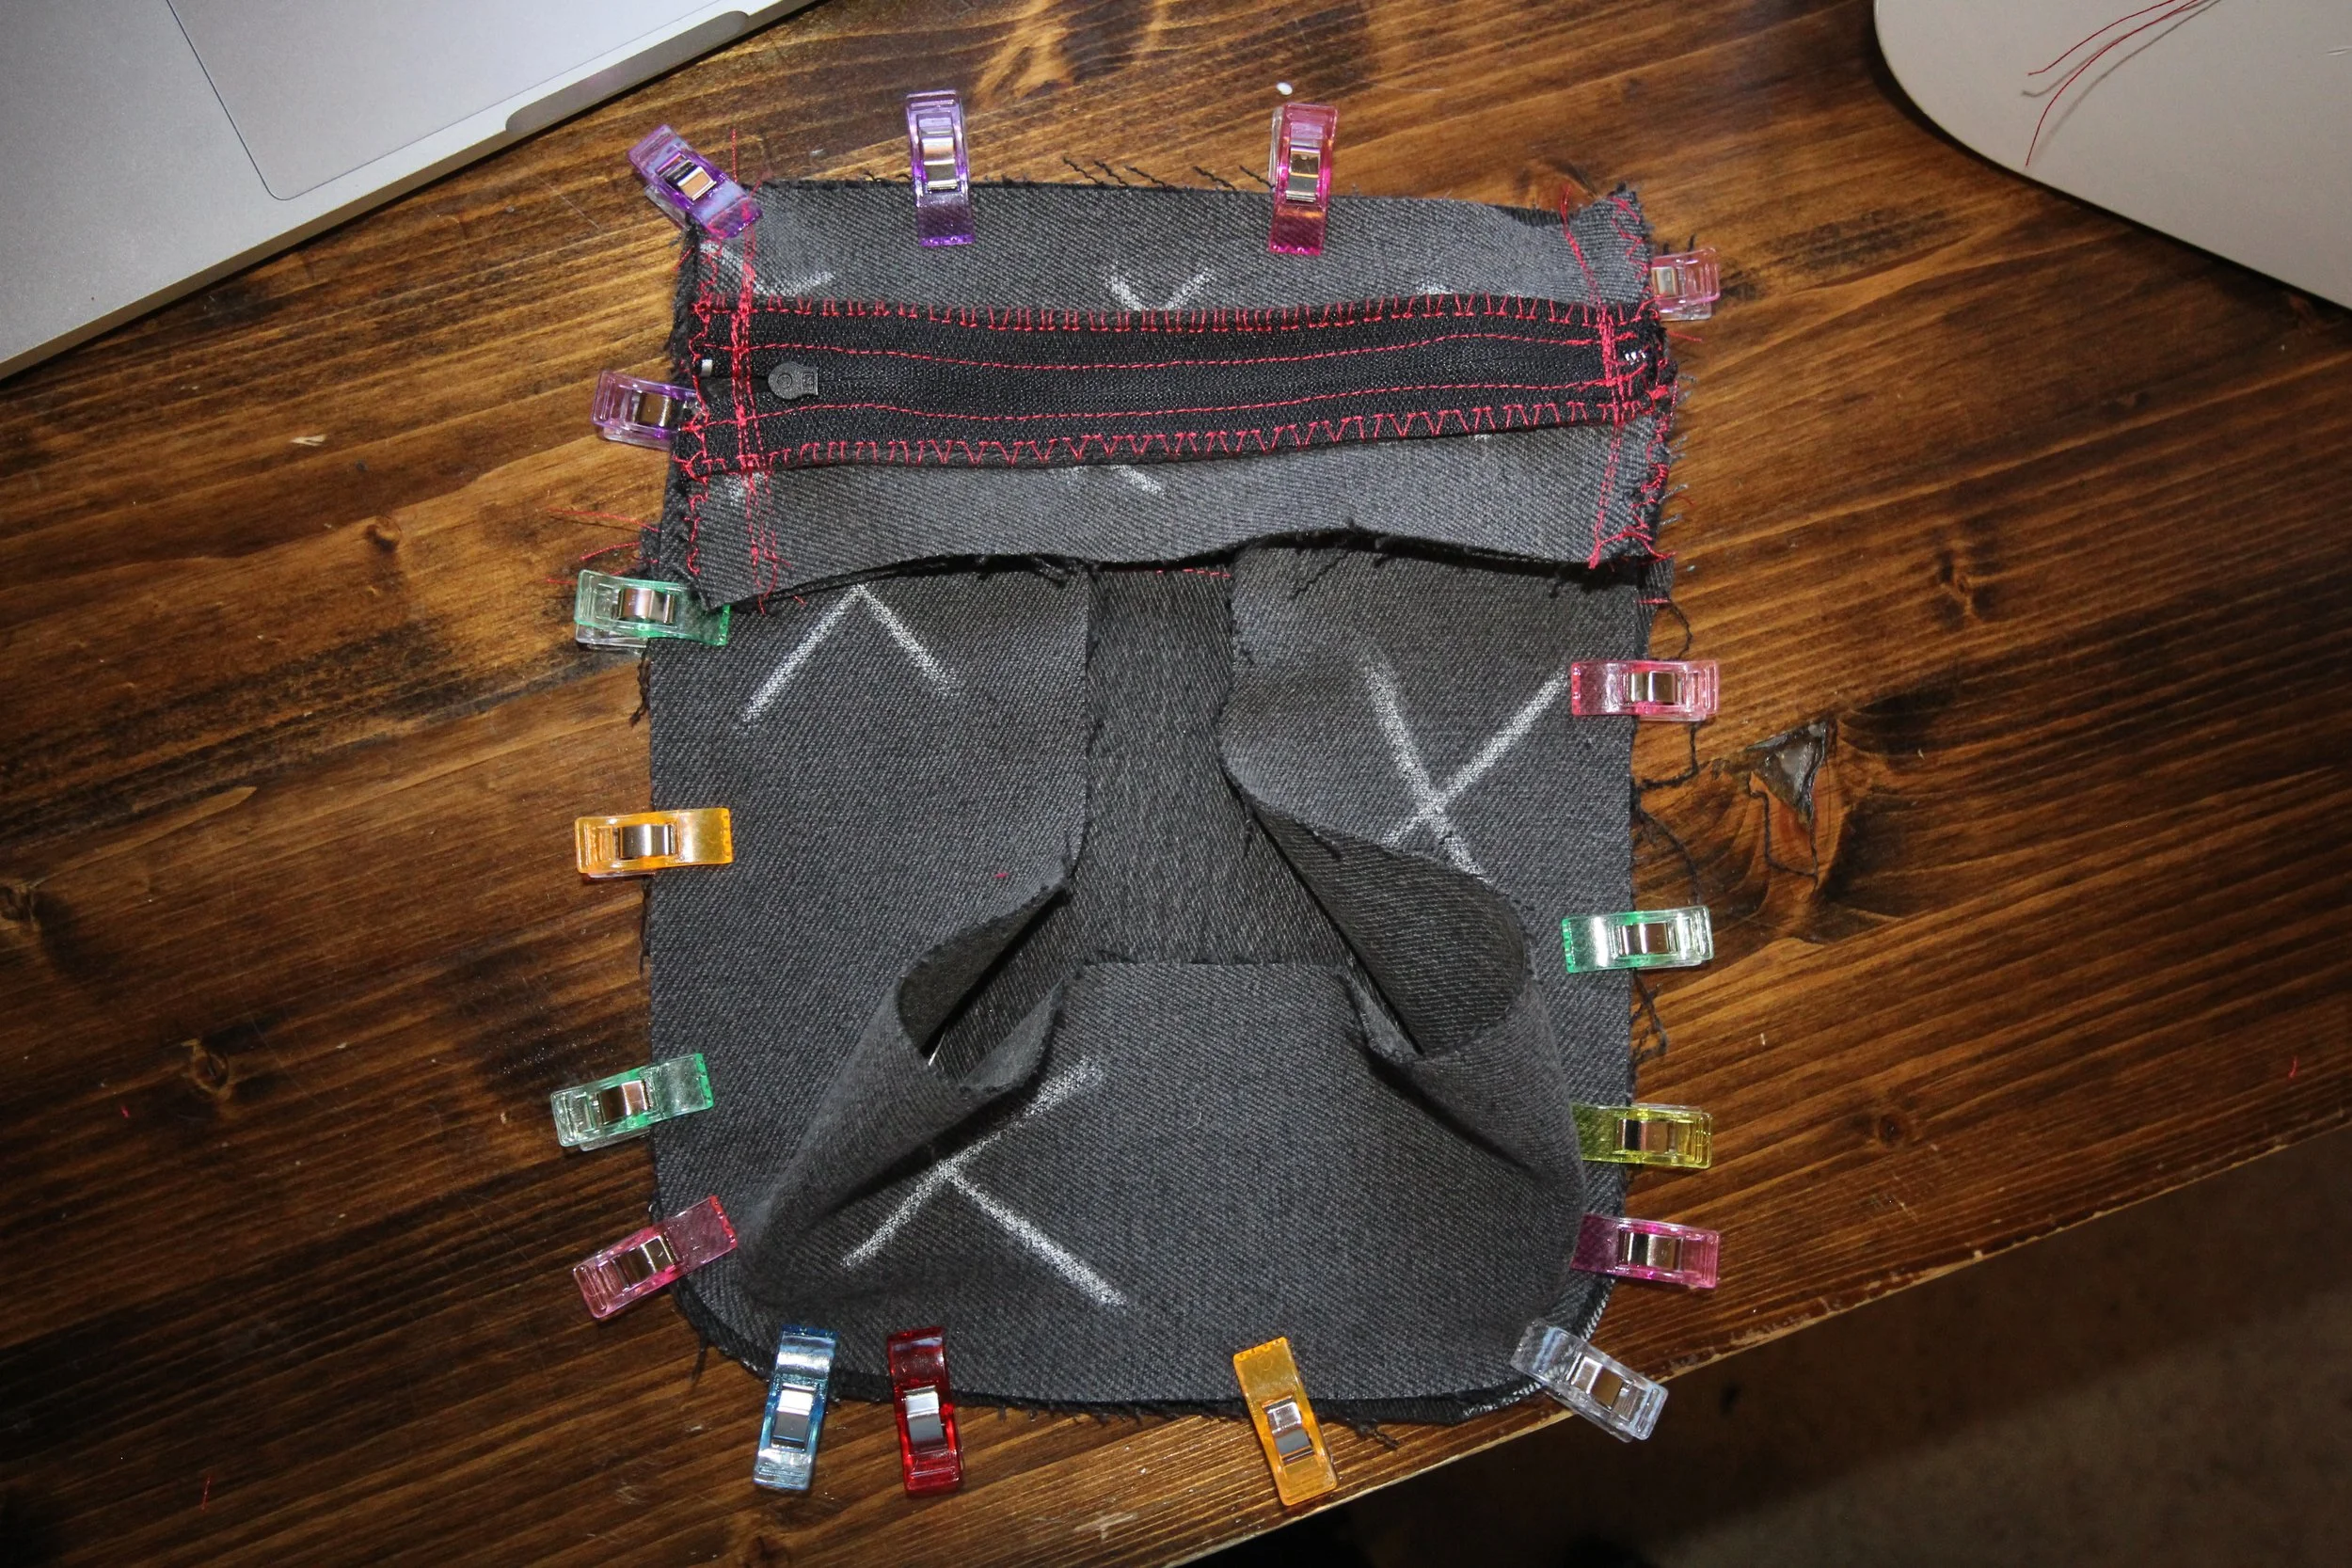
Step 6: Preparing the Zipper Panel
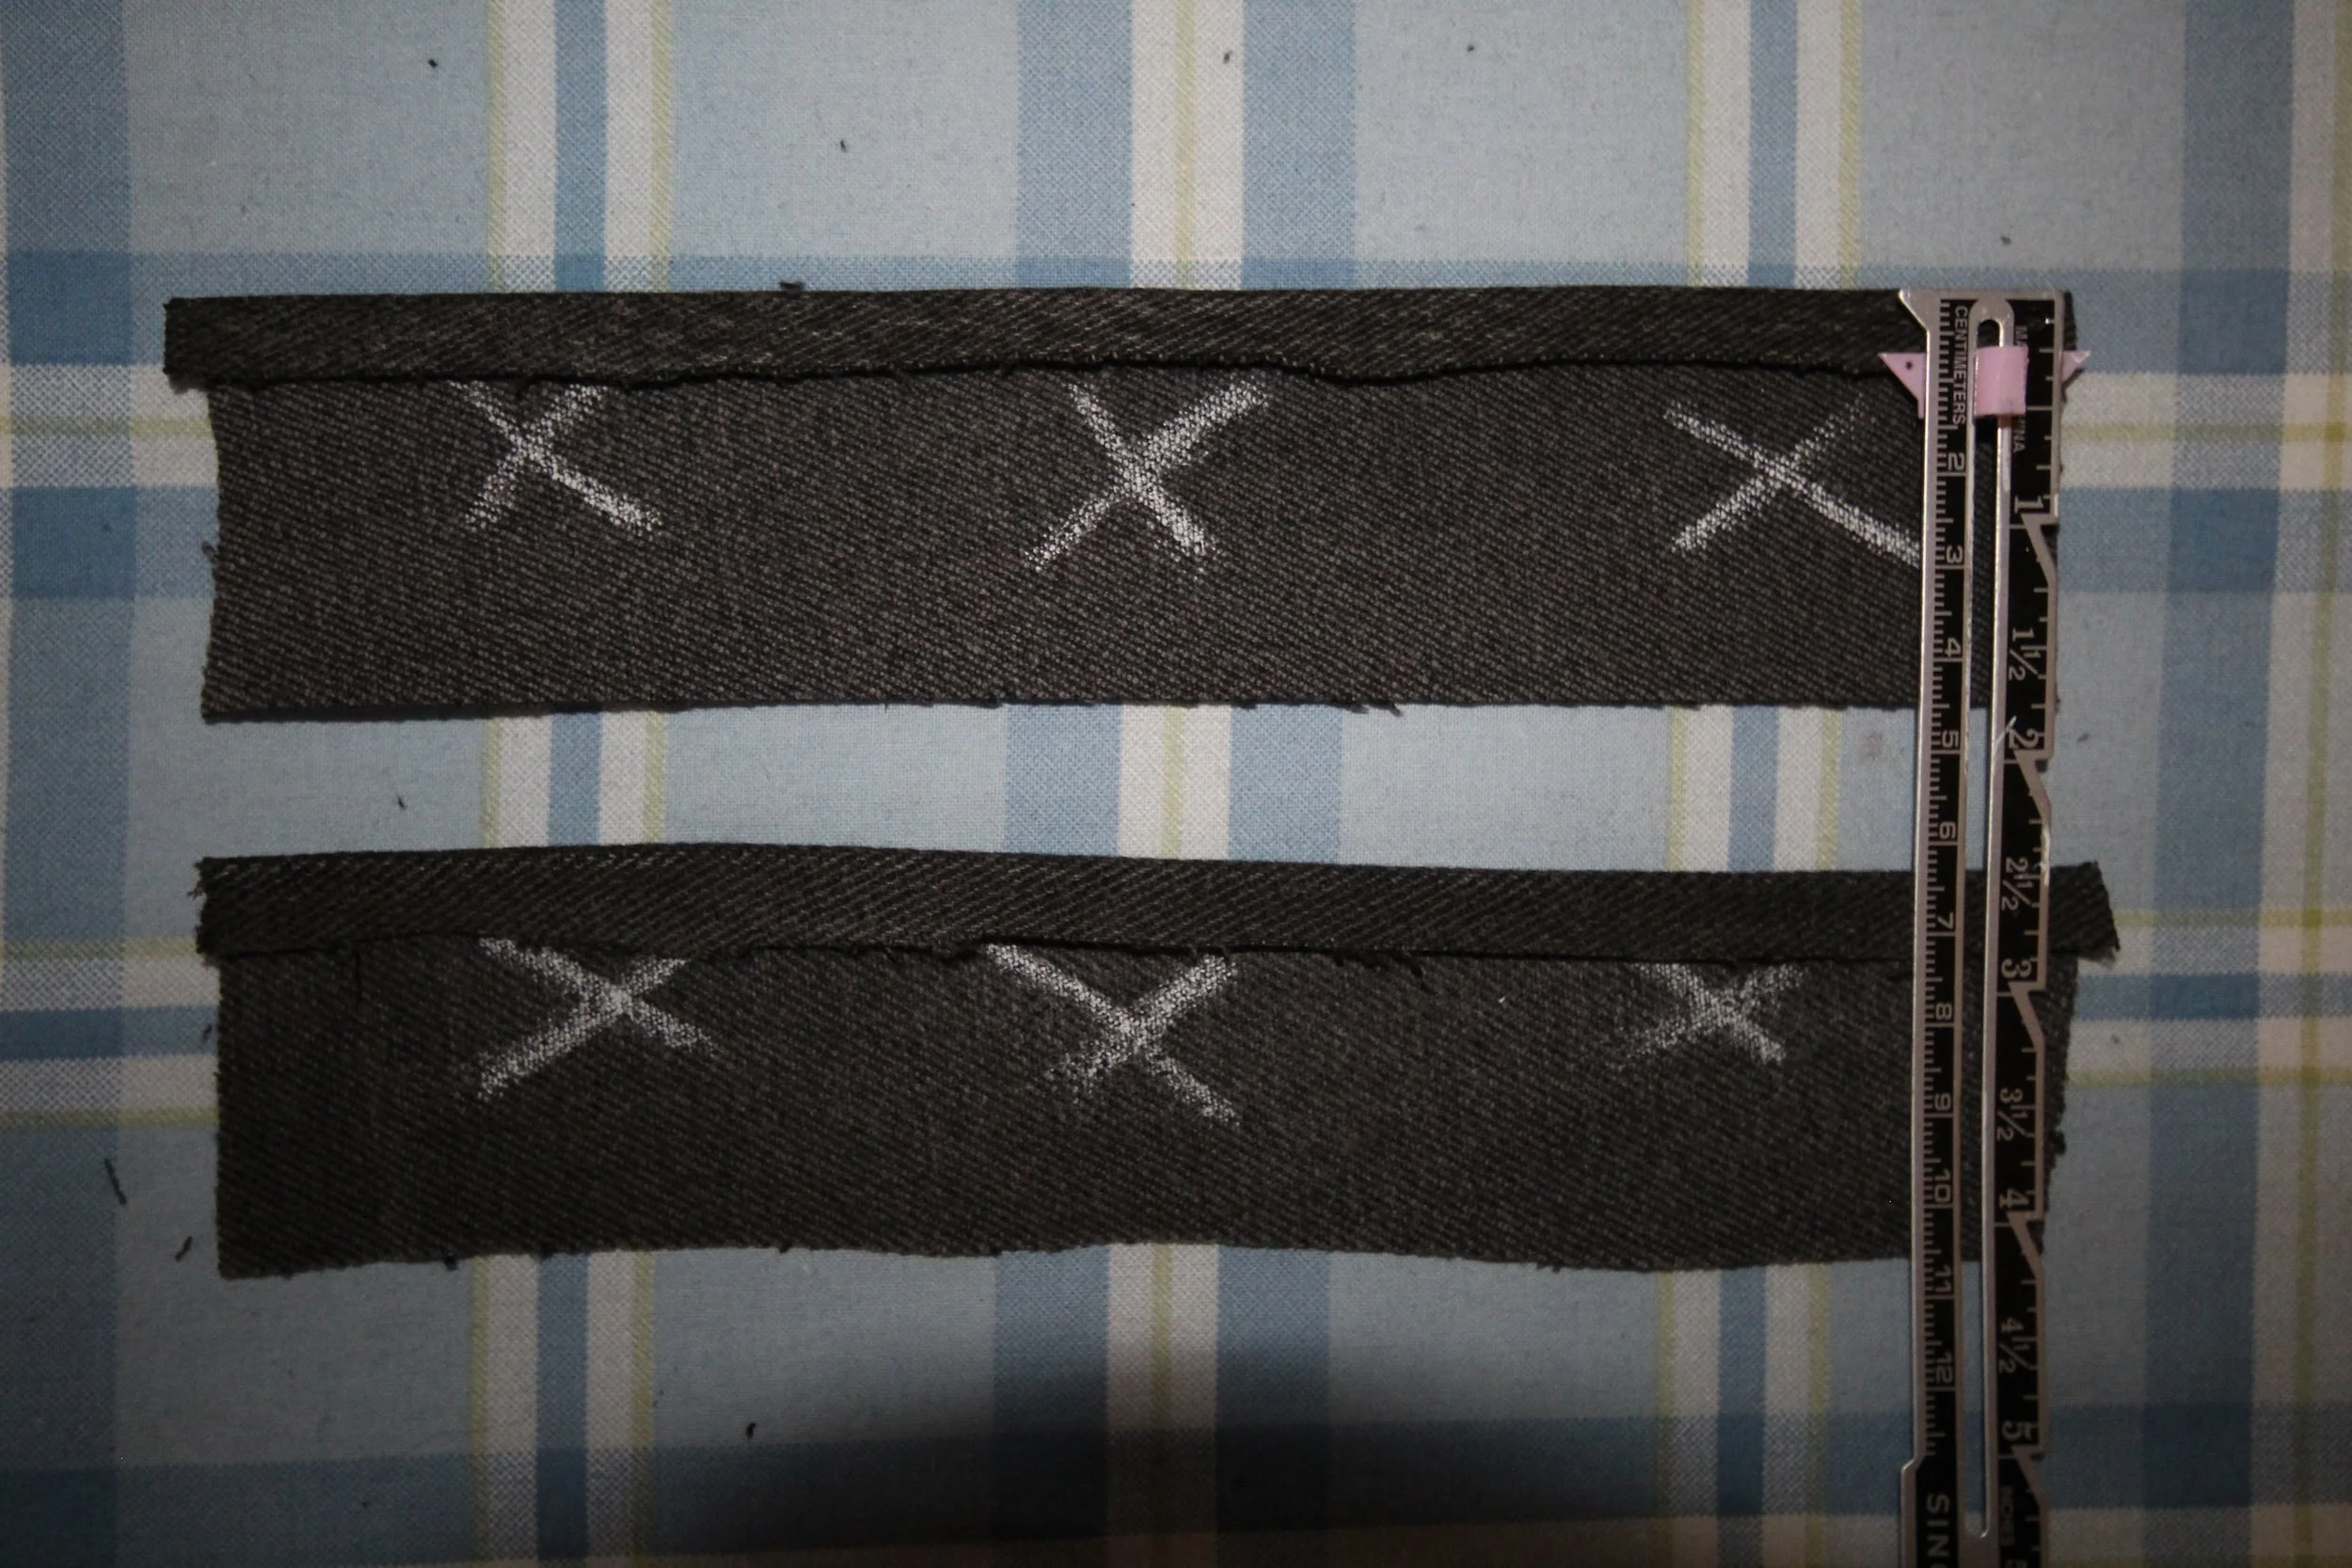
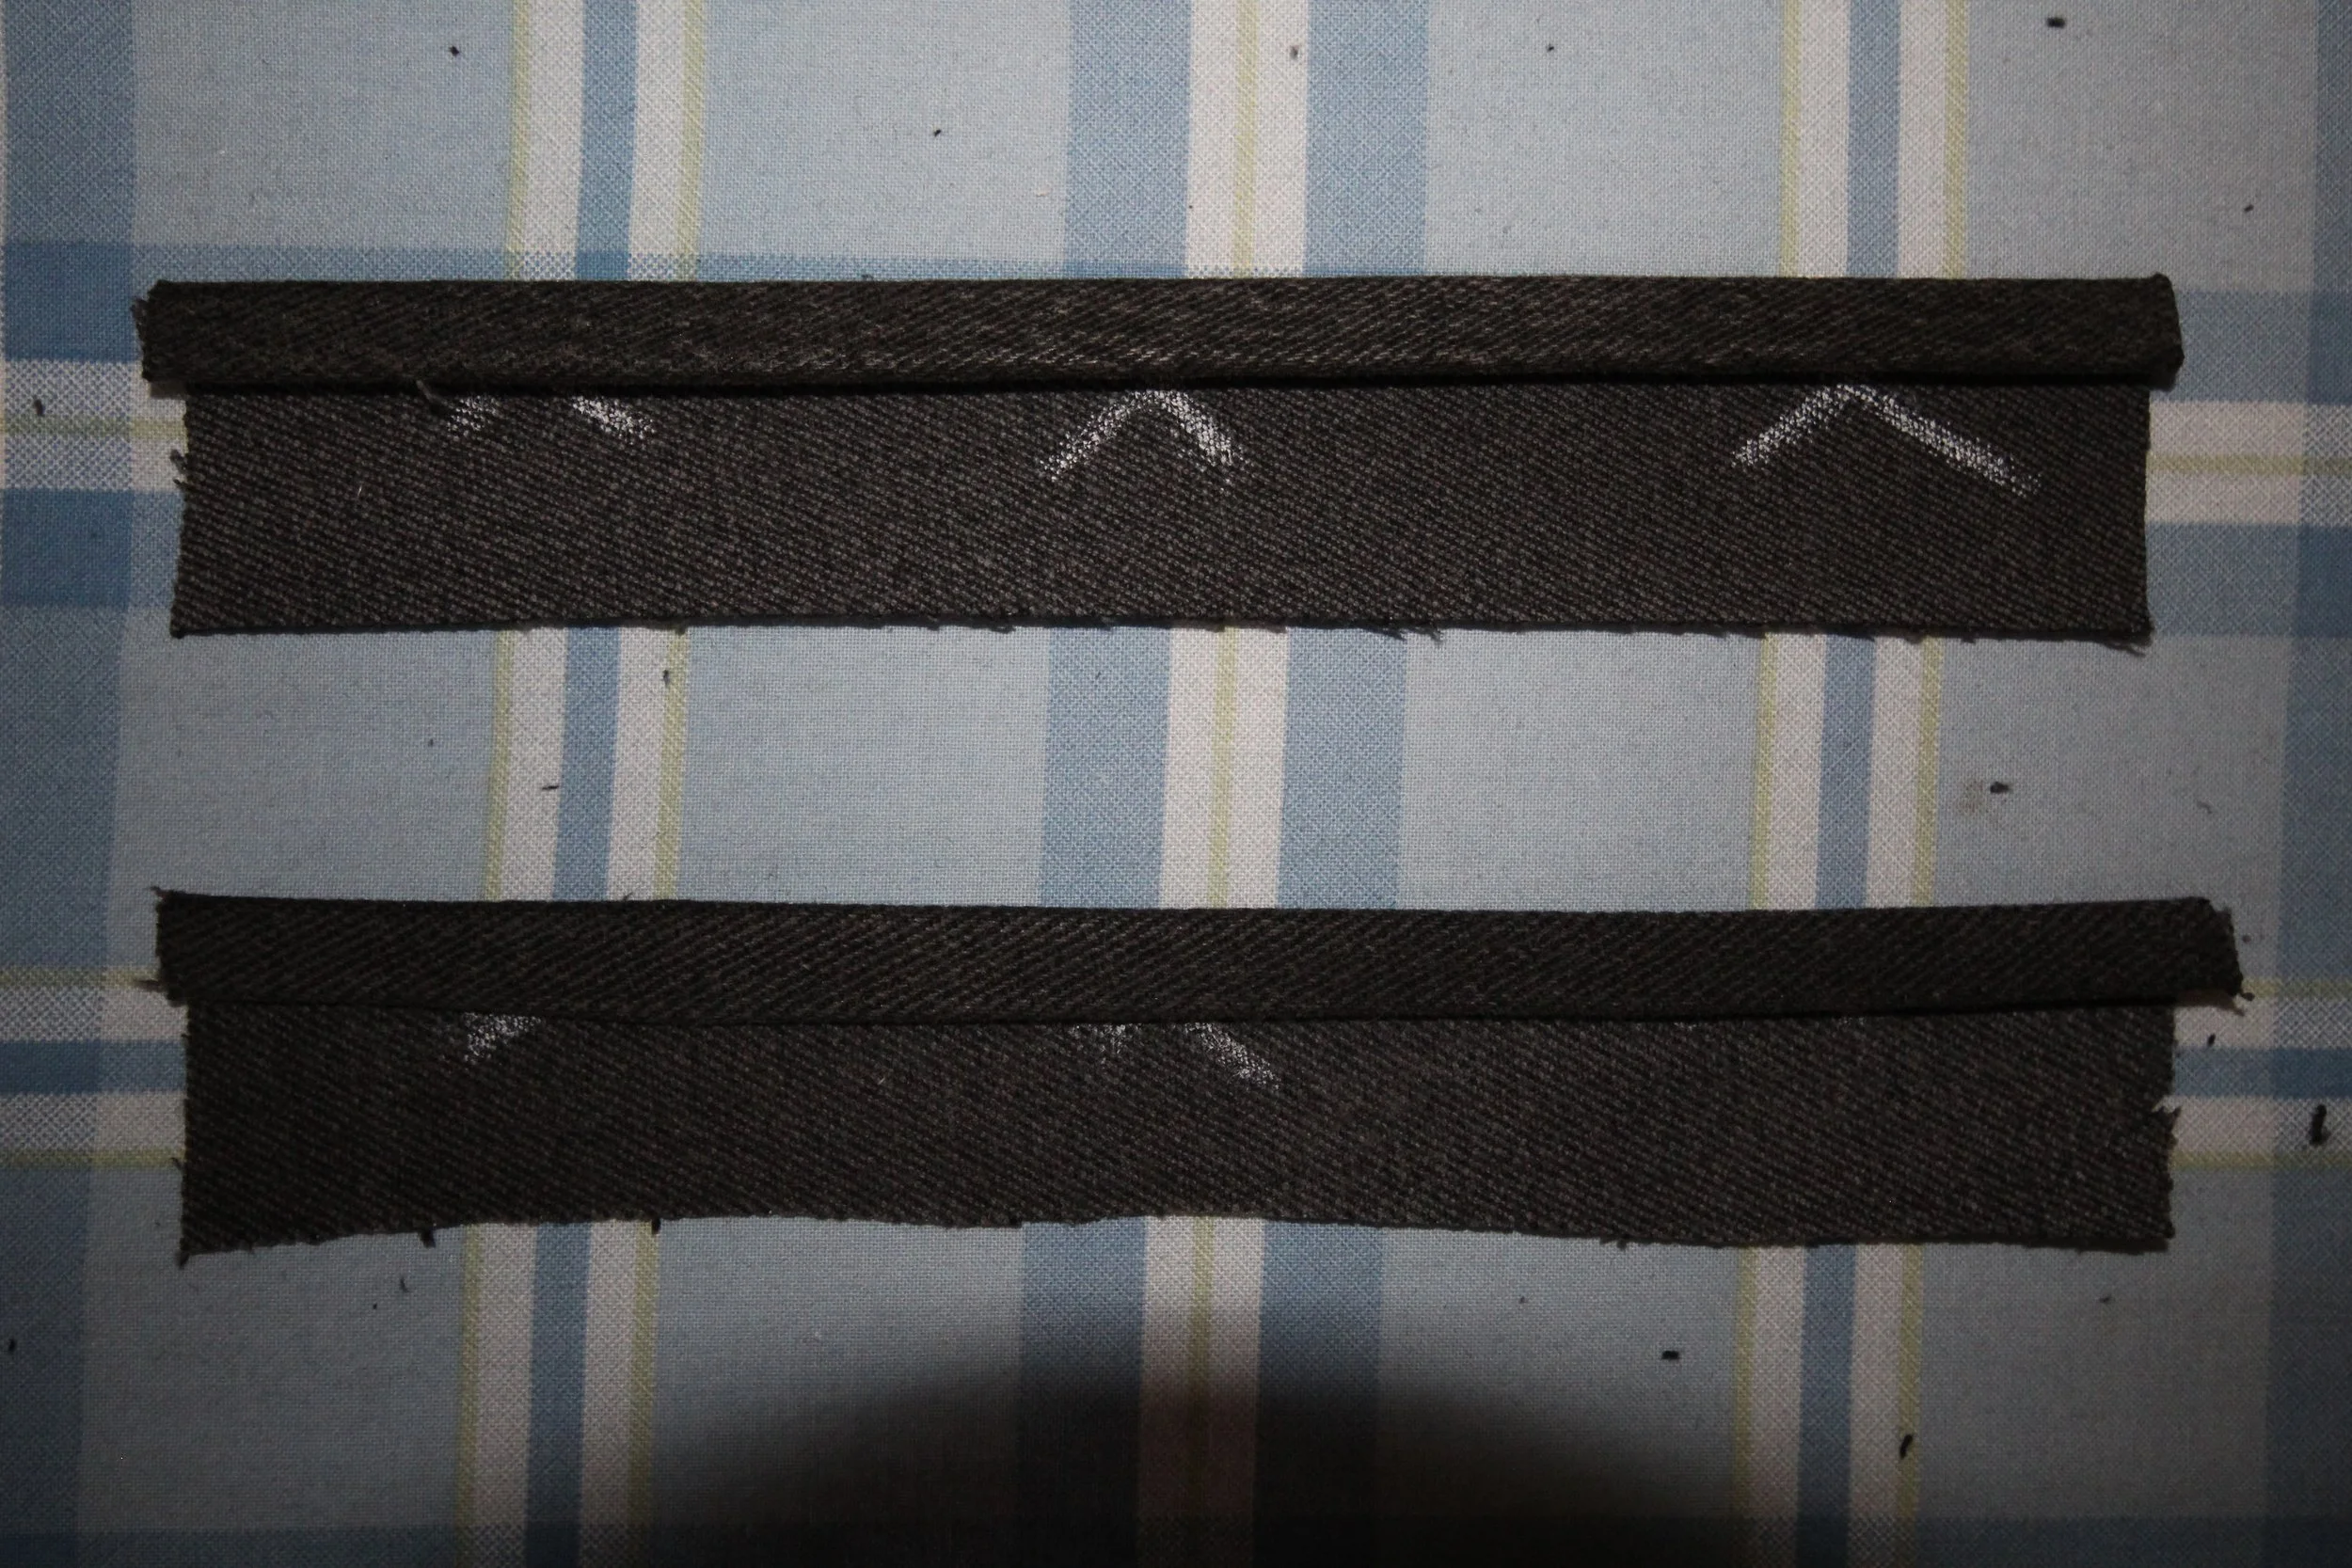
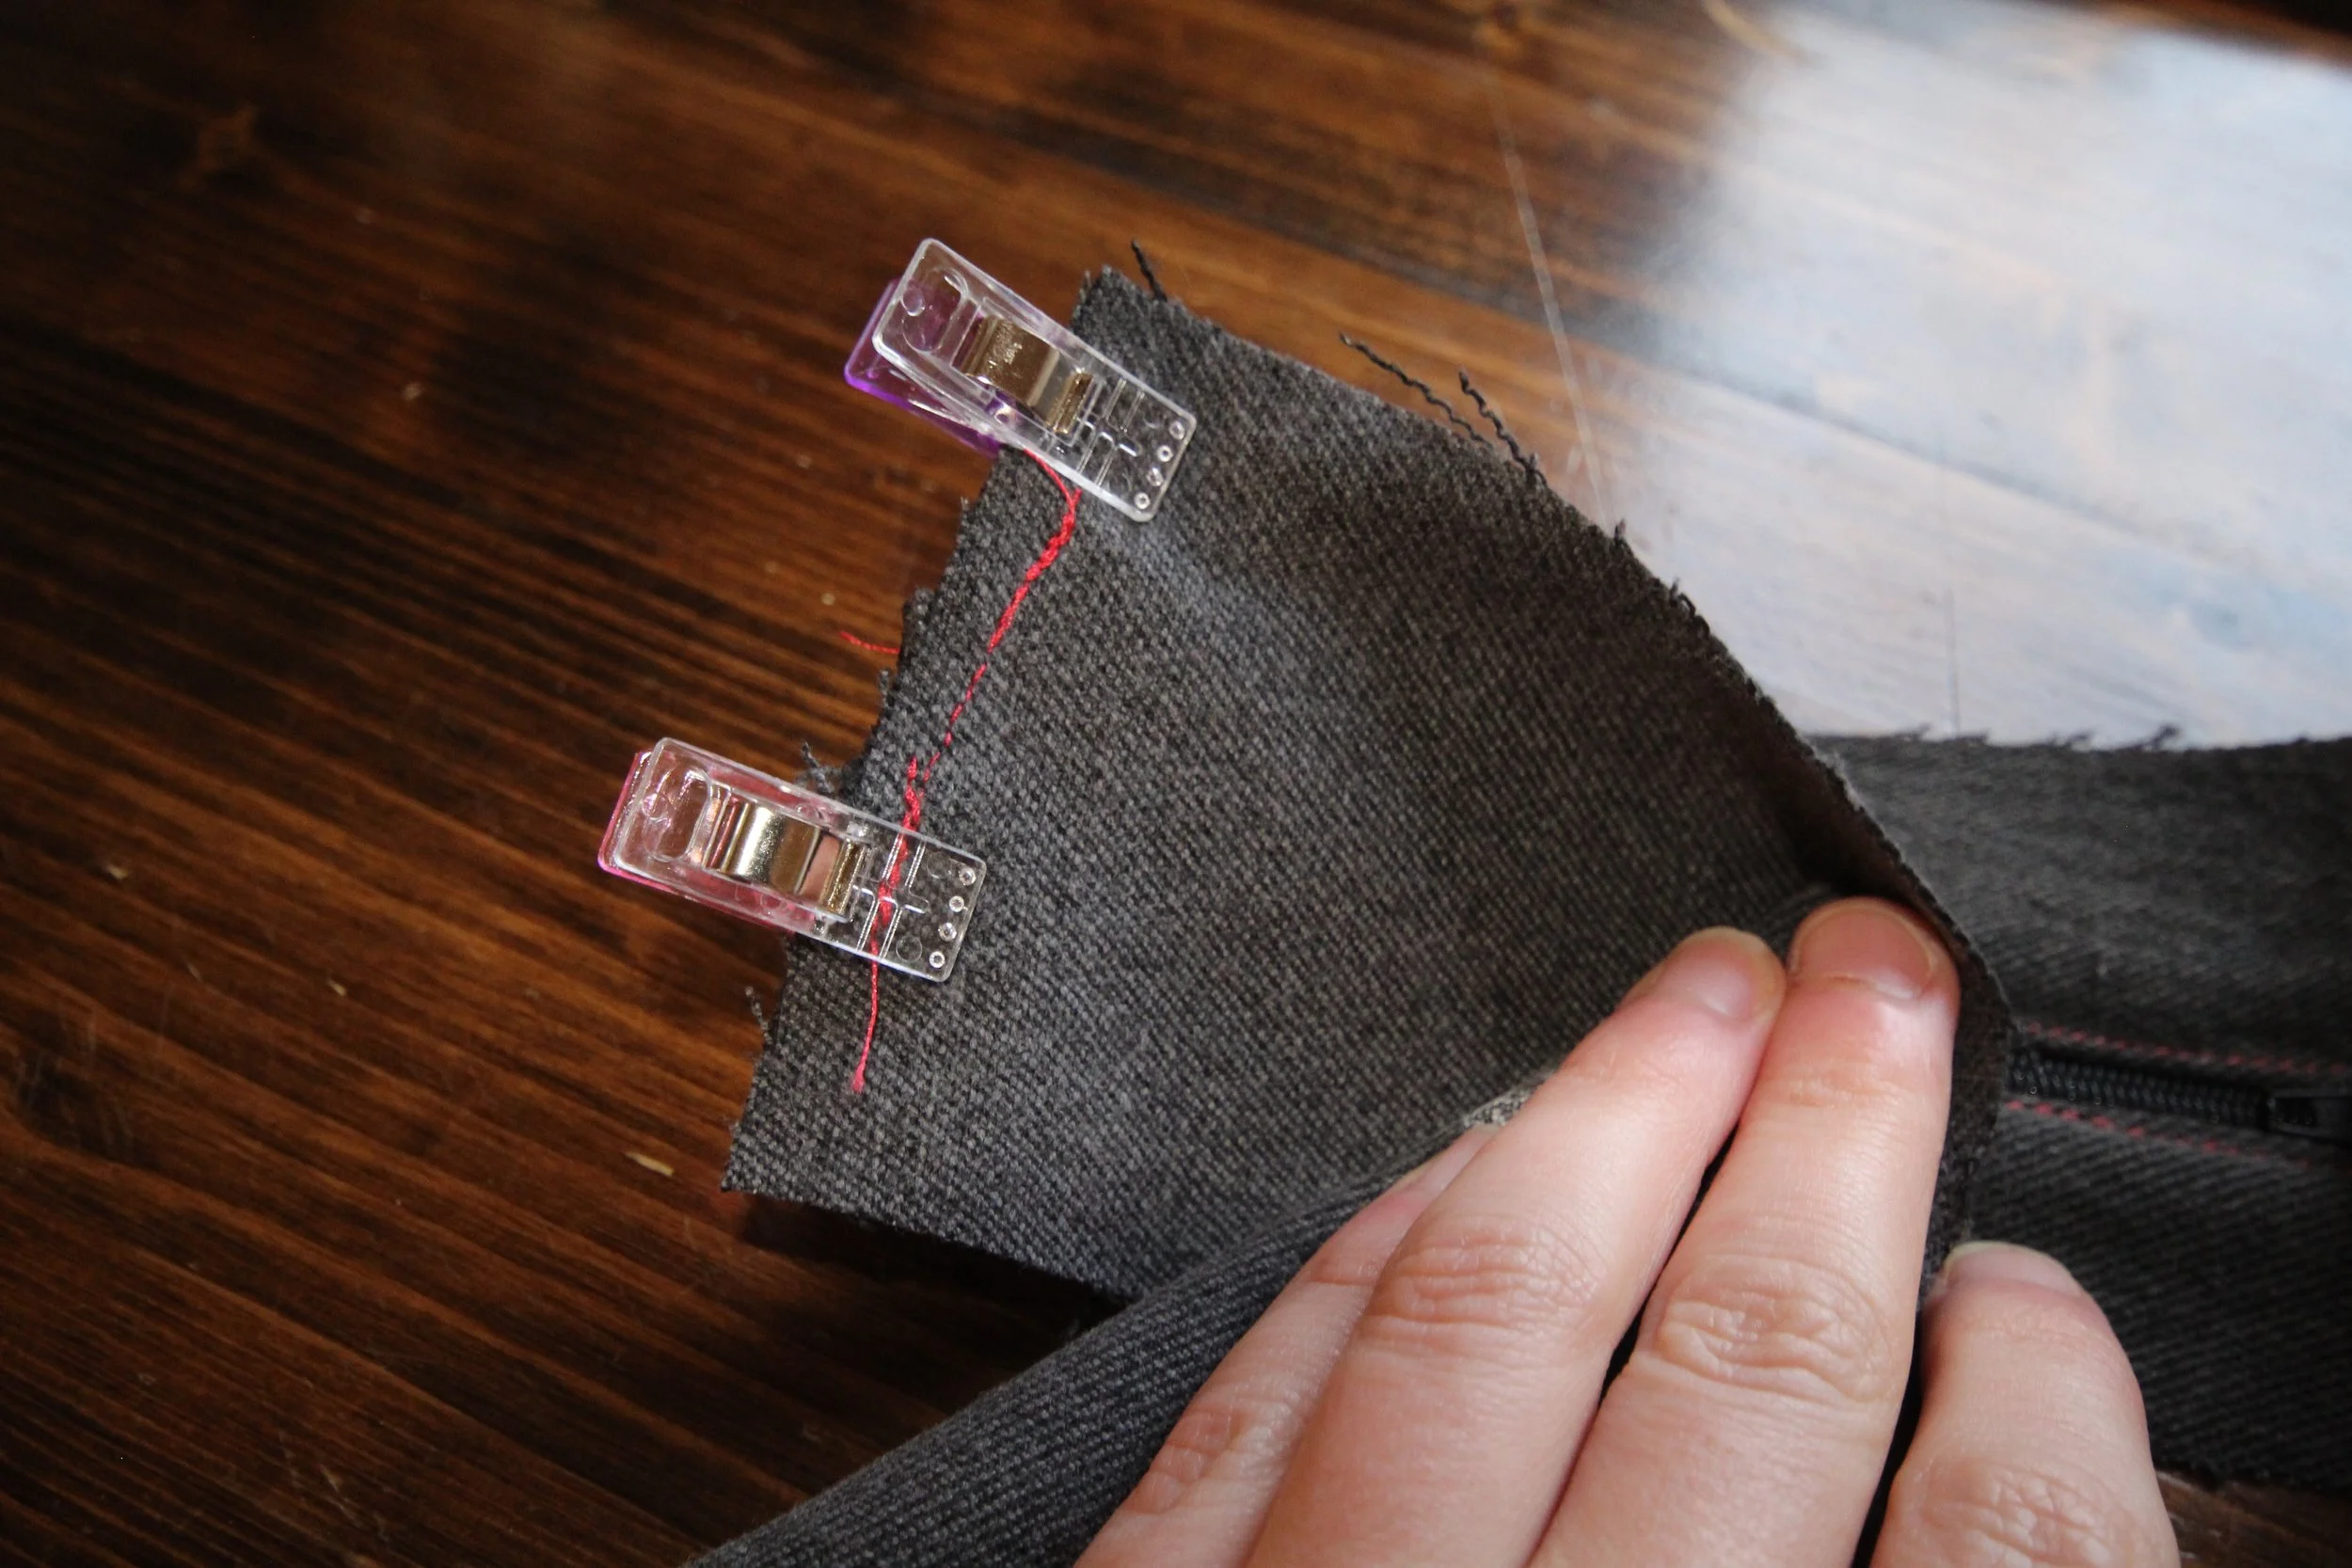
1. With the wrong side facing up, fold up one of the 7” edges on each zipper panel by ¼ inch and press with an iron
2. Fold up another ¼ inch for a total ½-inch hem and press again.
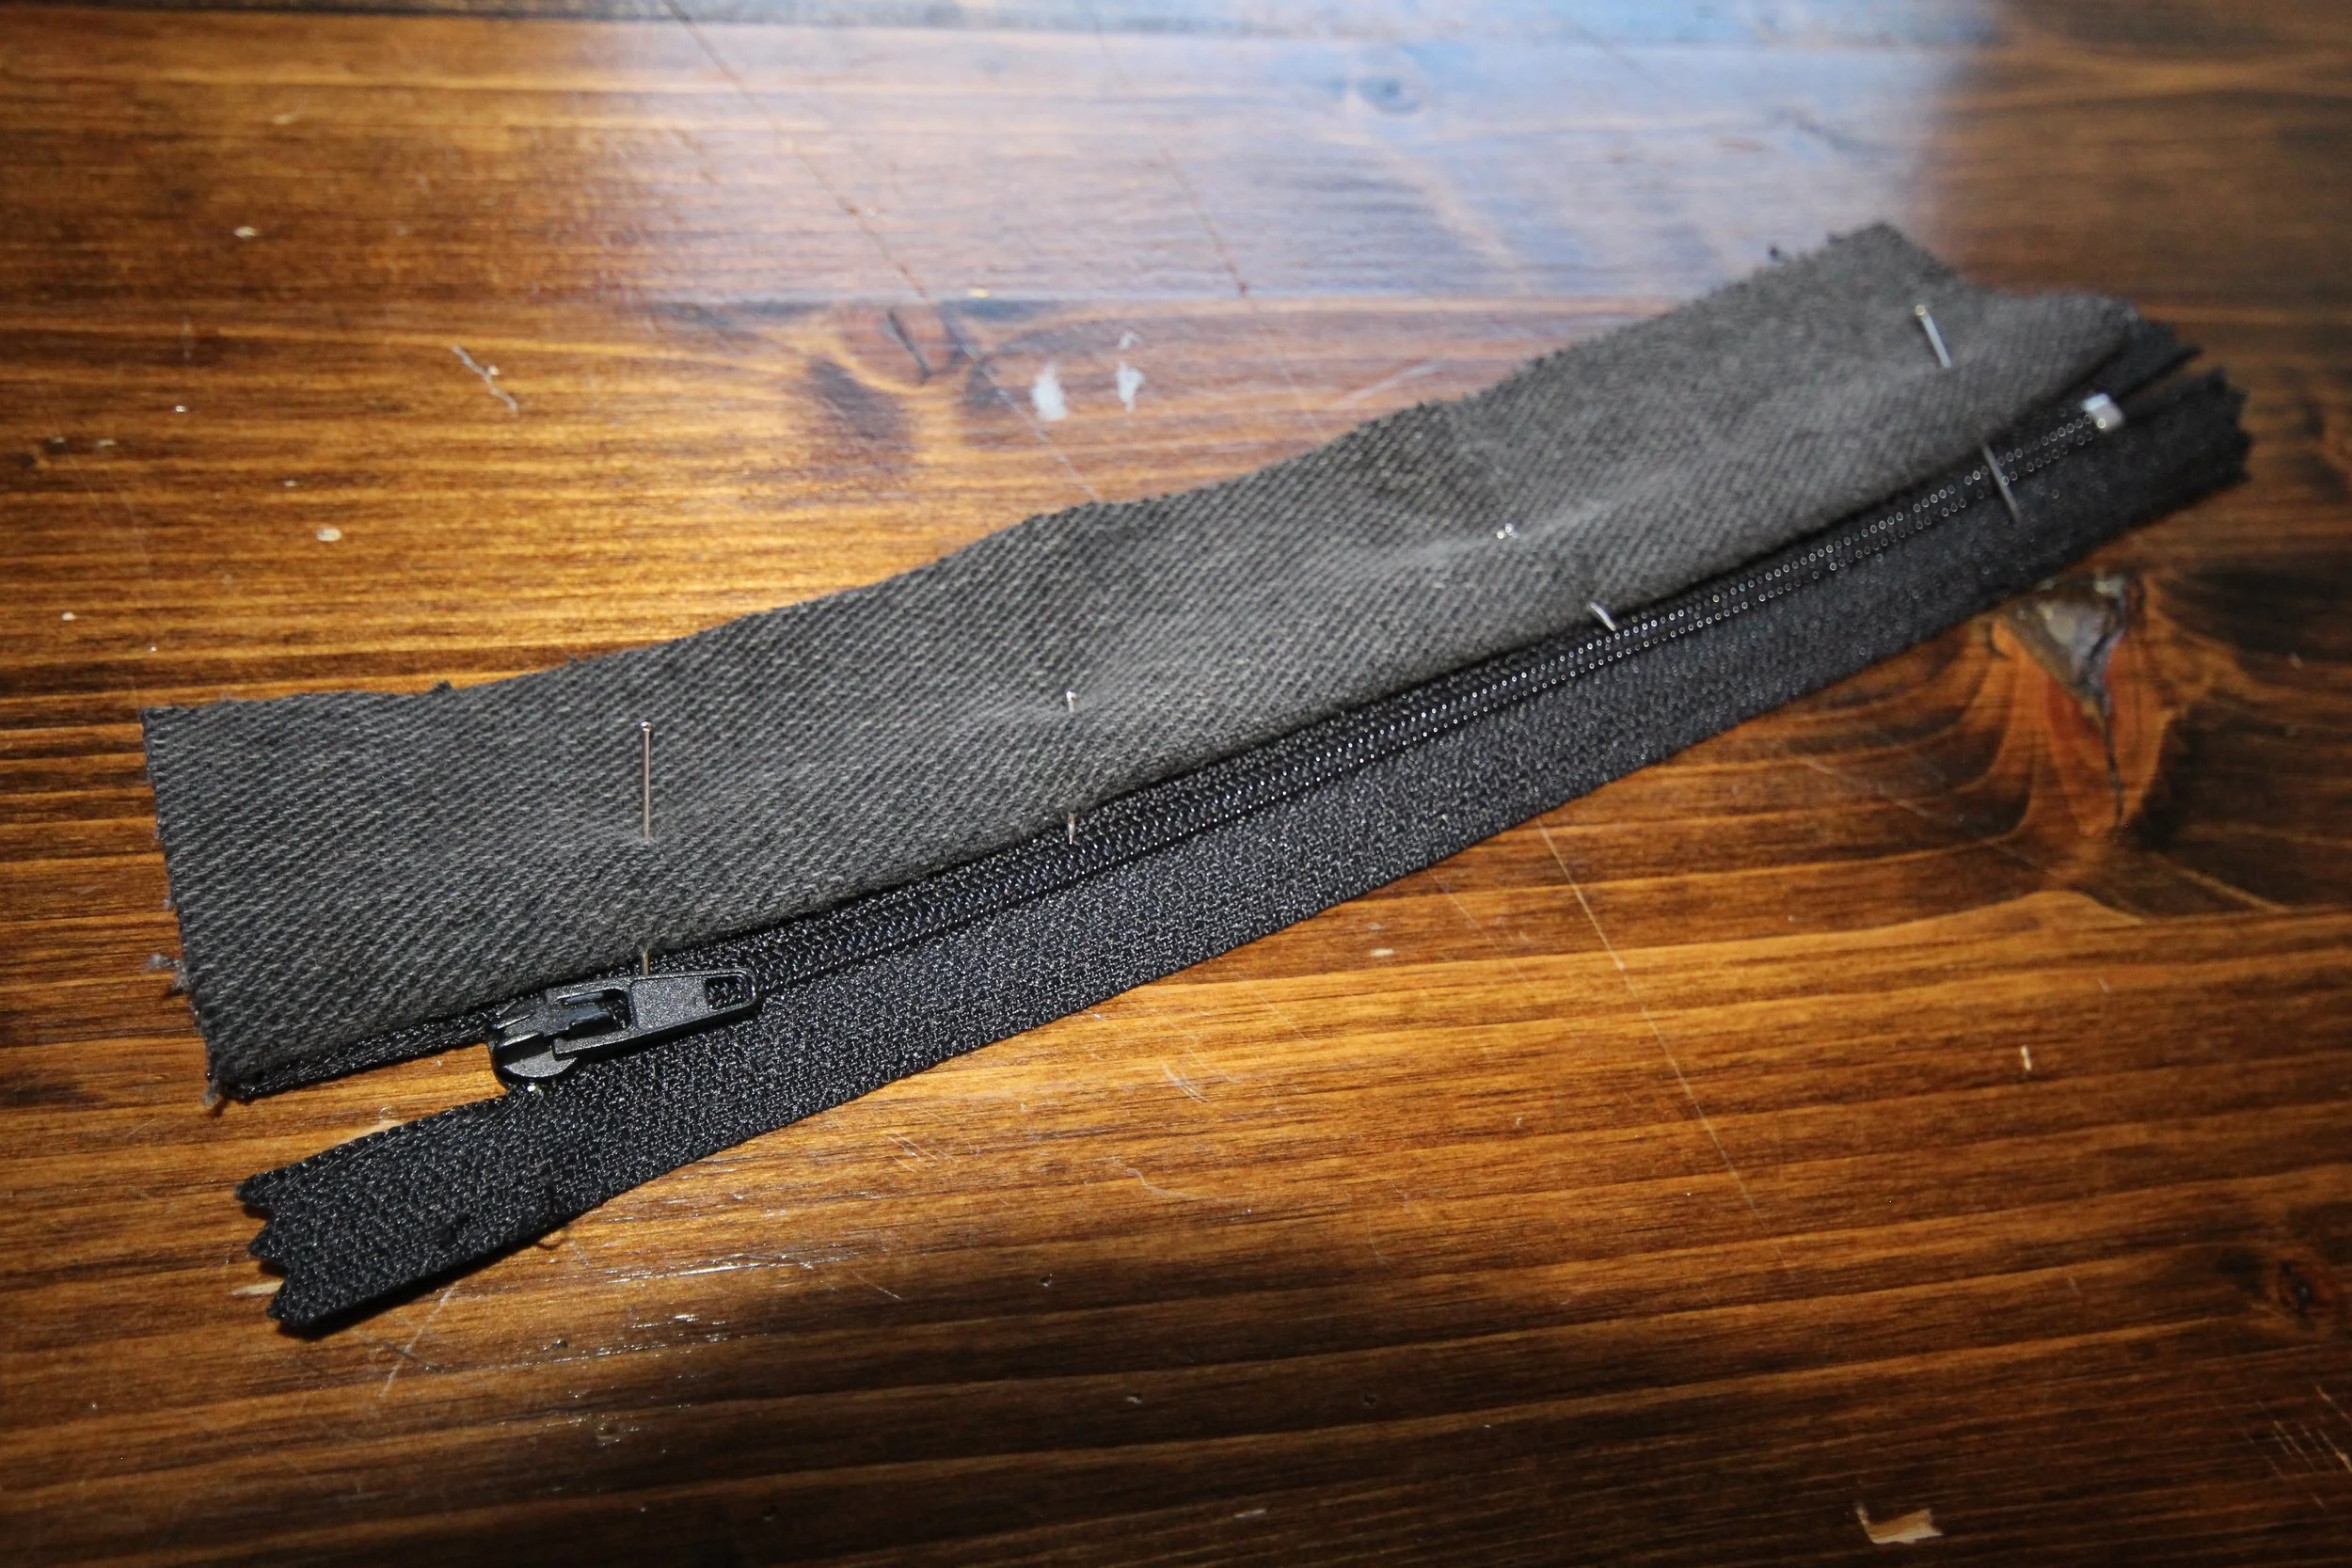
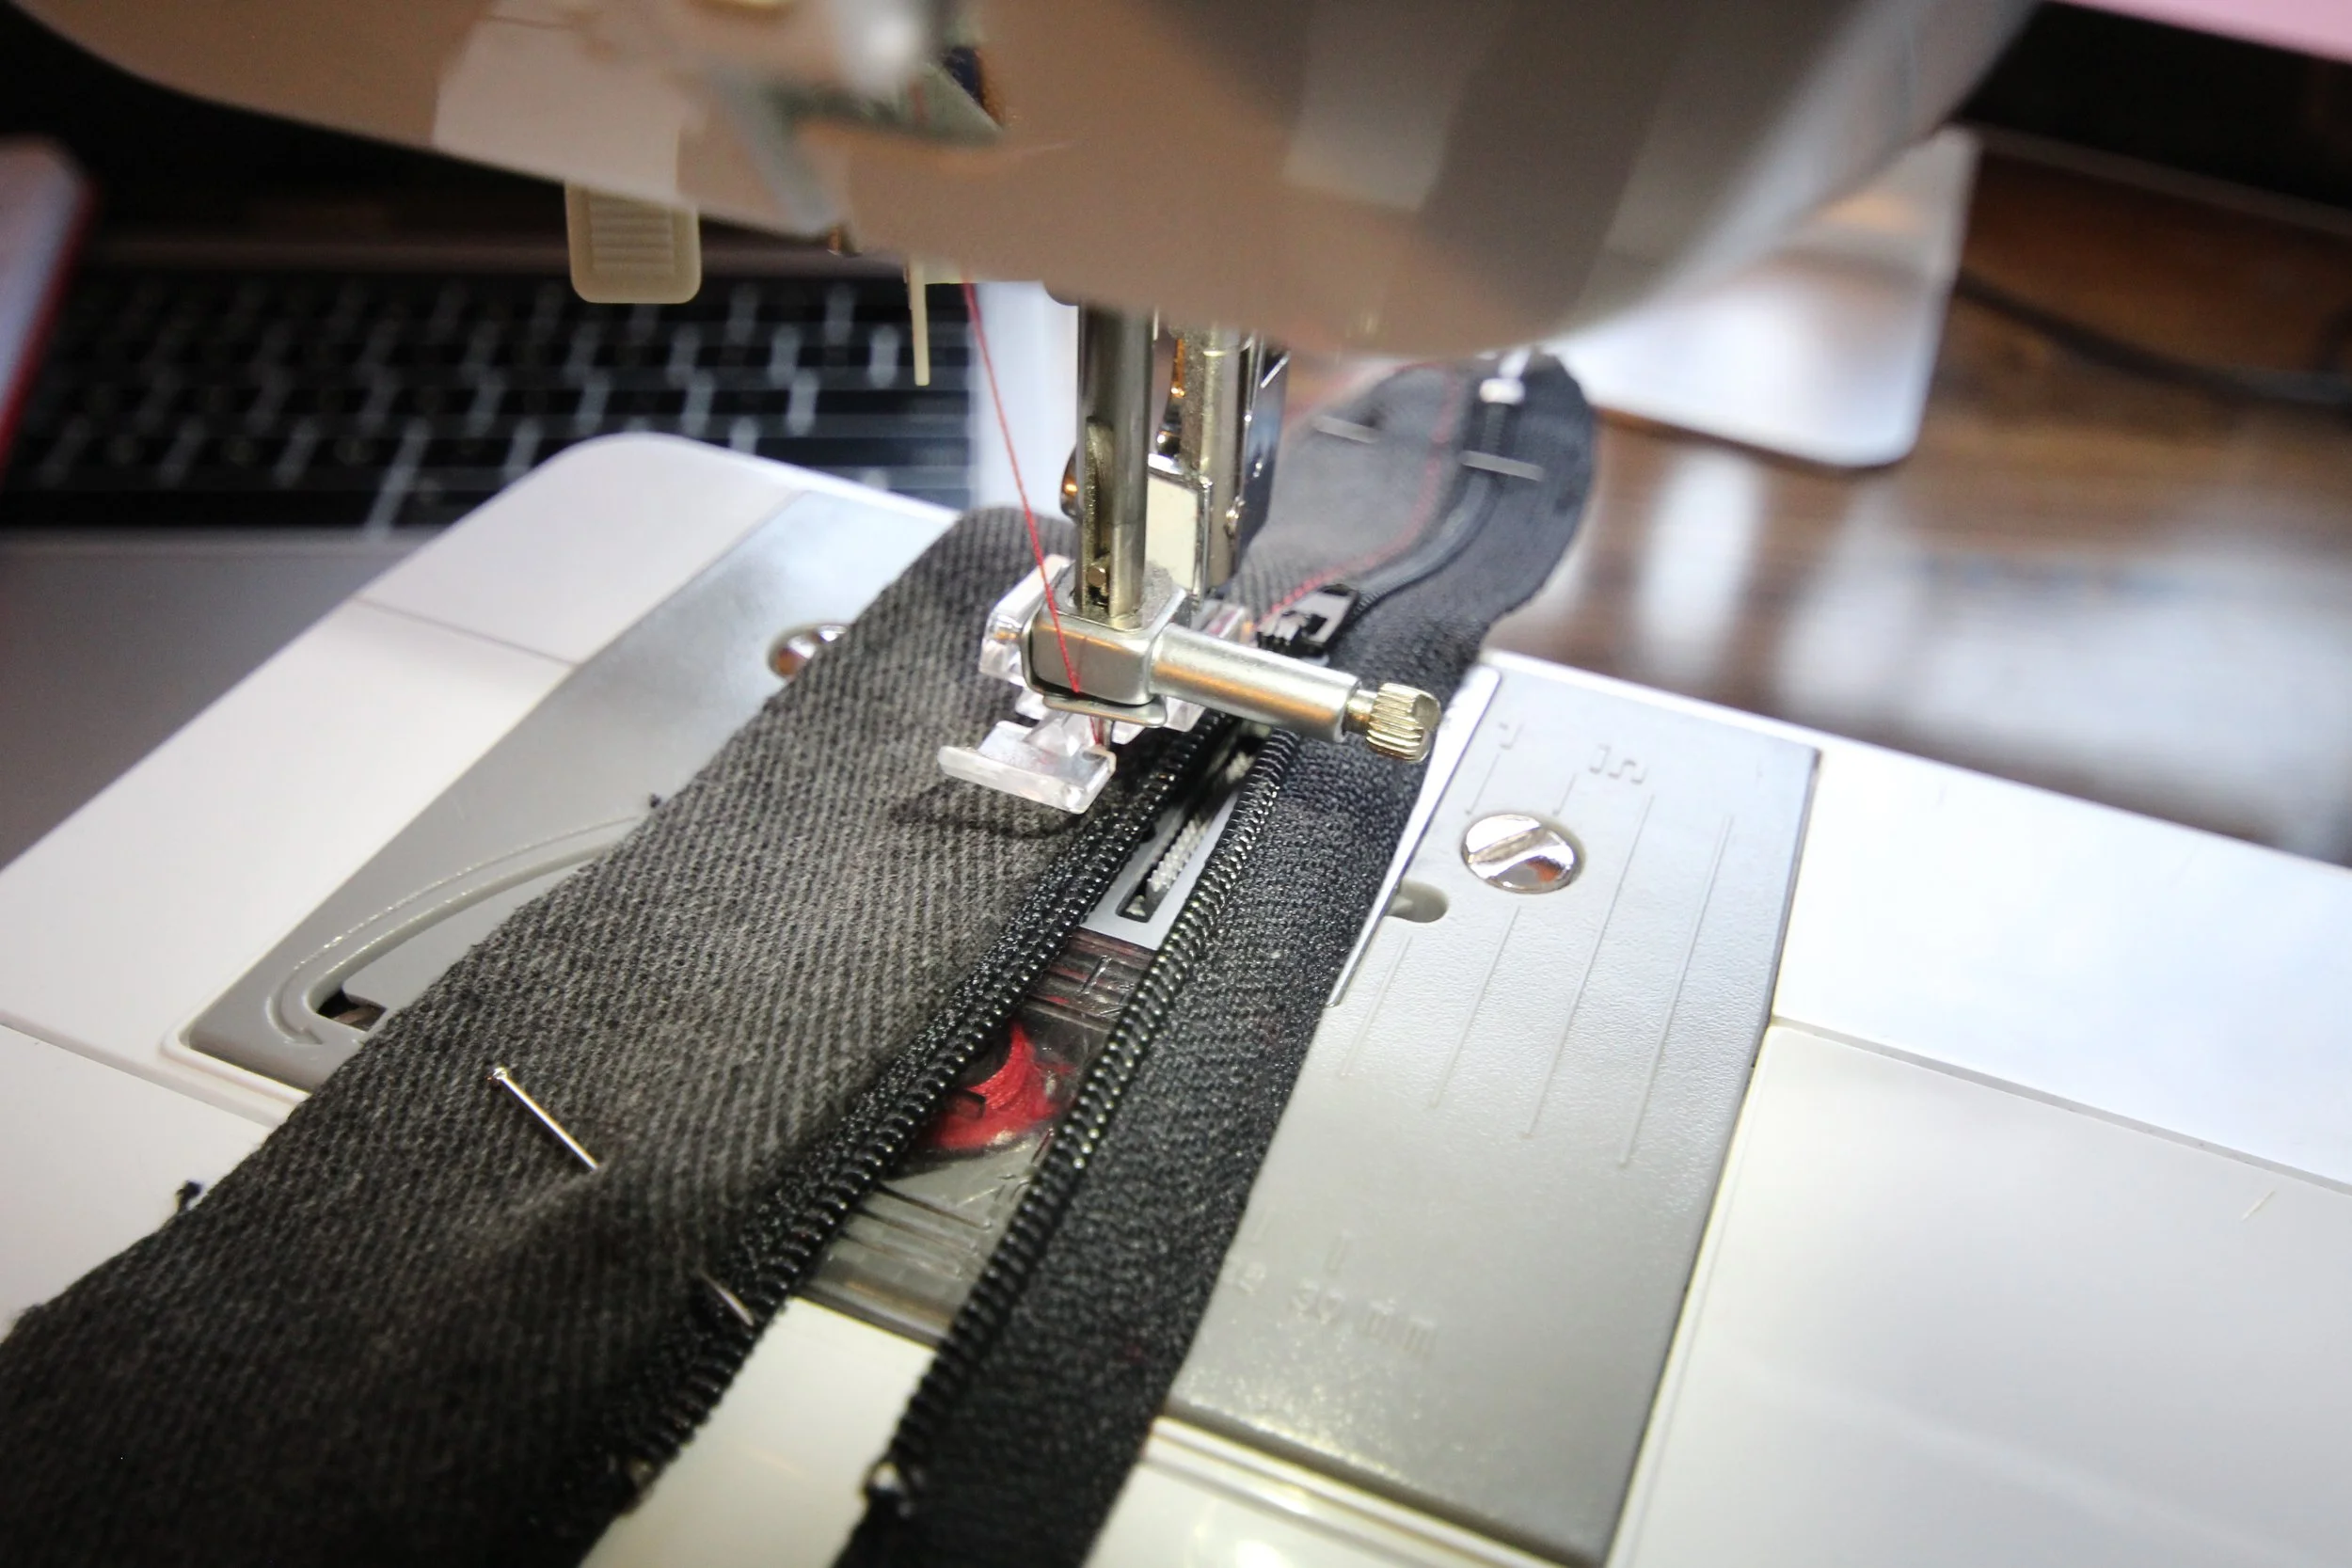
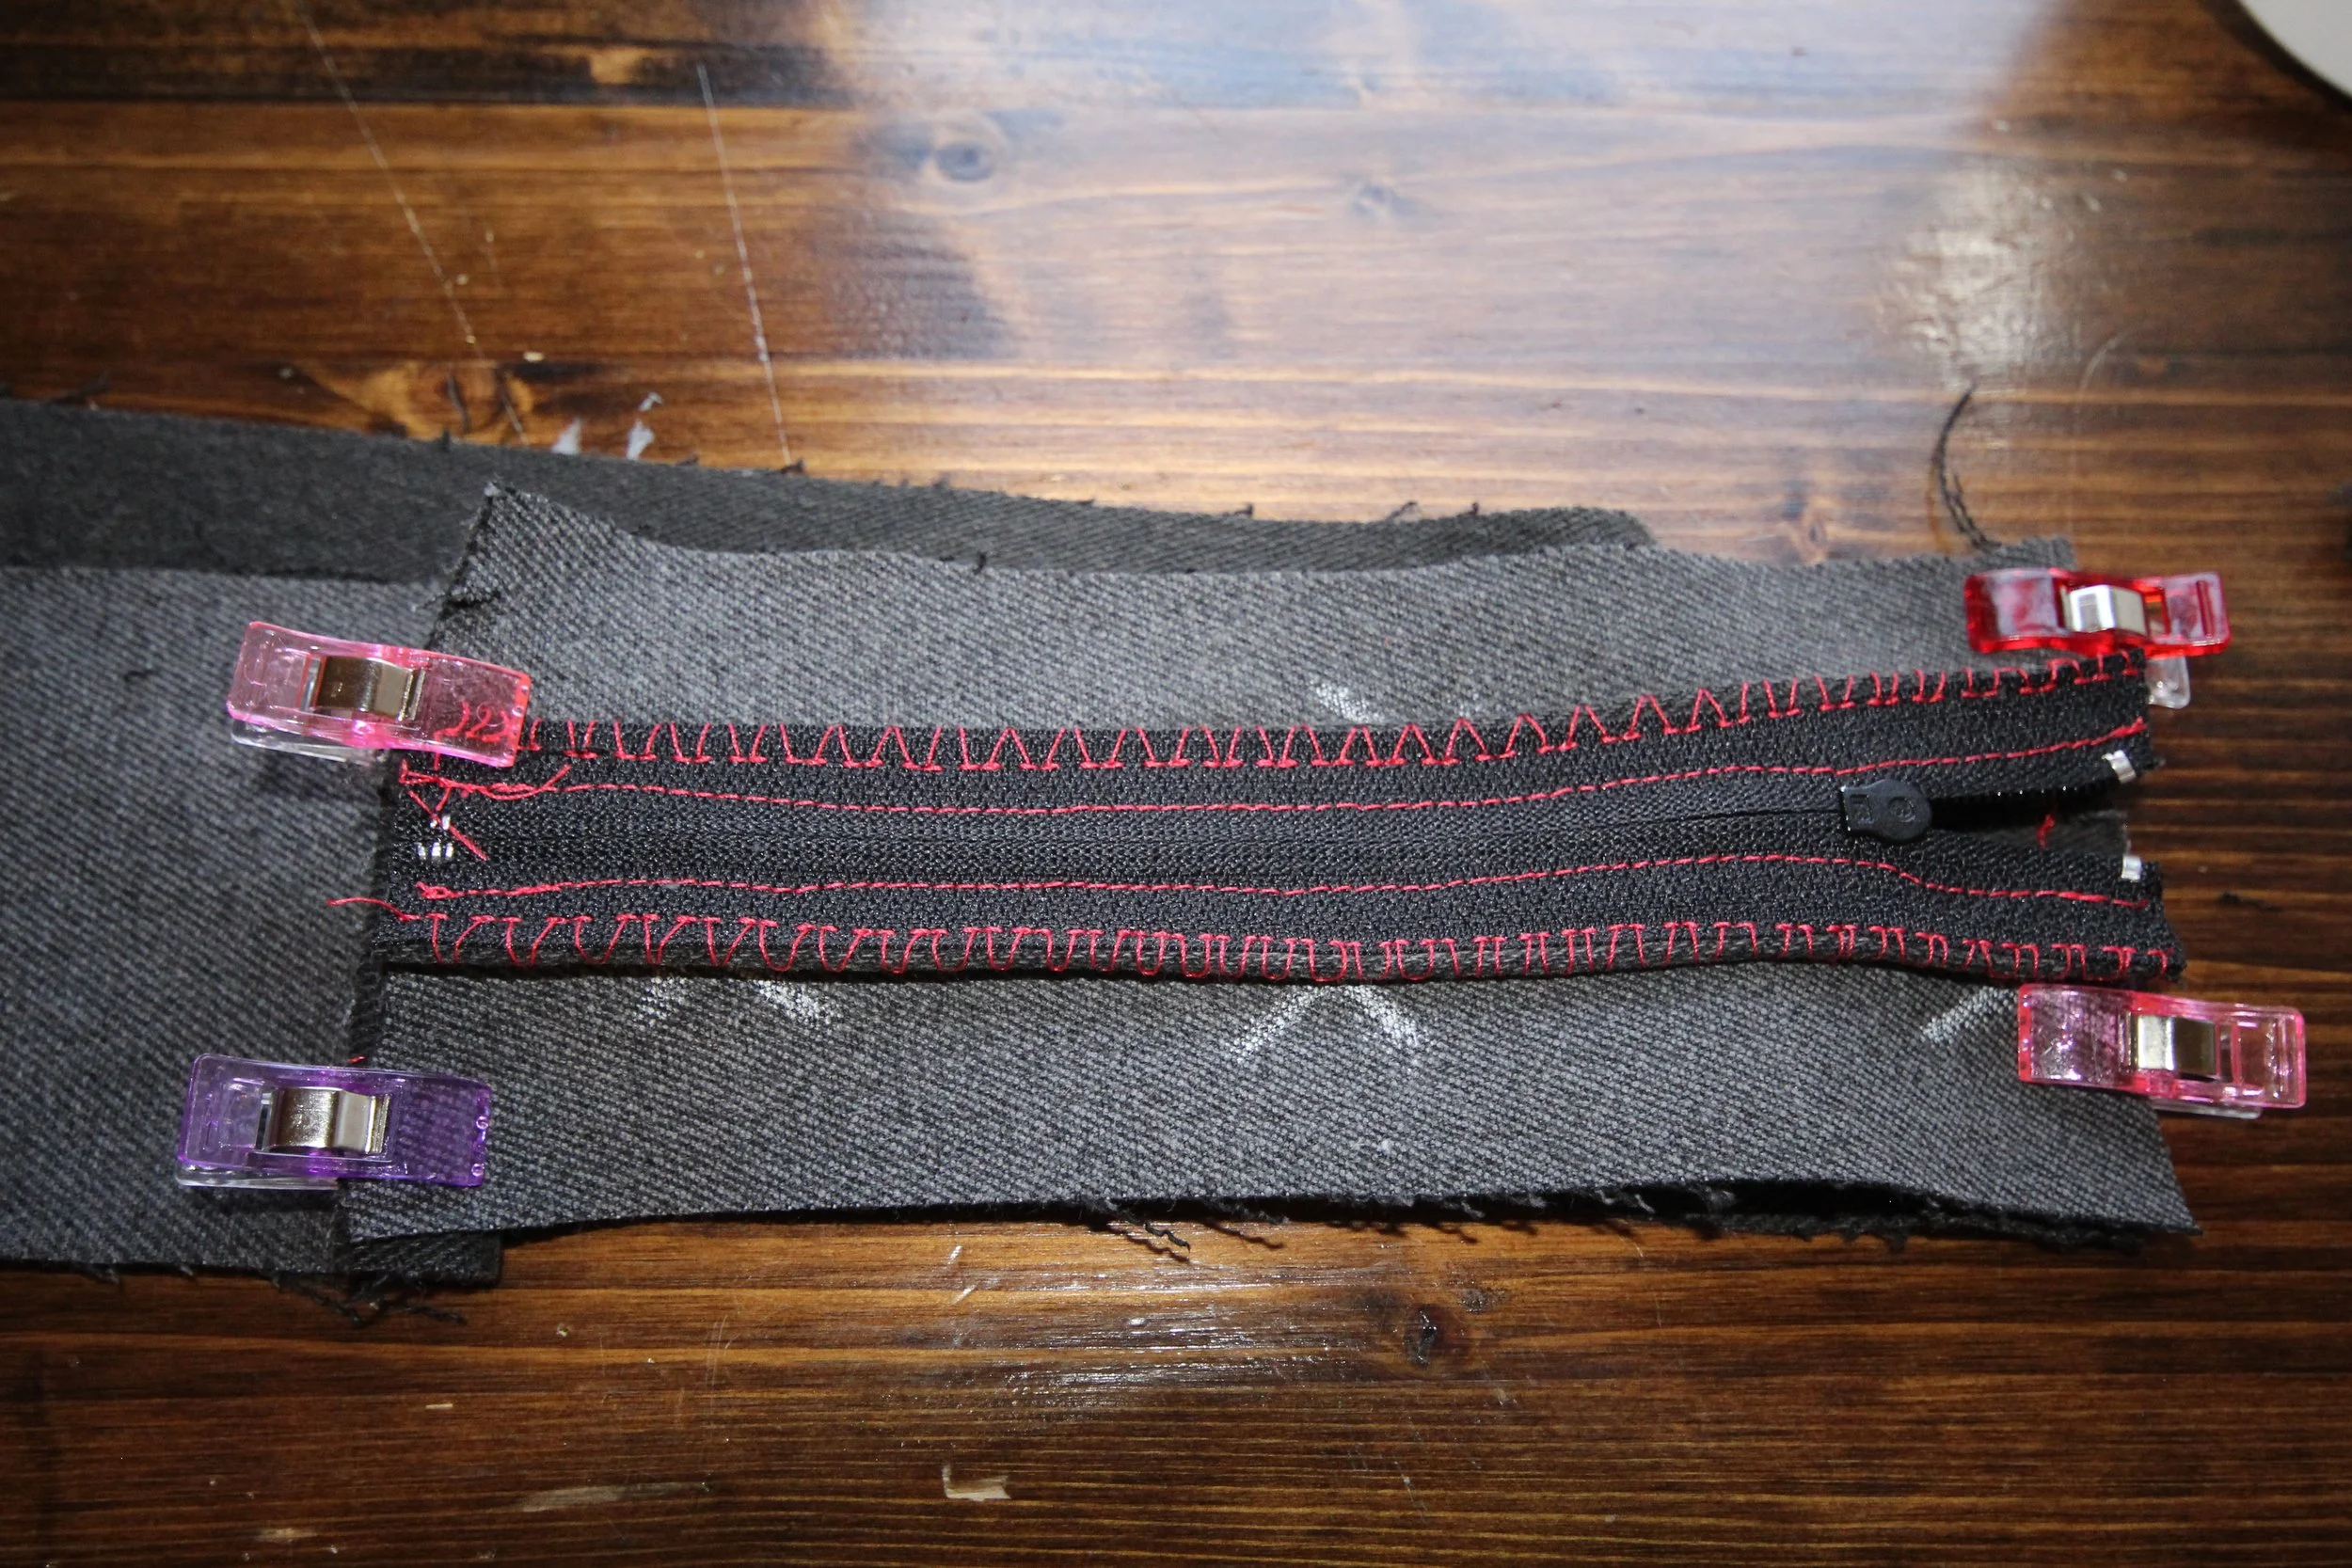
3. Take the zipper panels and place one on each side of the zipper, ensuring the folded edge is aligned with and on top of the zipper edge.
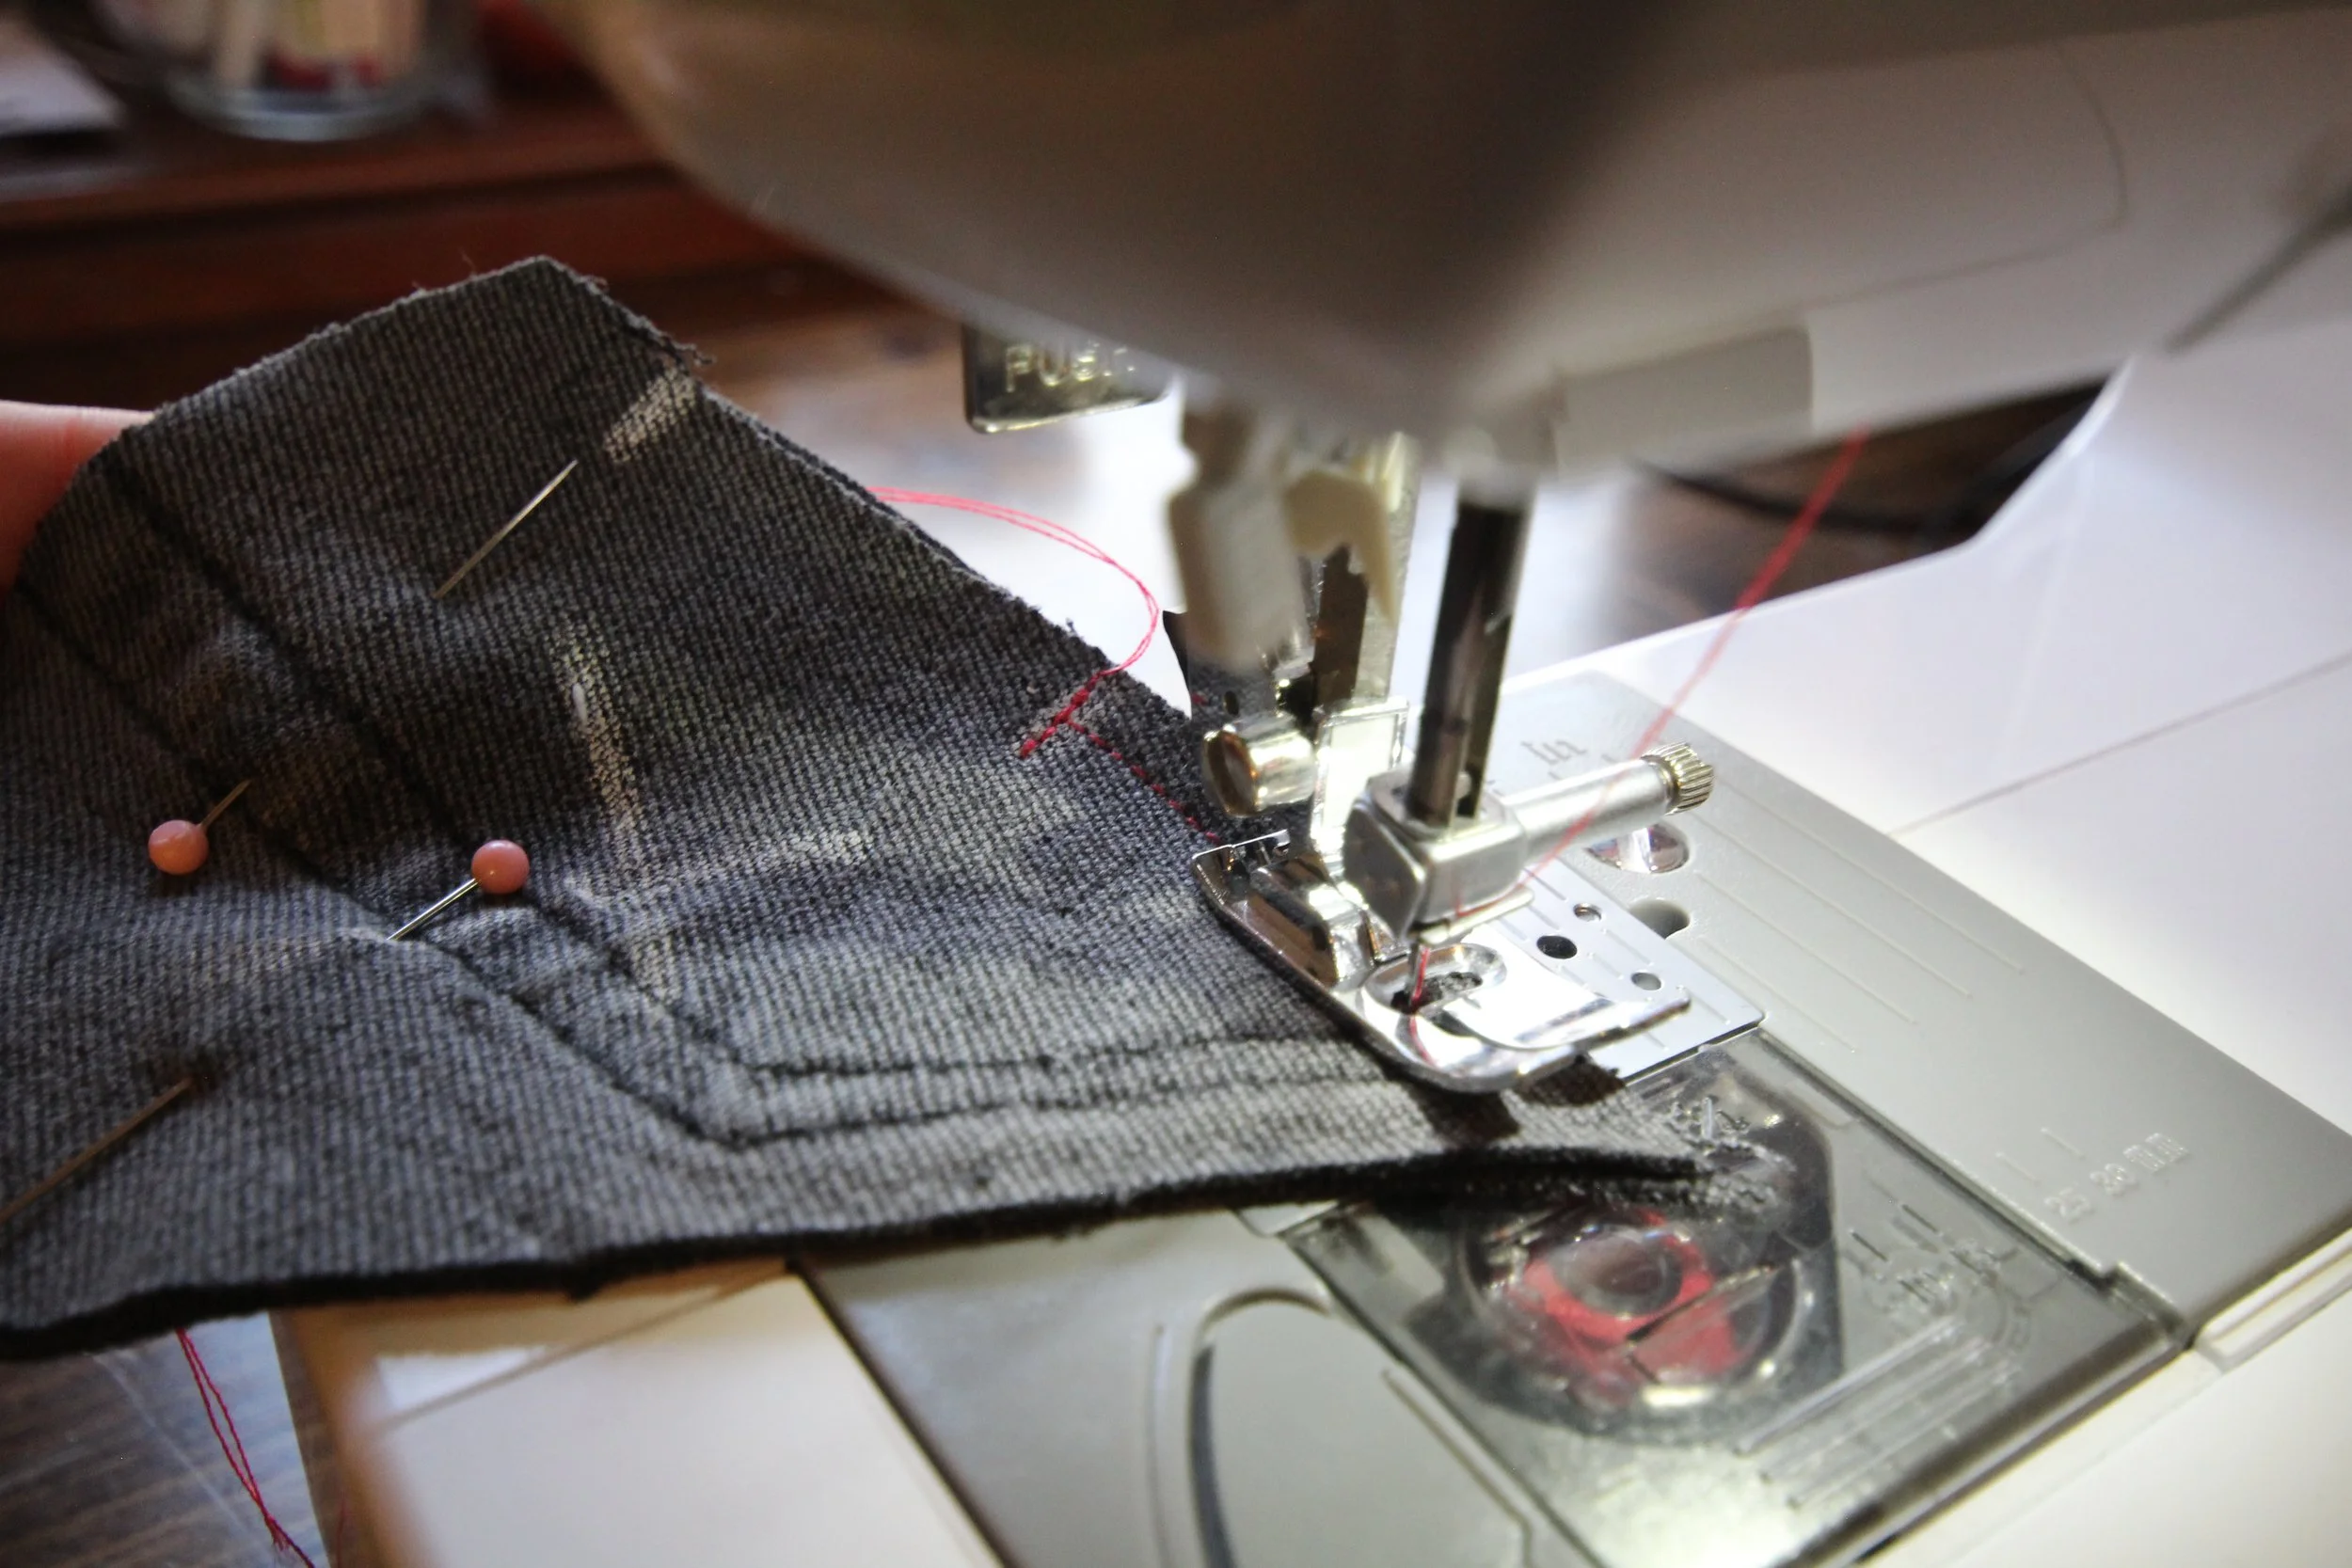
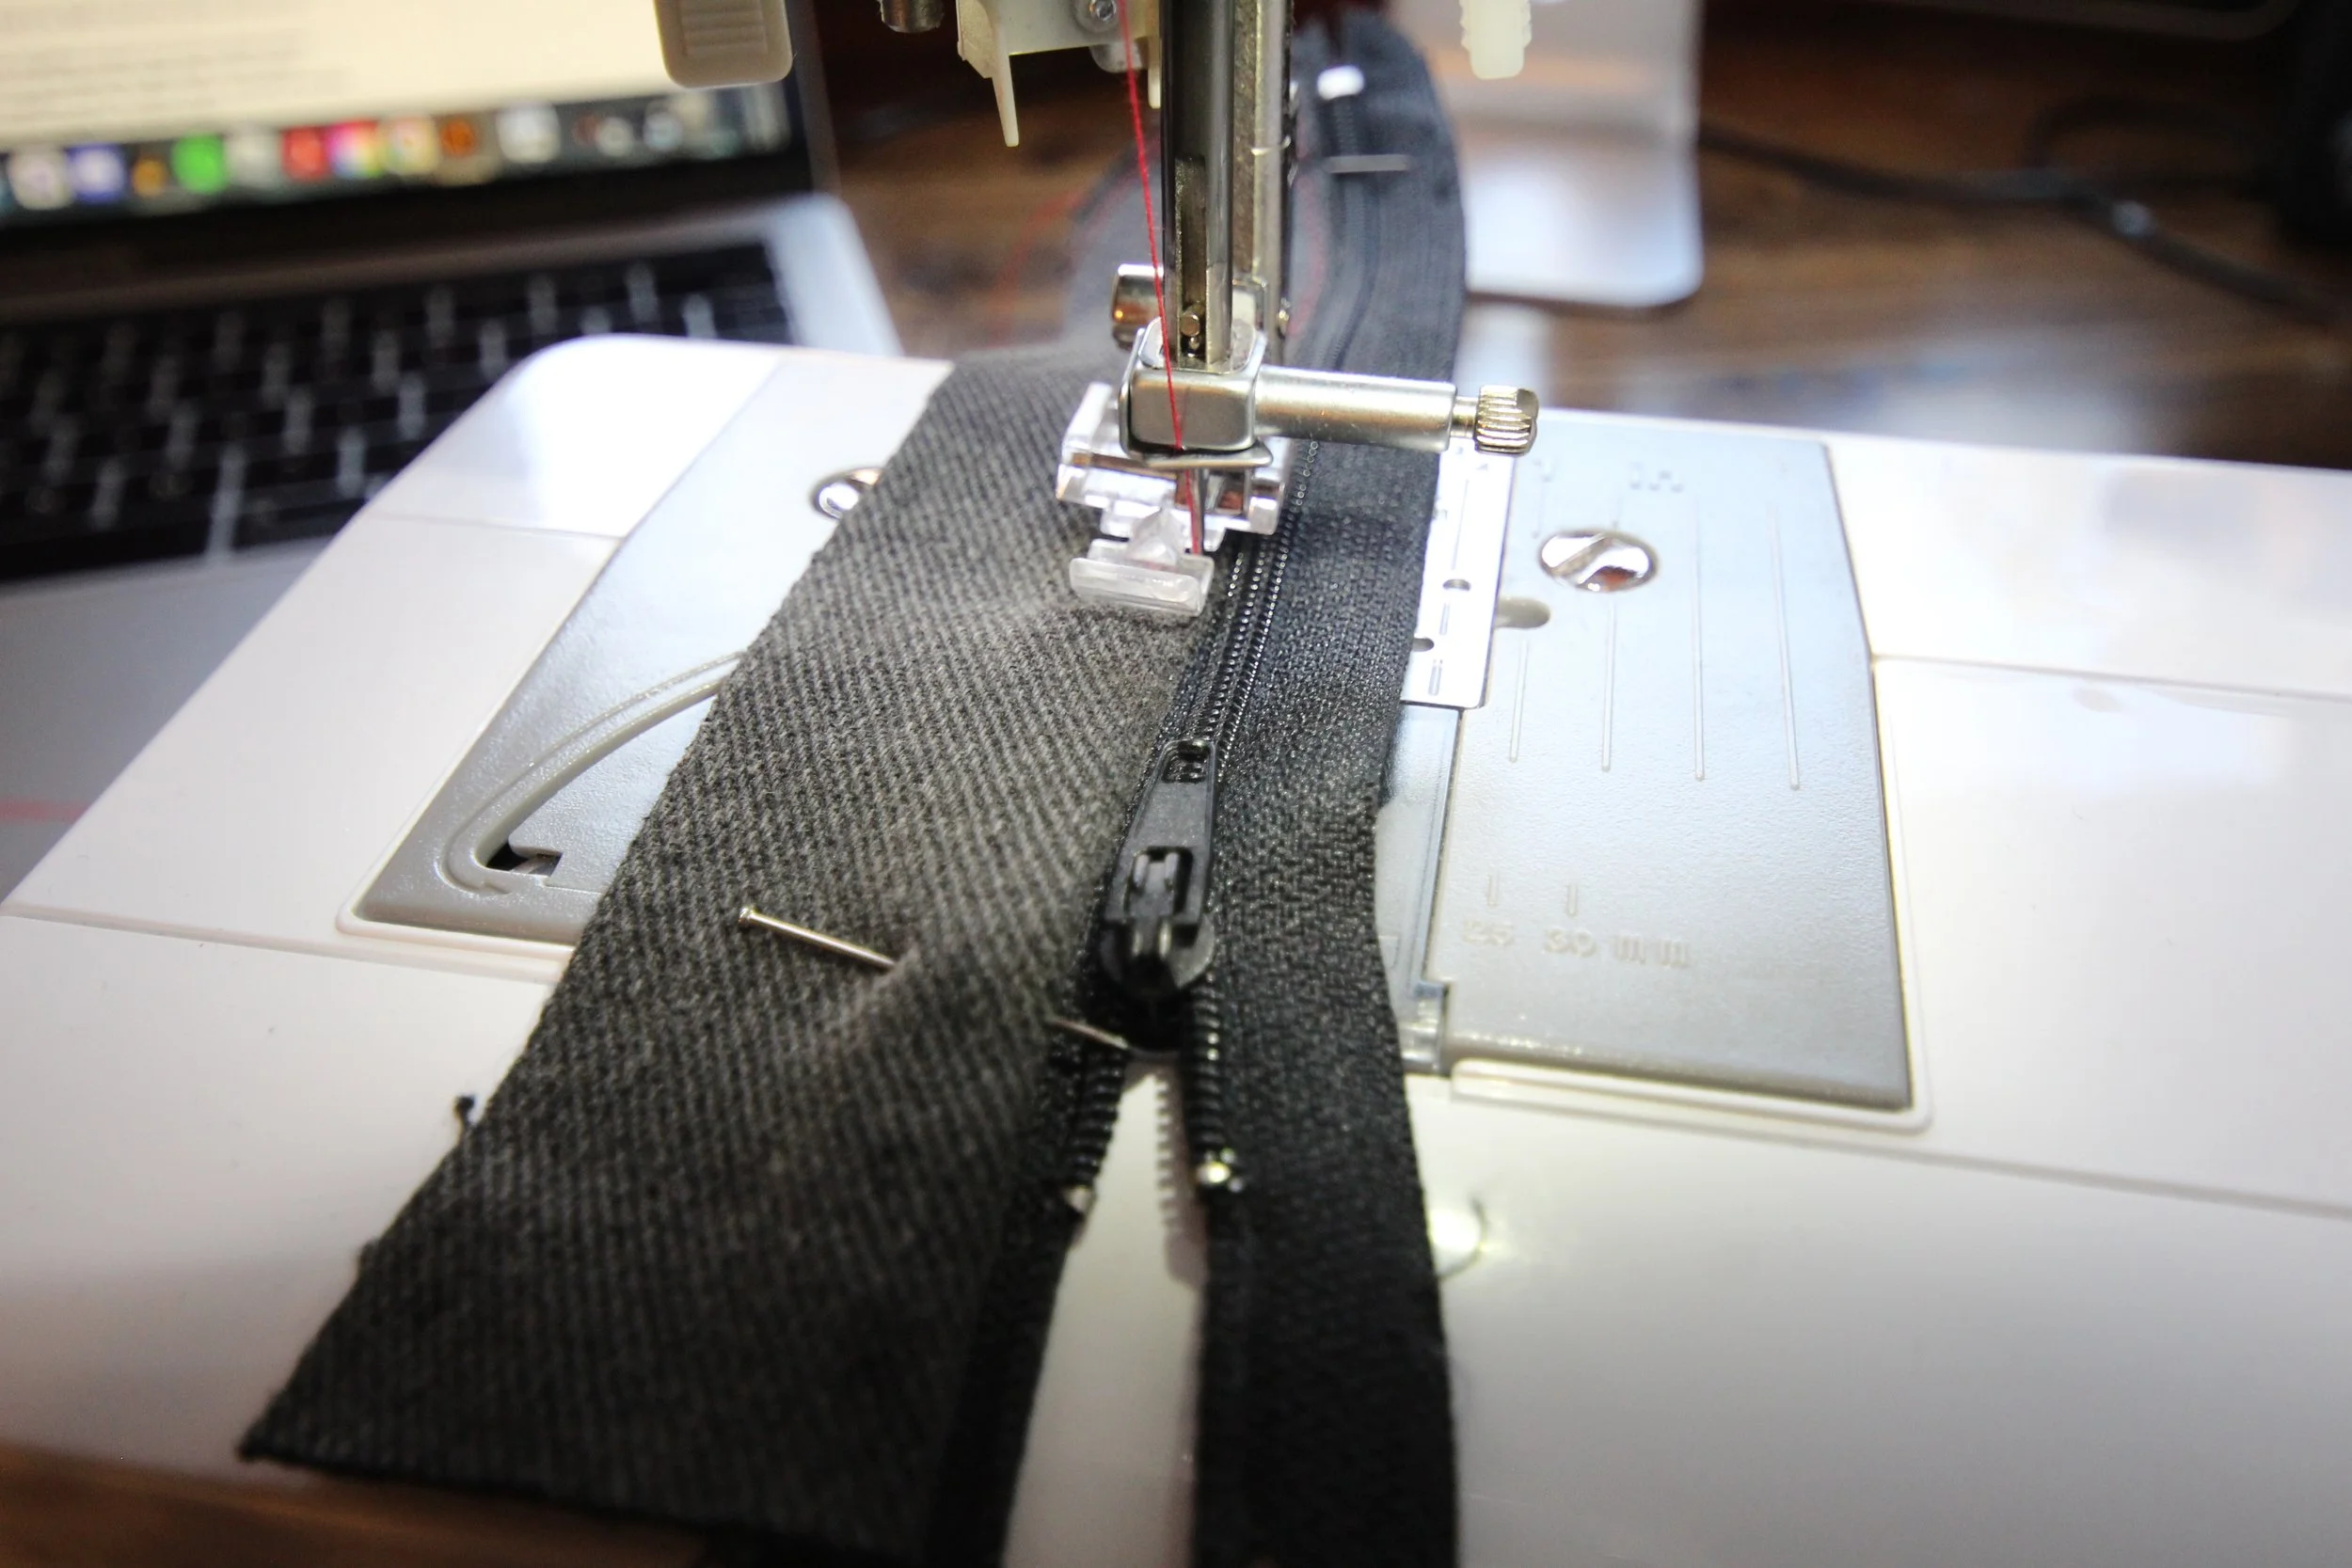
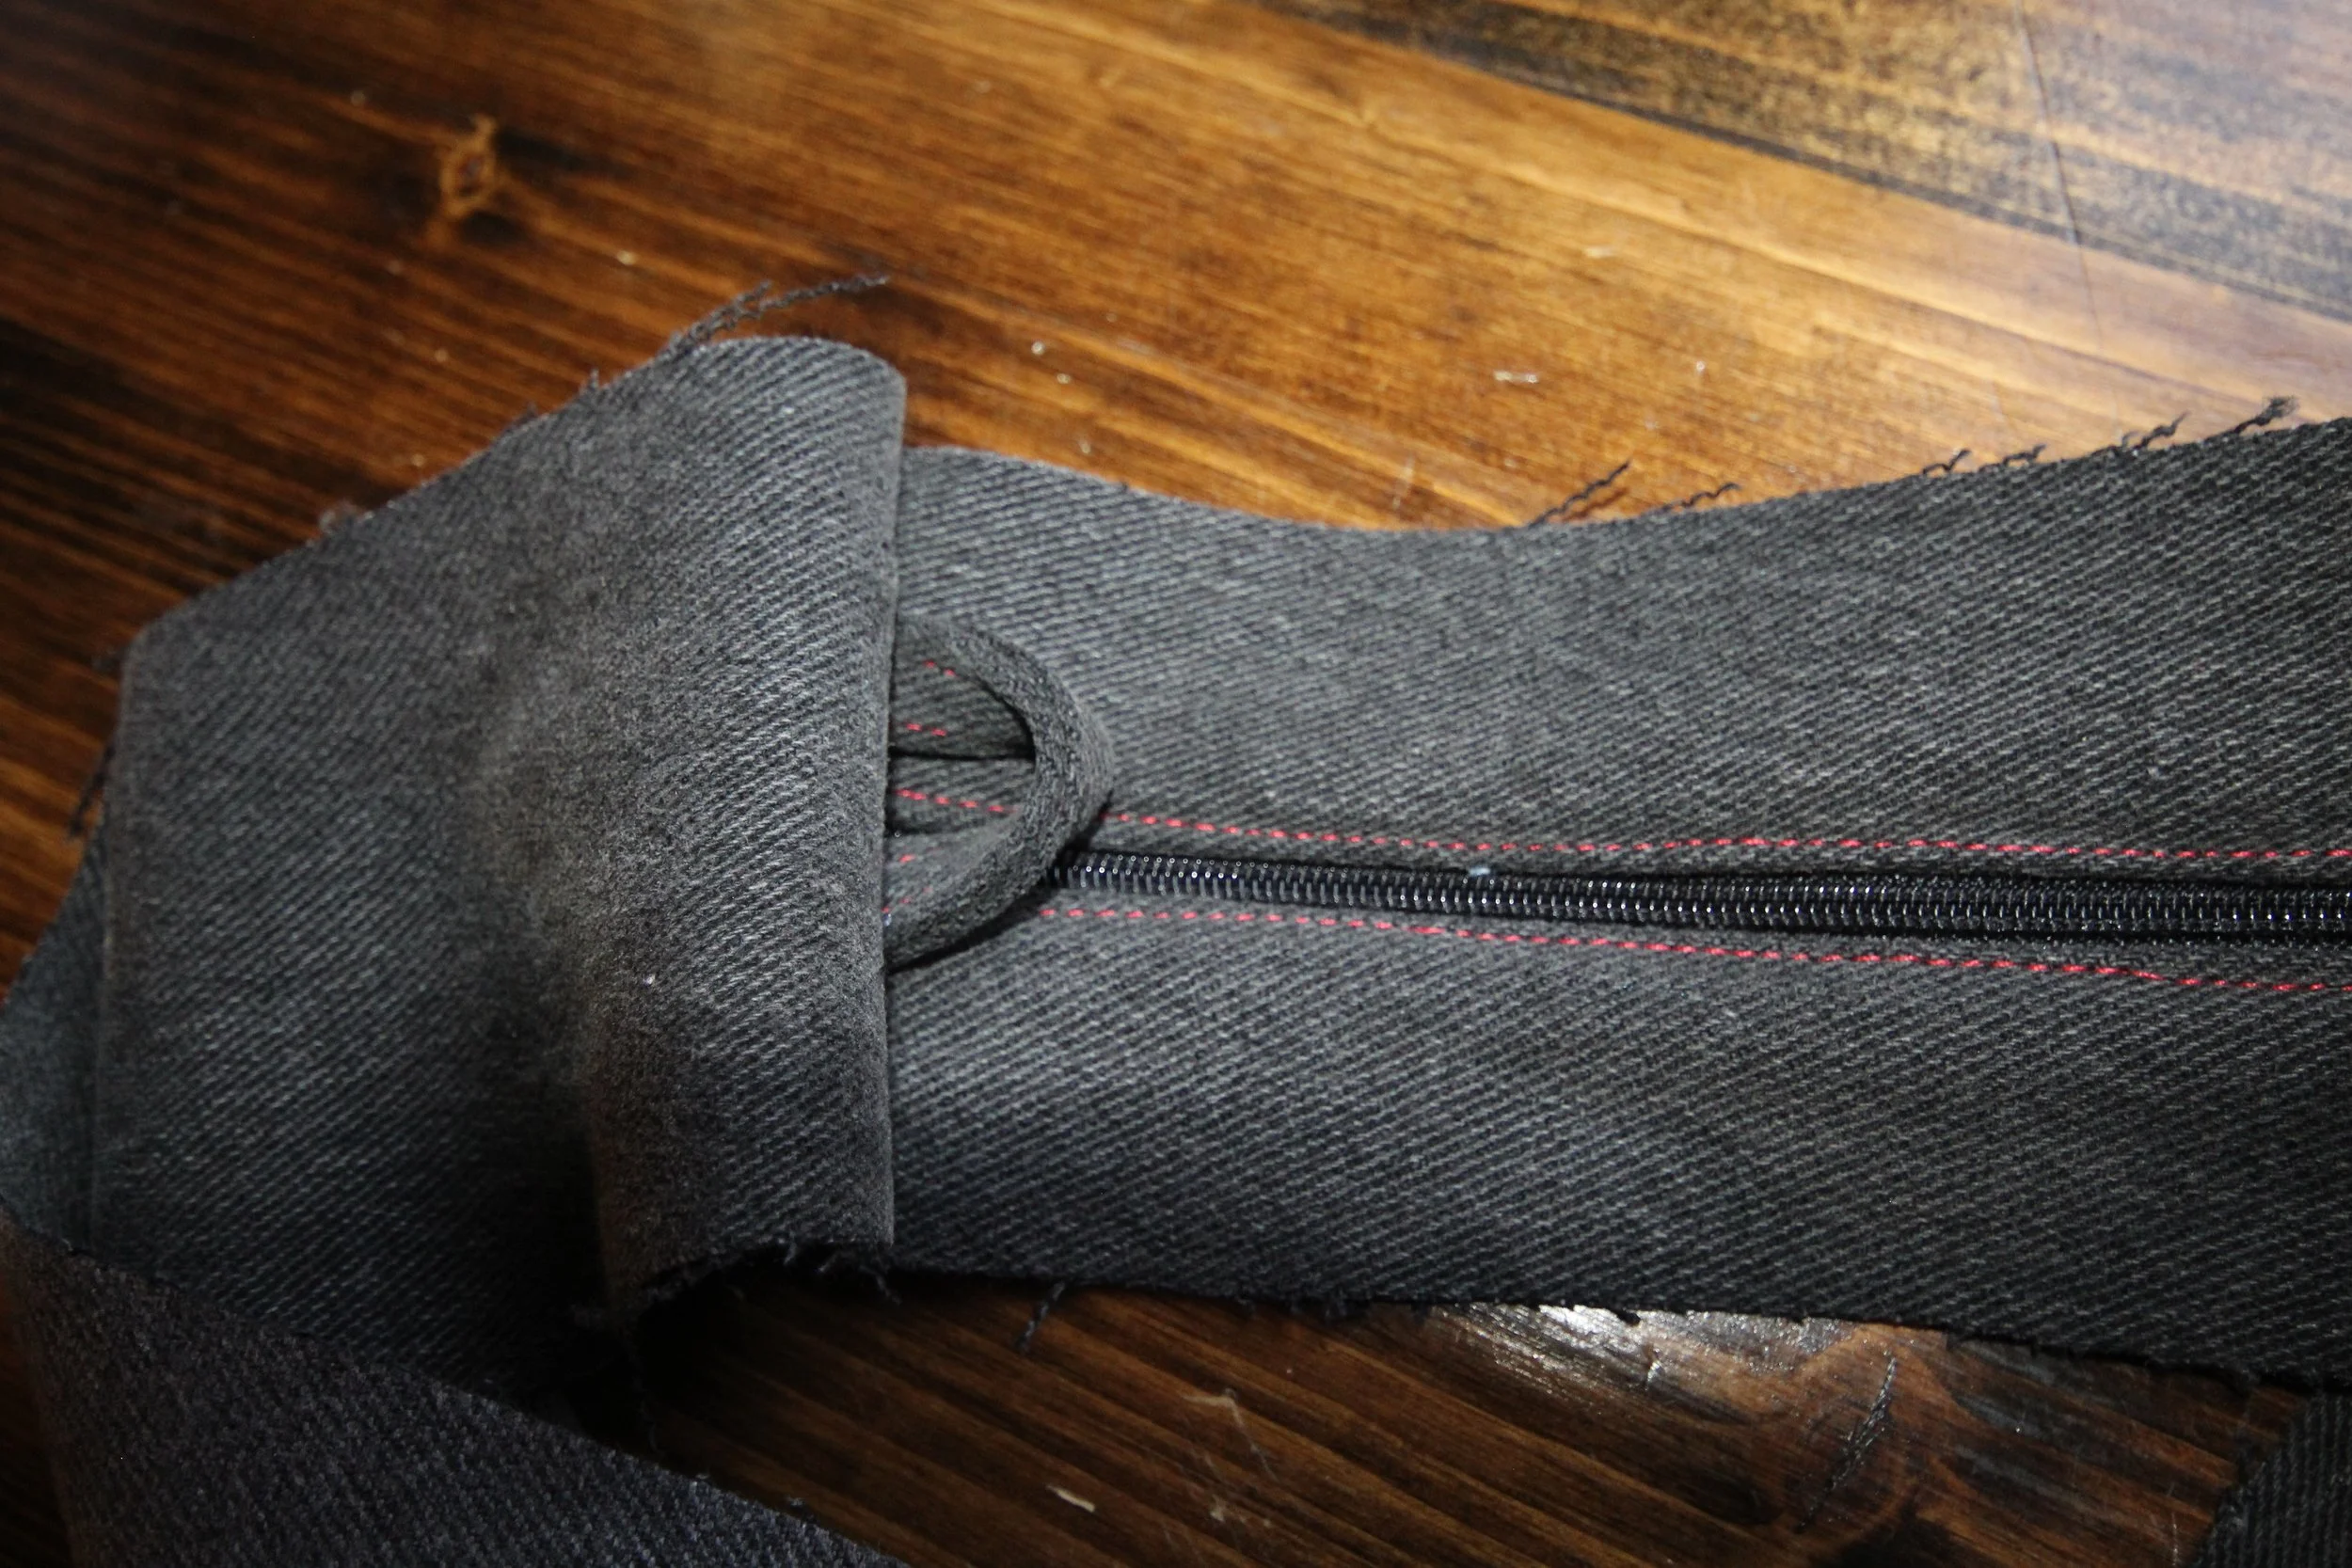
4. Pin and sew close to the zipper, moving the zipper pull as needed:
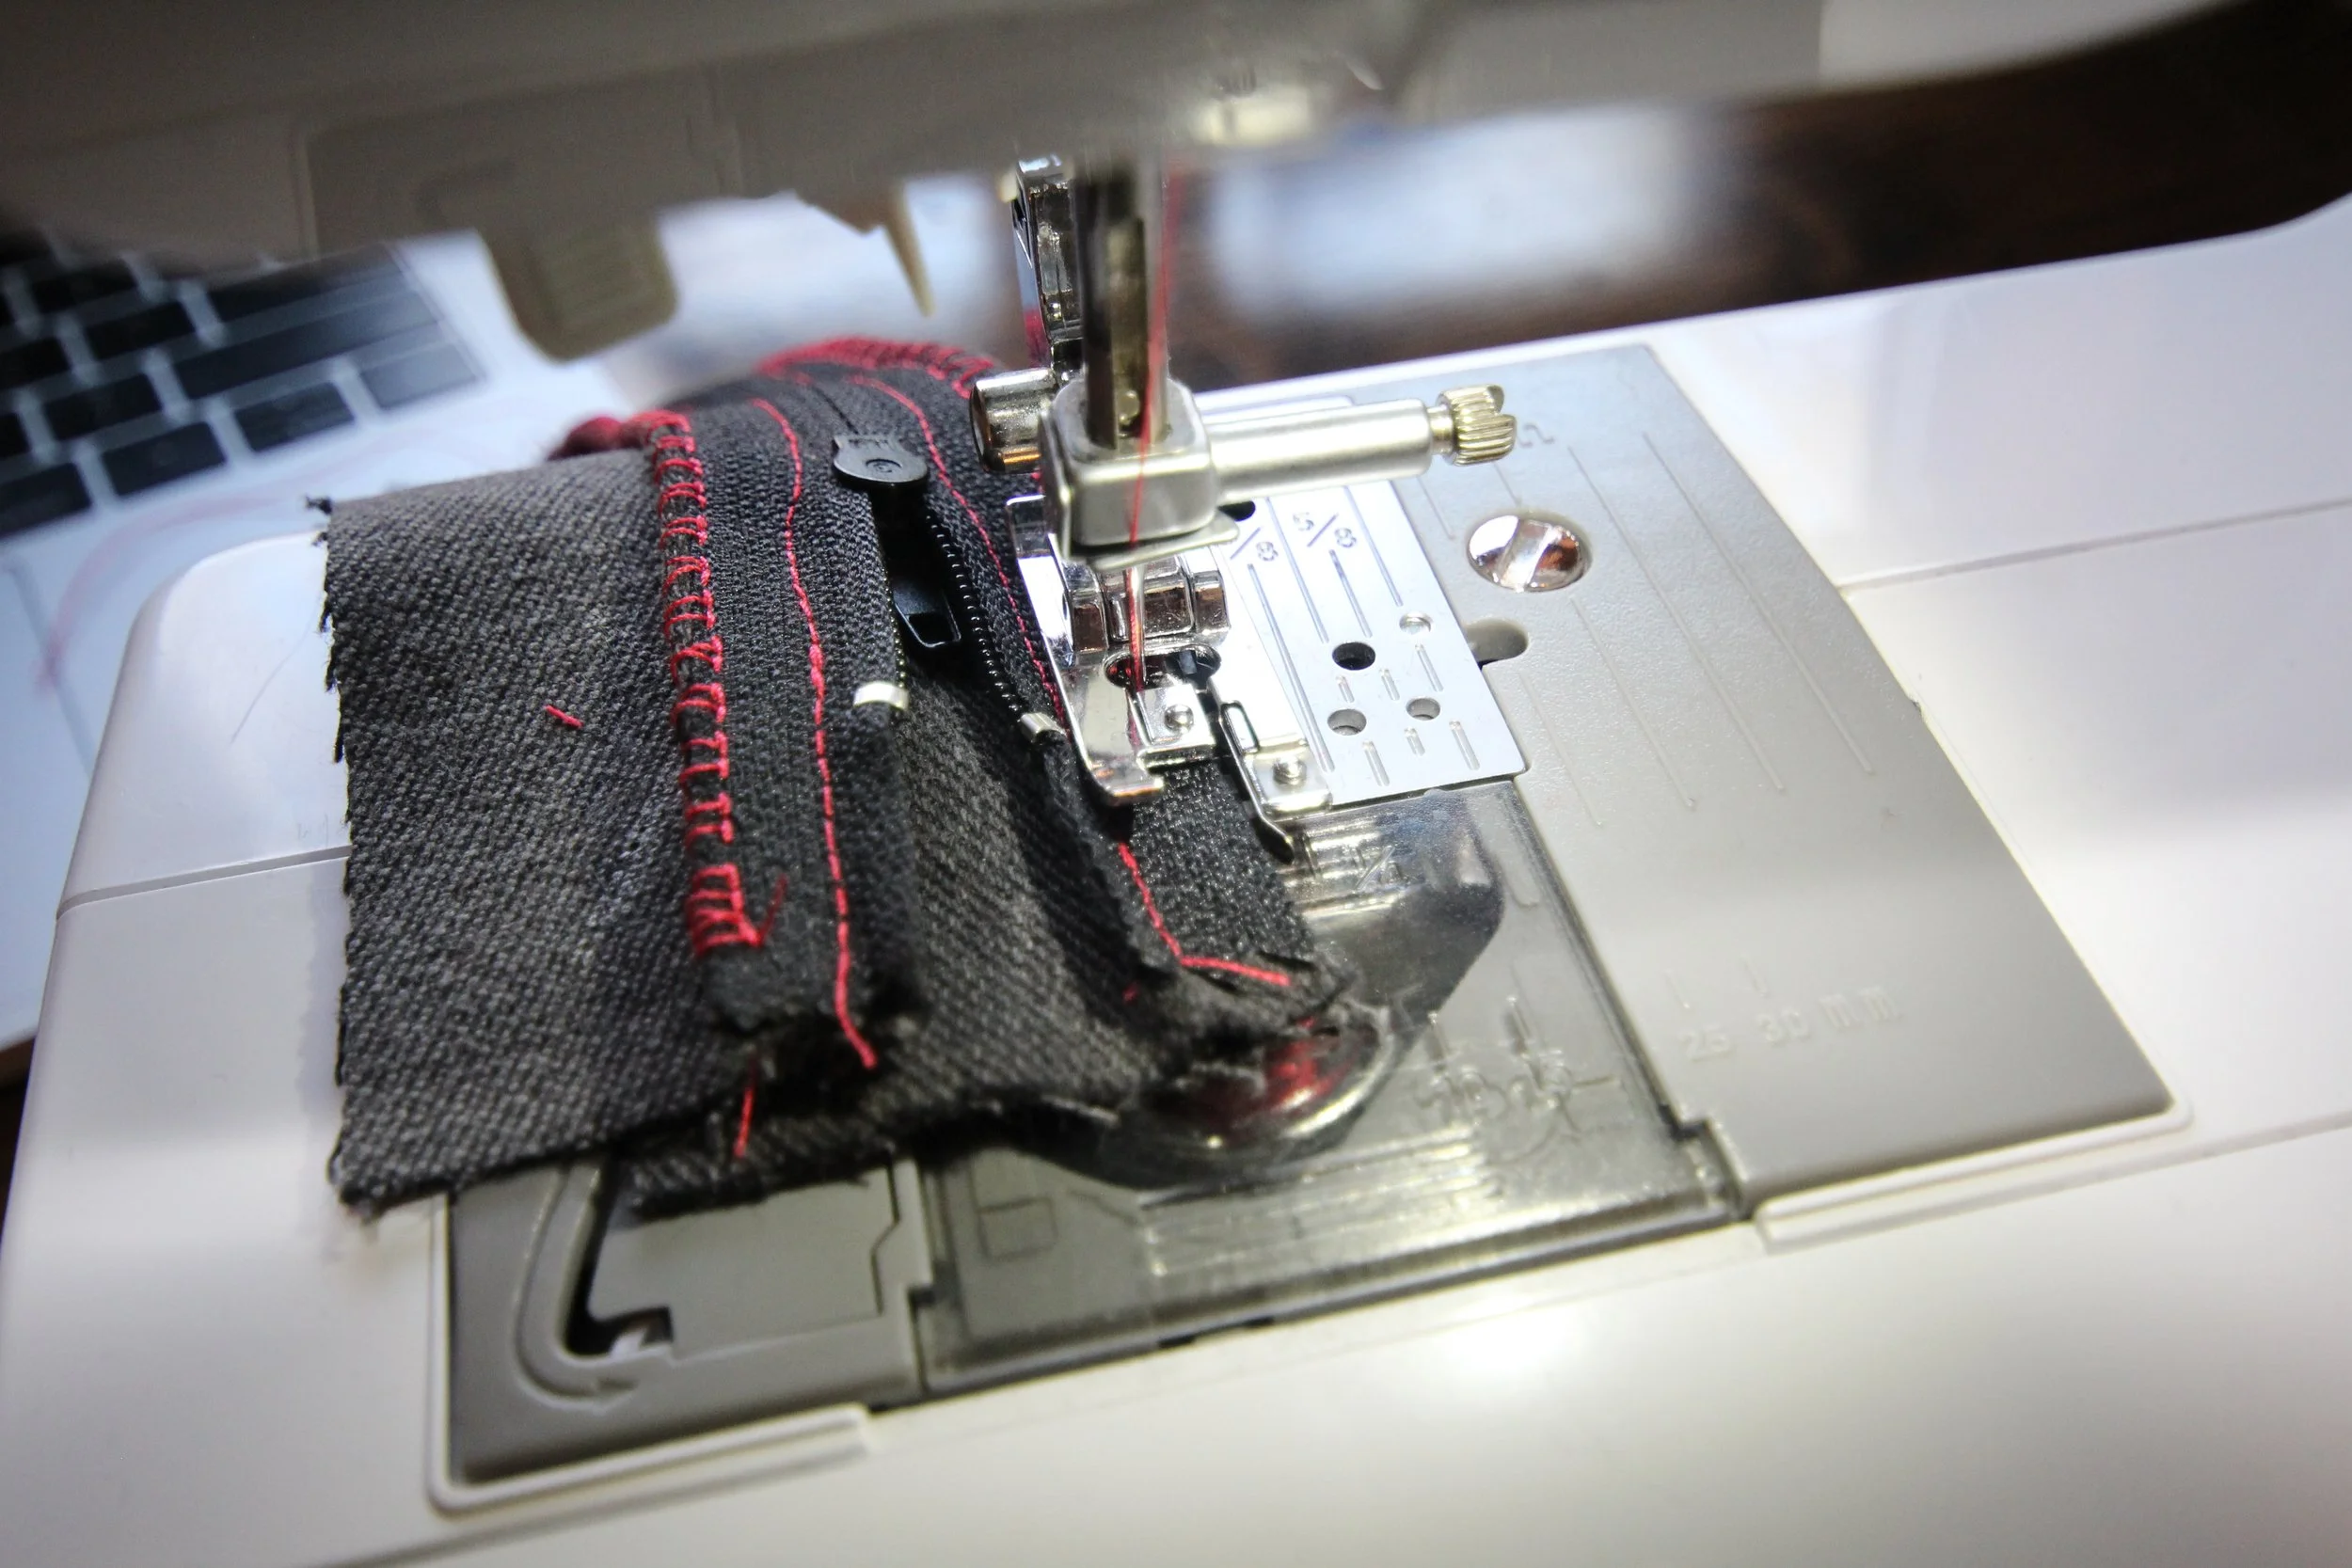
Leave the needle down, lift the presser foot, slide the zipper pull past the needle, then continue sewing.
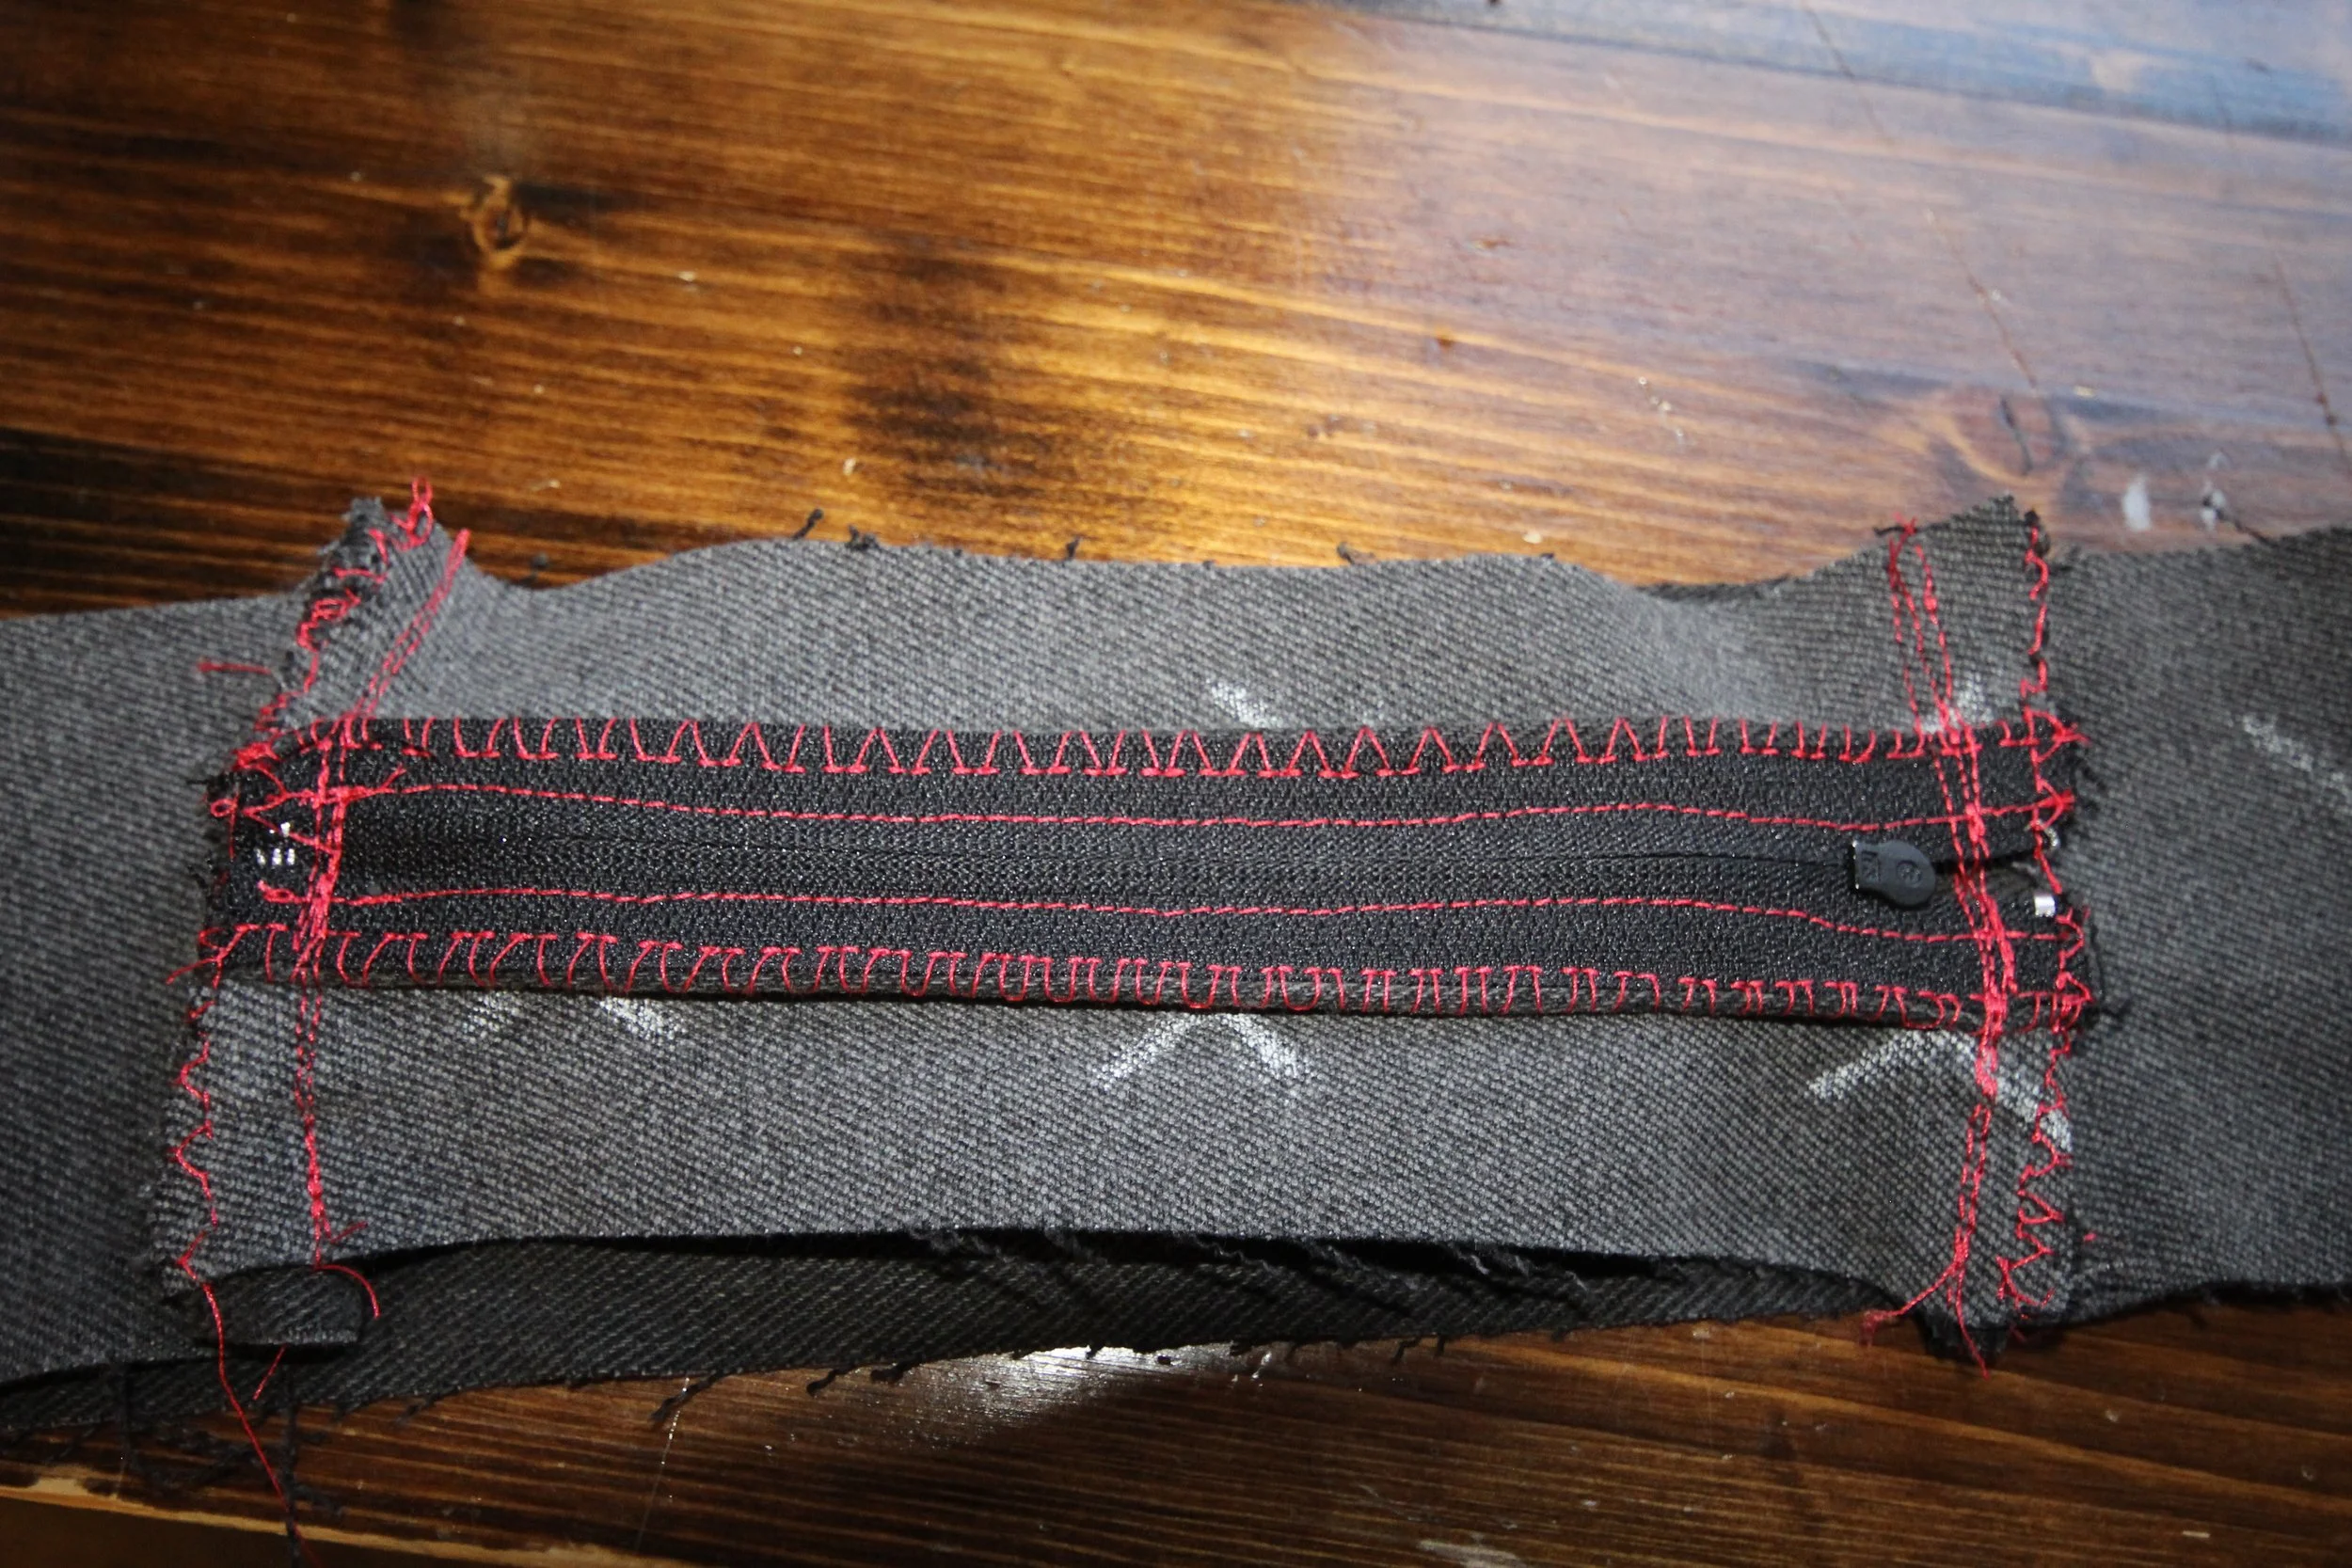
4. Trim excess zipper and optionally finish the edges with a zigzag stitch or overlock foot.
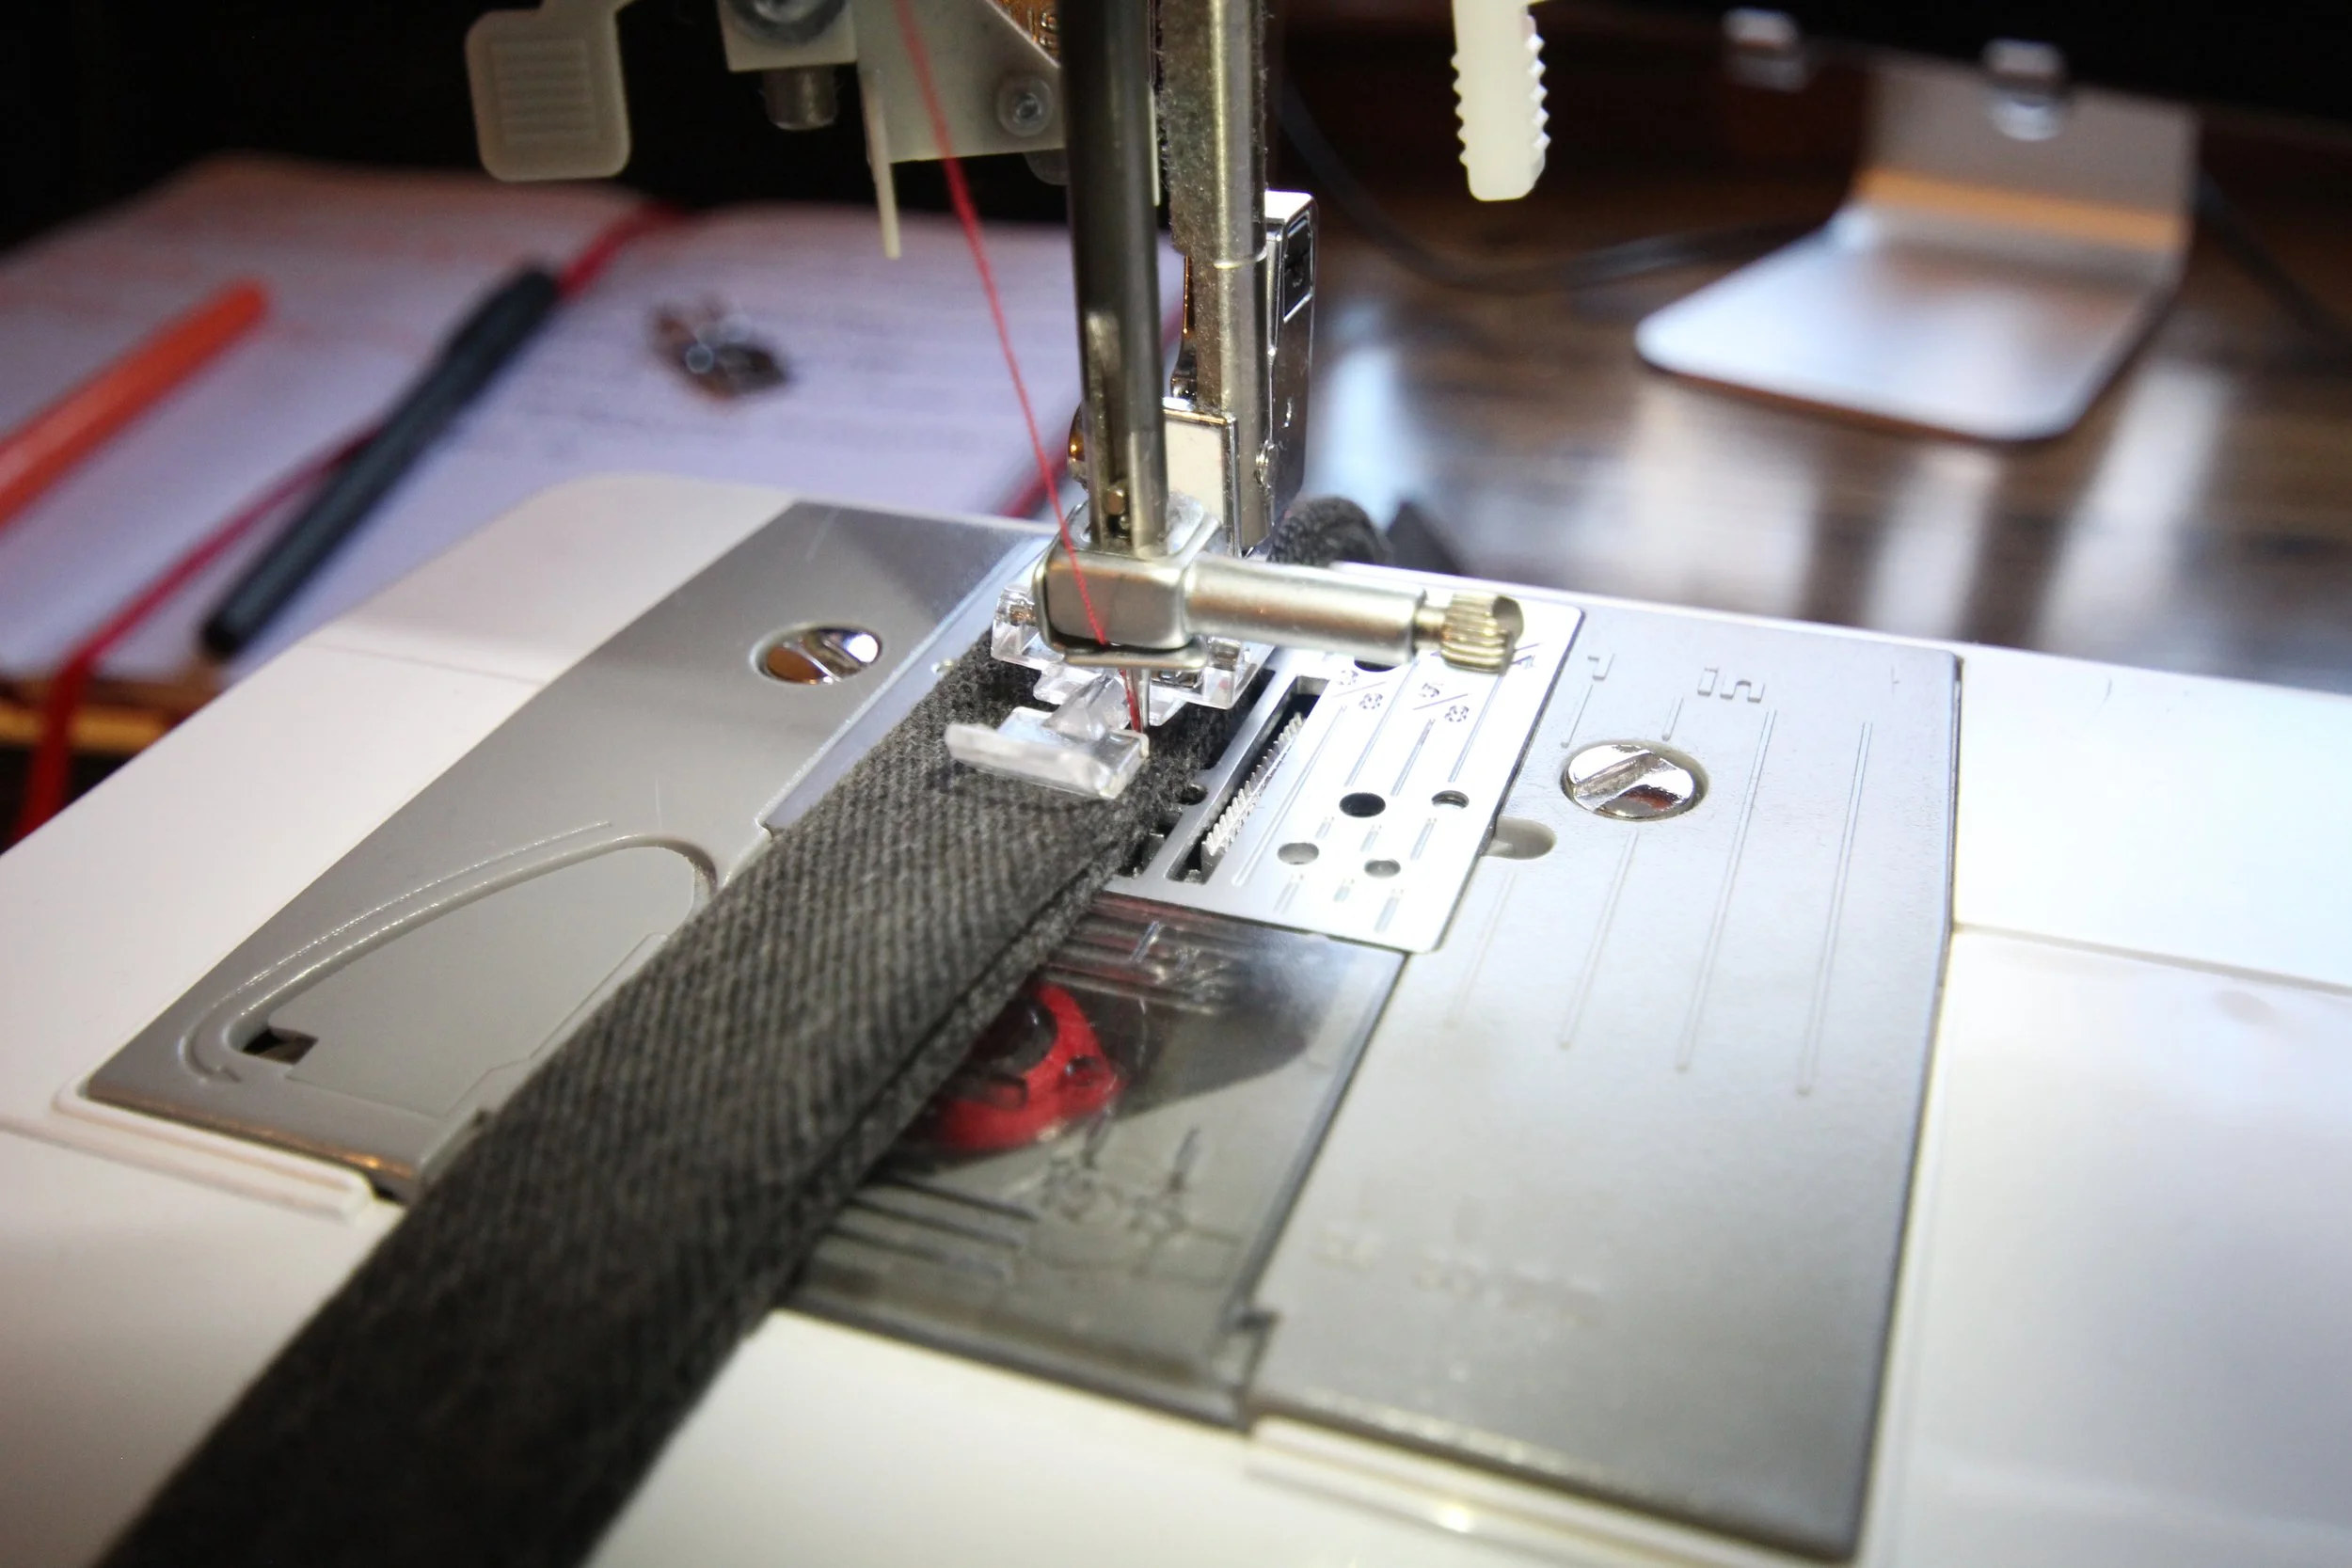
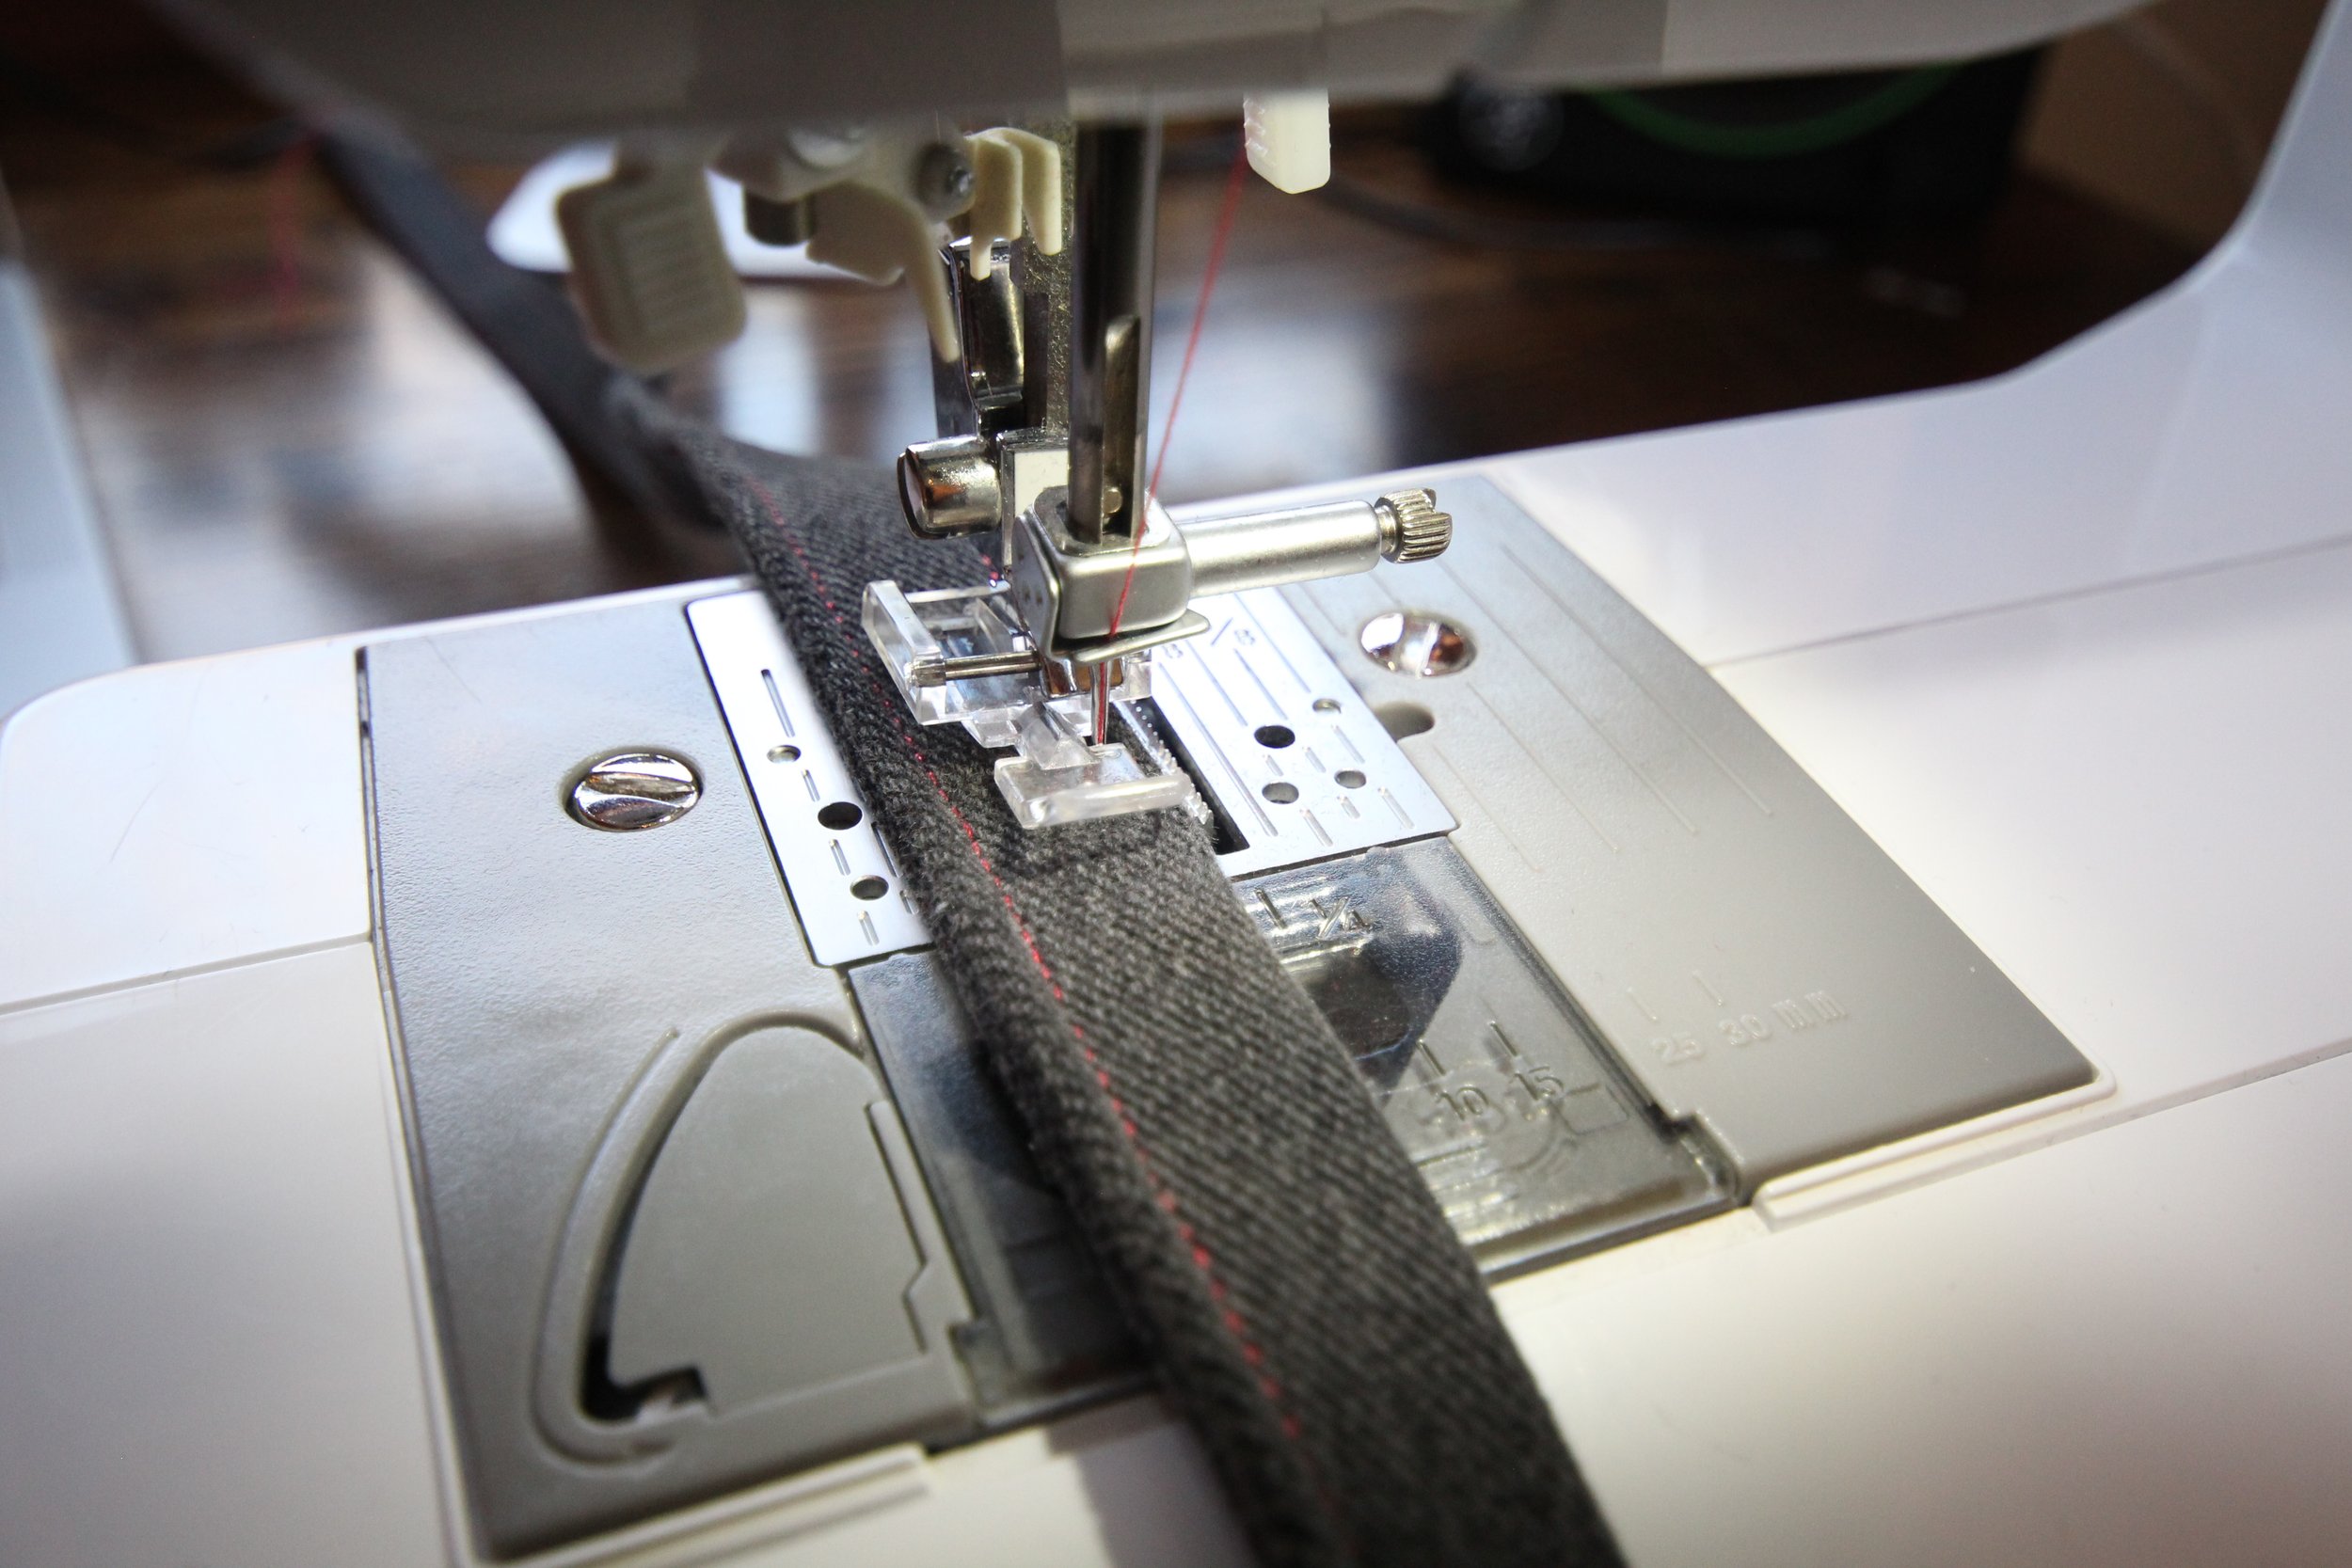
Step 7: Making the Strap & Tabs
Follow these same steps to make your strap and your strap tabs. When topstitching the edges of the straps, you might find using a zipper foot makes it easier to stay a consistent close distance from the edge.
1. If you need to piece together strips for the strap, sew them with a diagonal seam to distribute bulk evenly.
2. Fold and press long edges toward the center, then fold in half again.
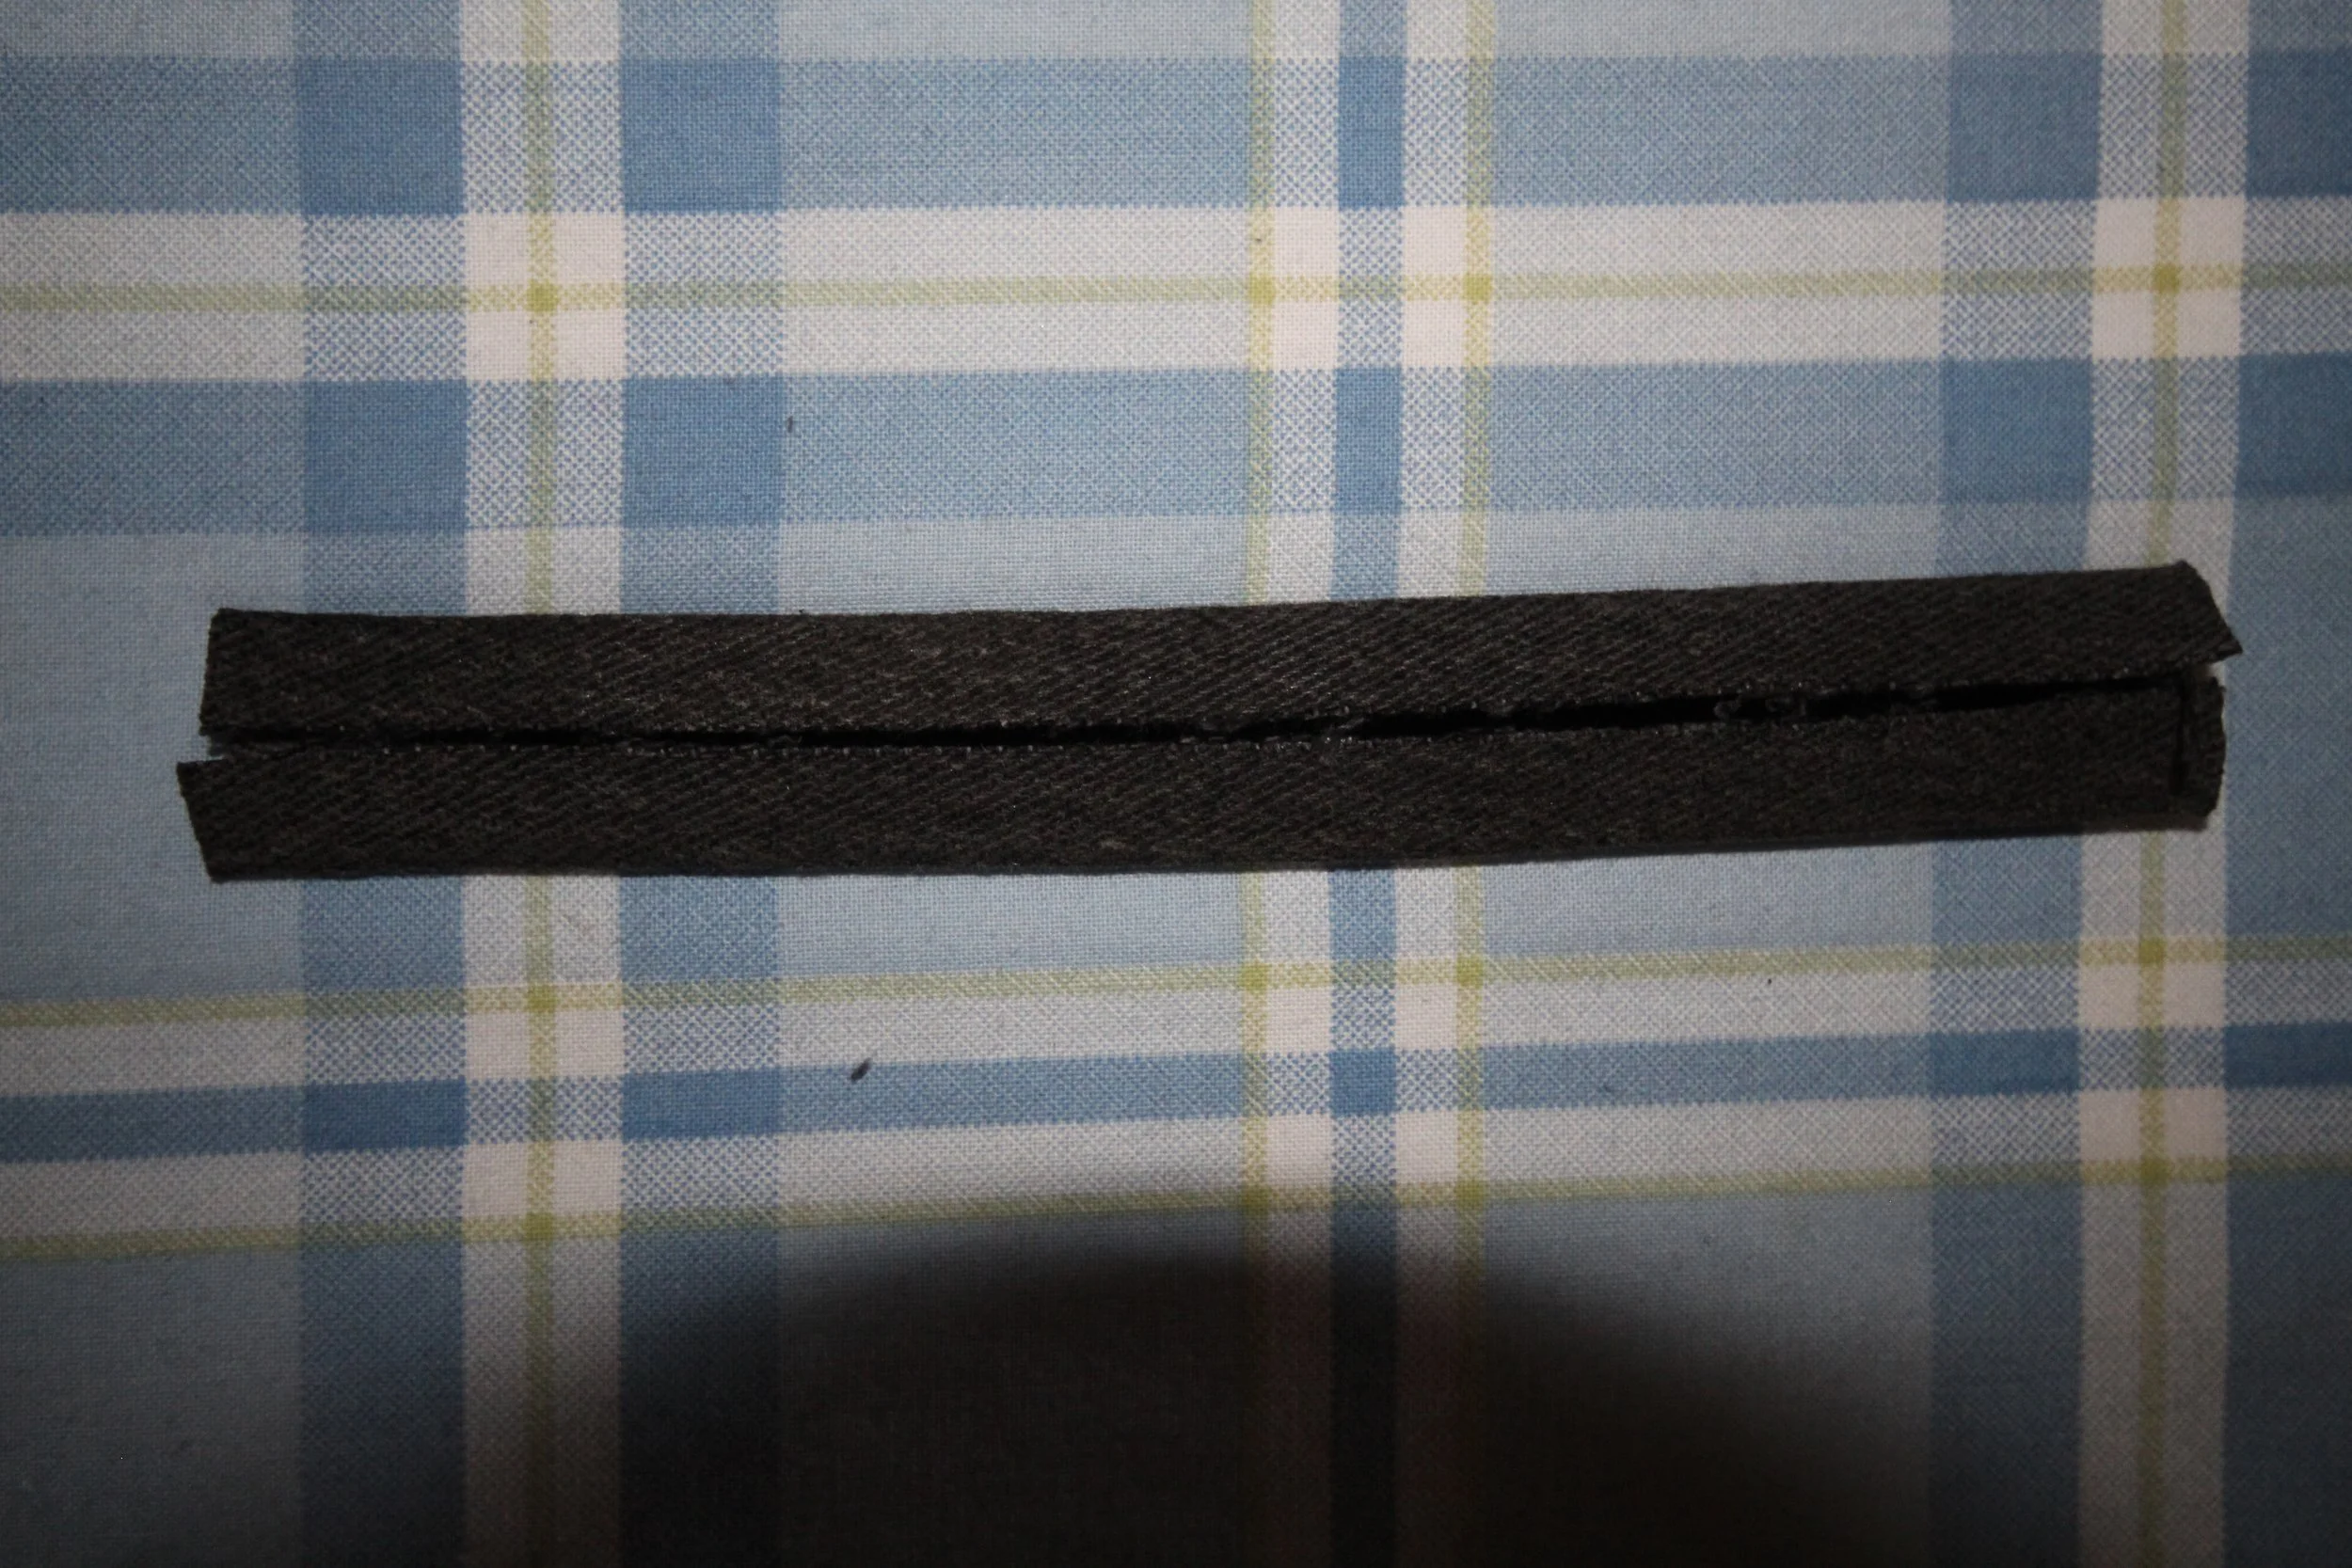
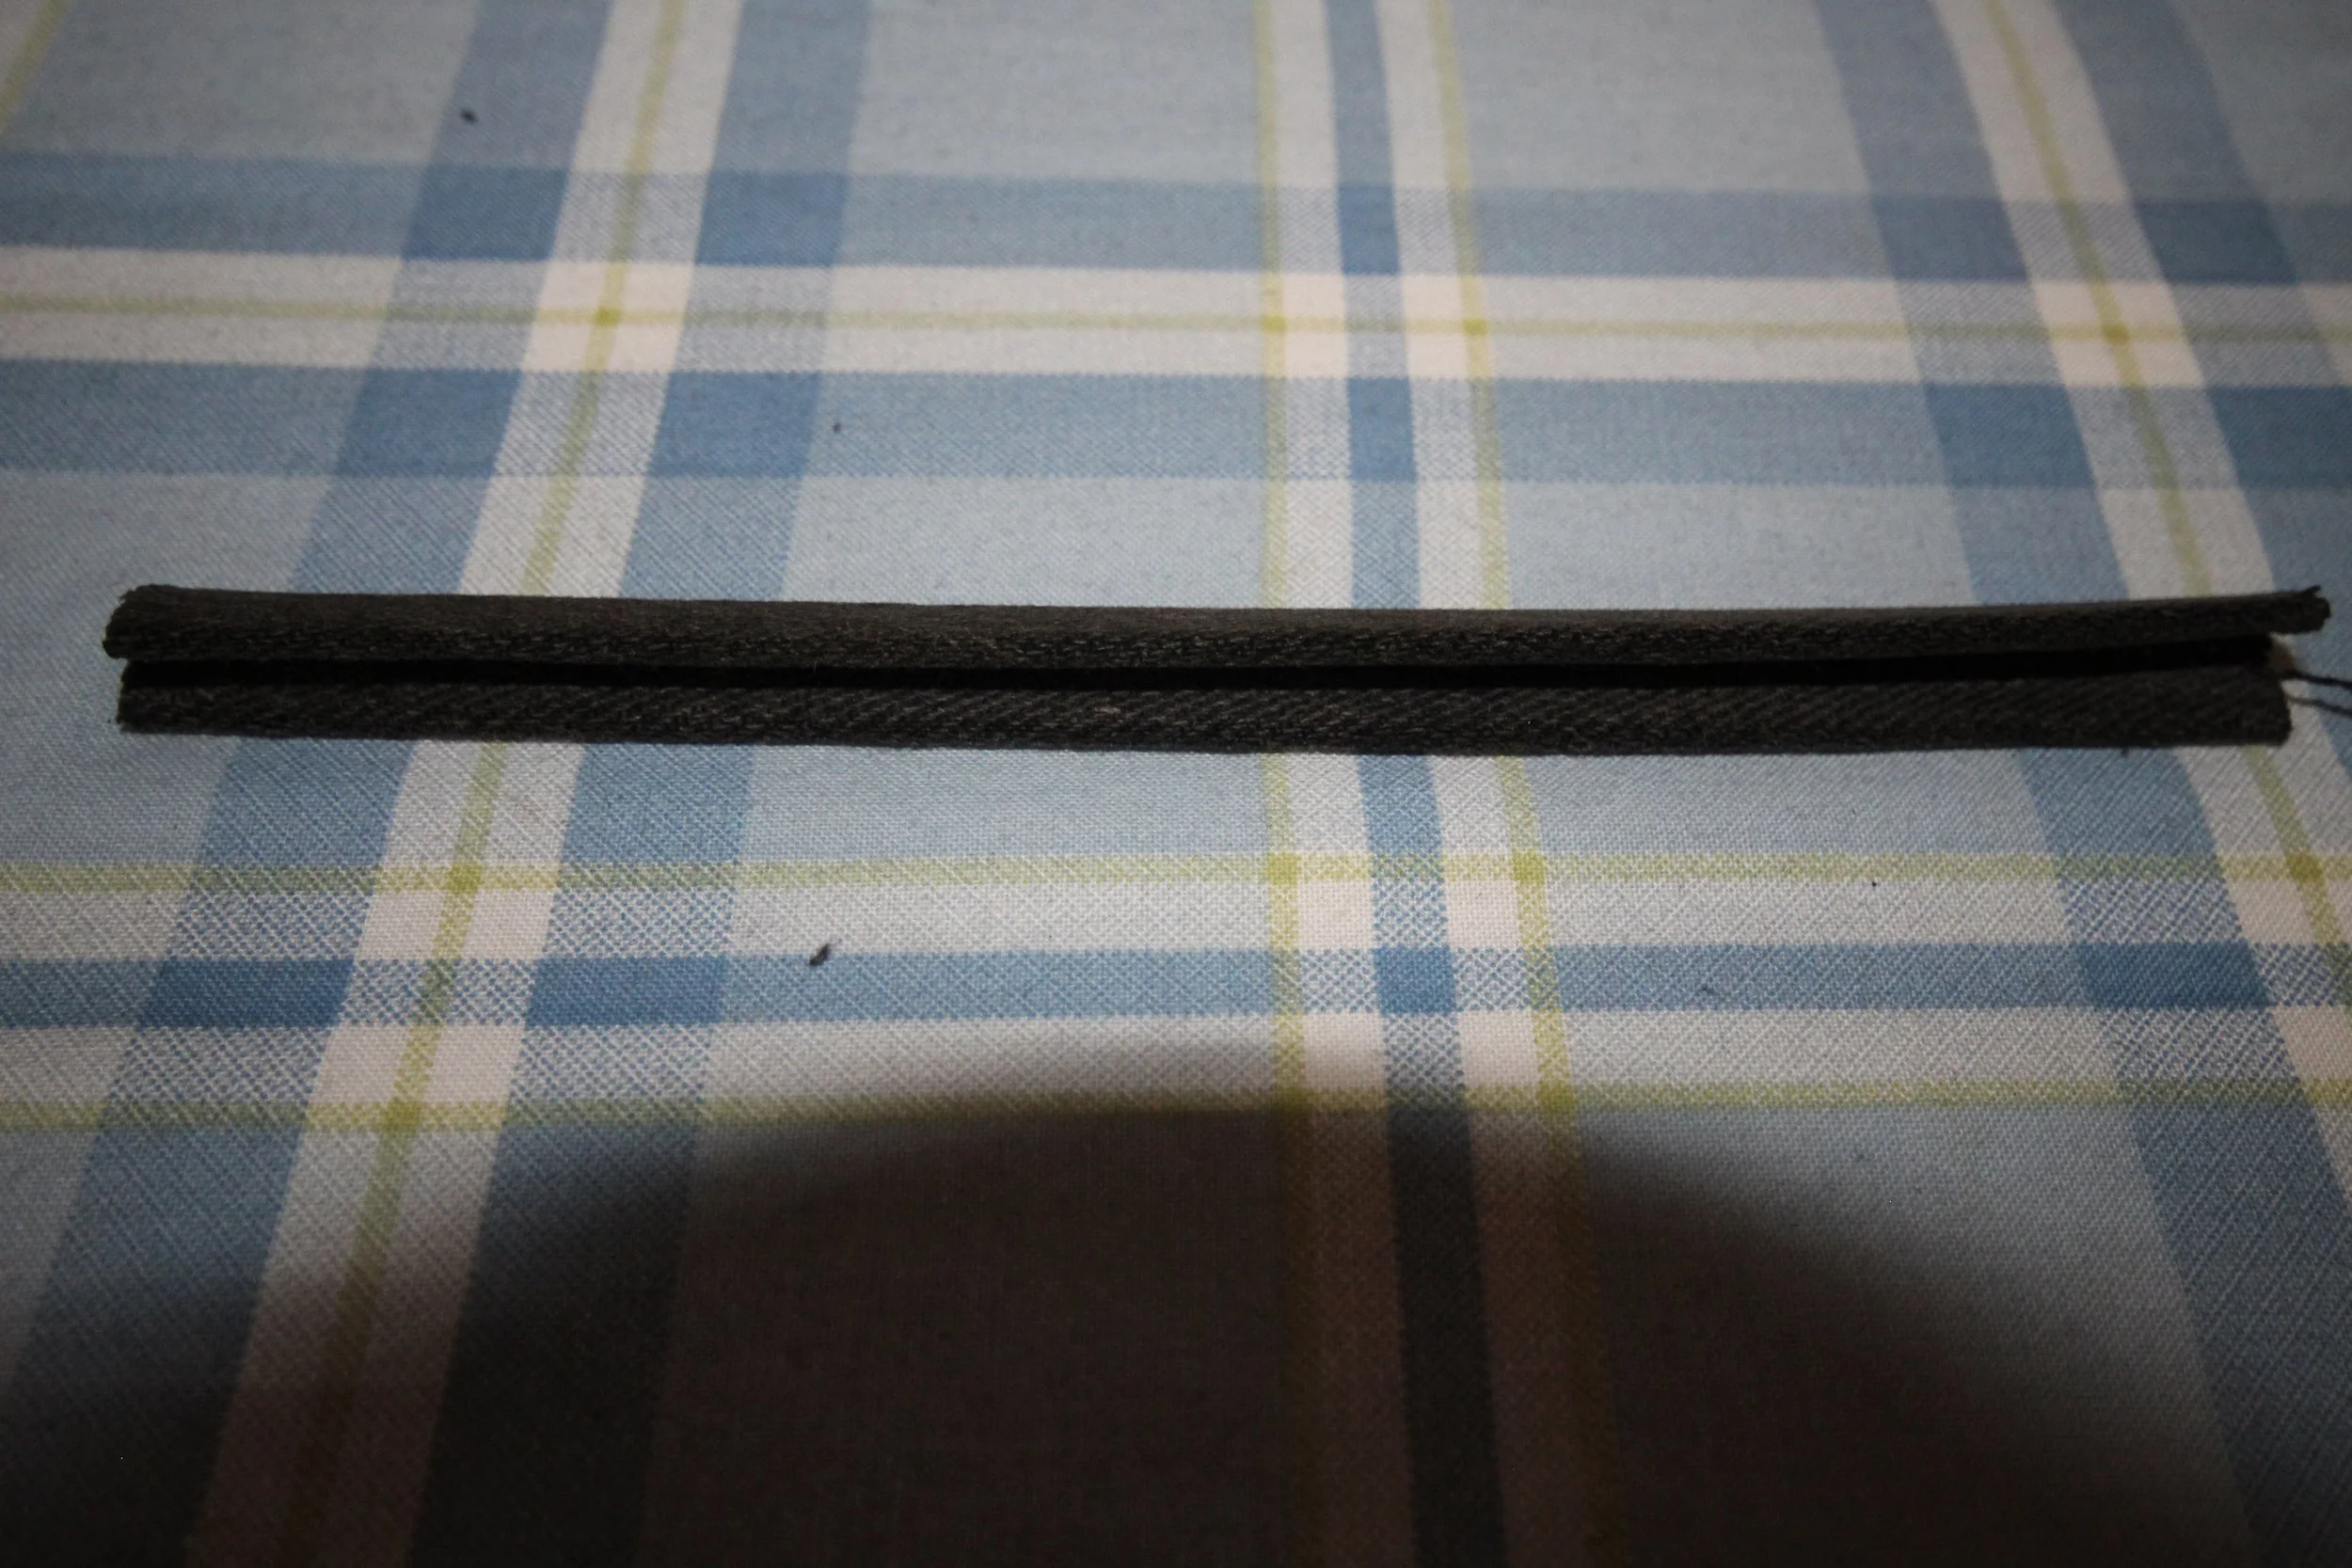
3. Topstitch along both edges to keep the strap flat and secure.
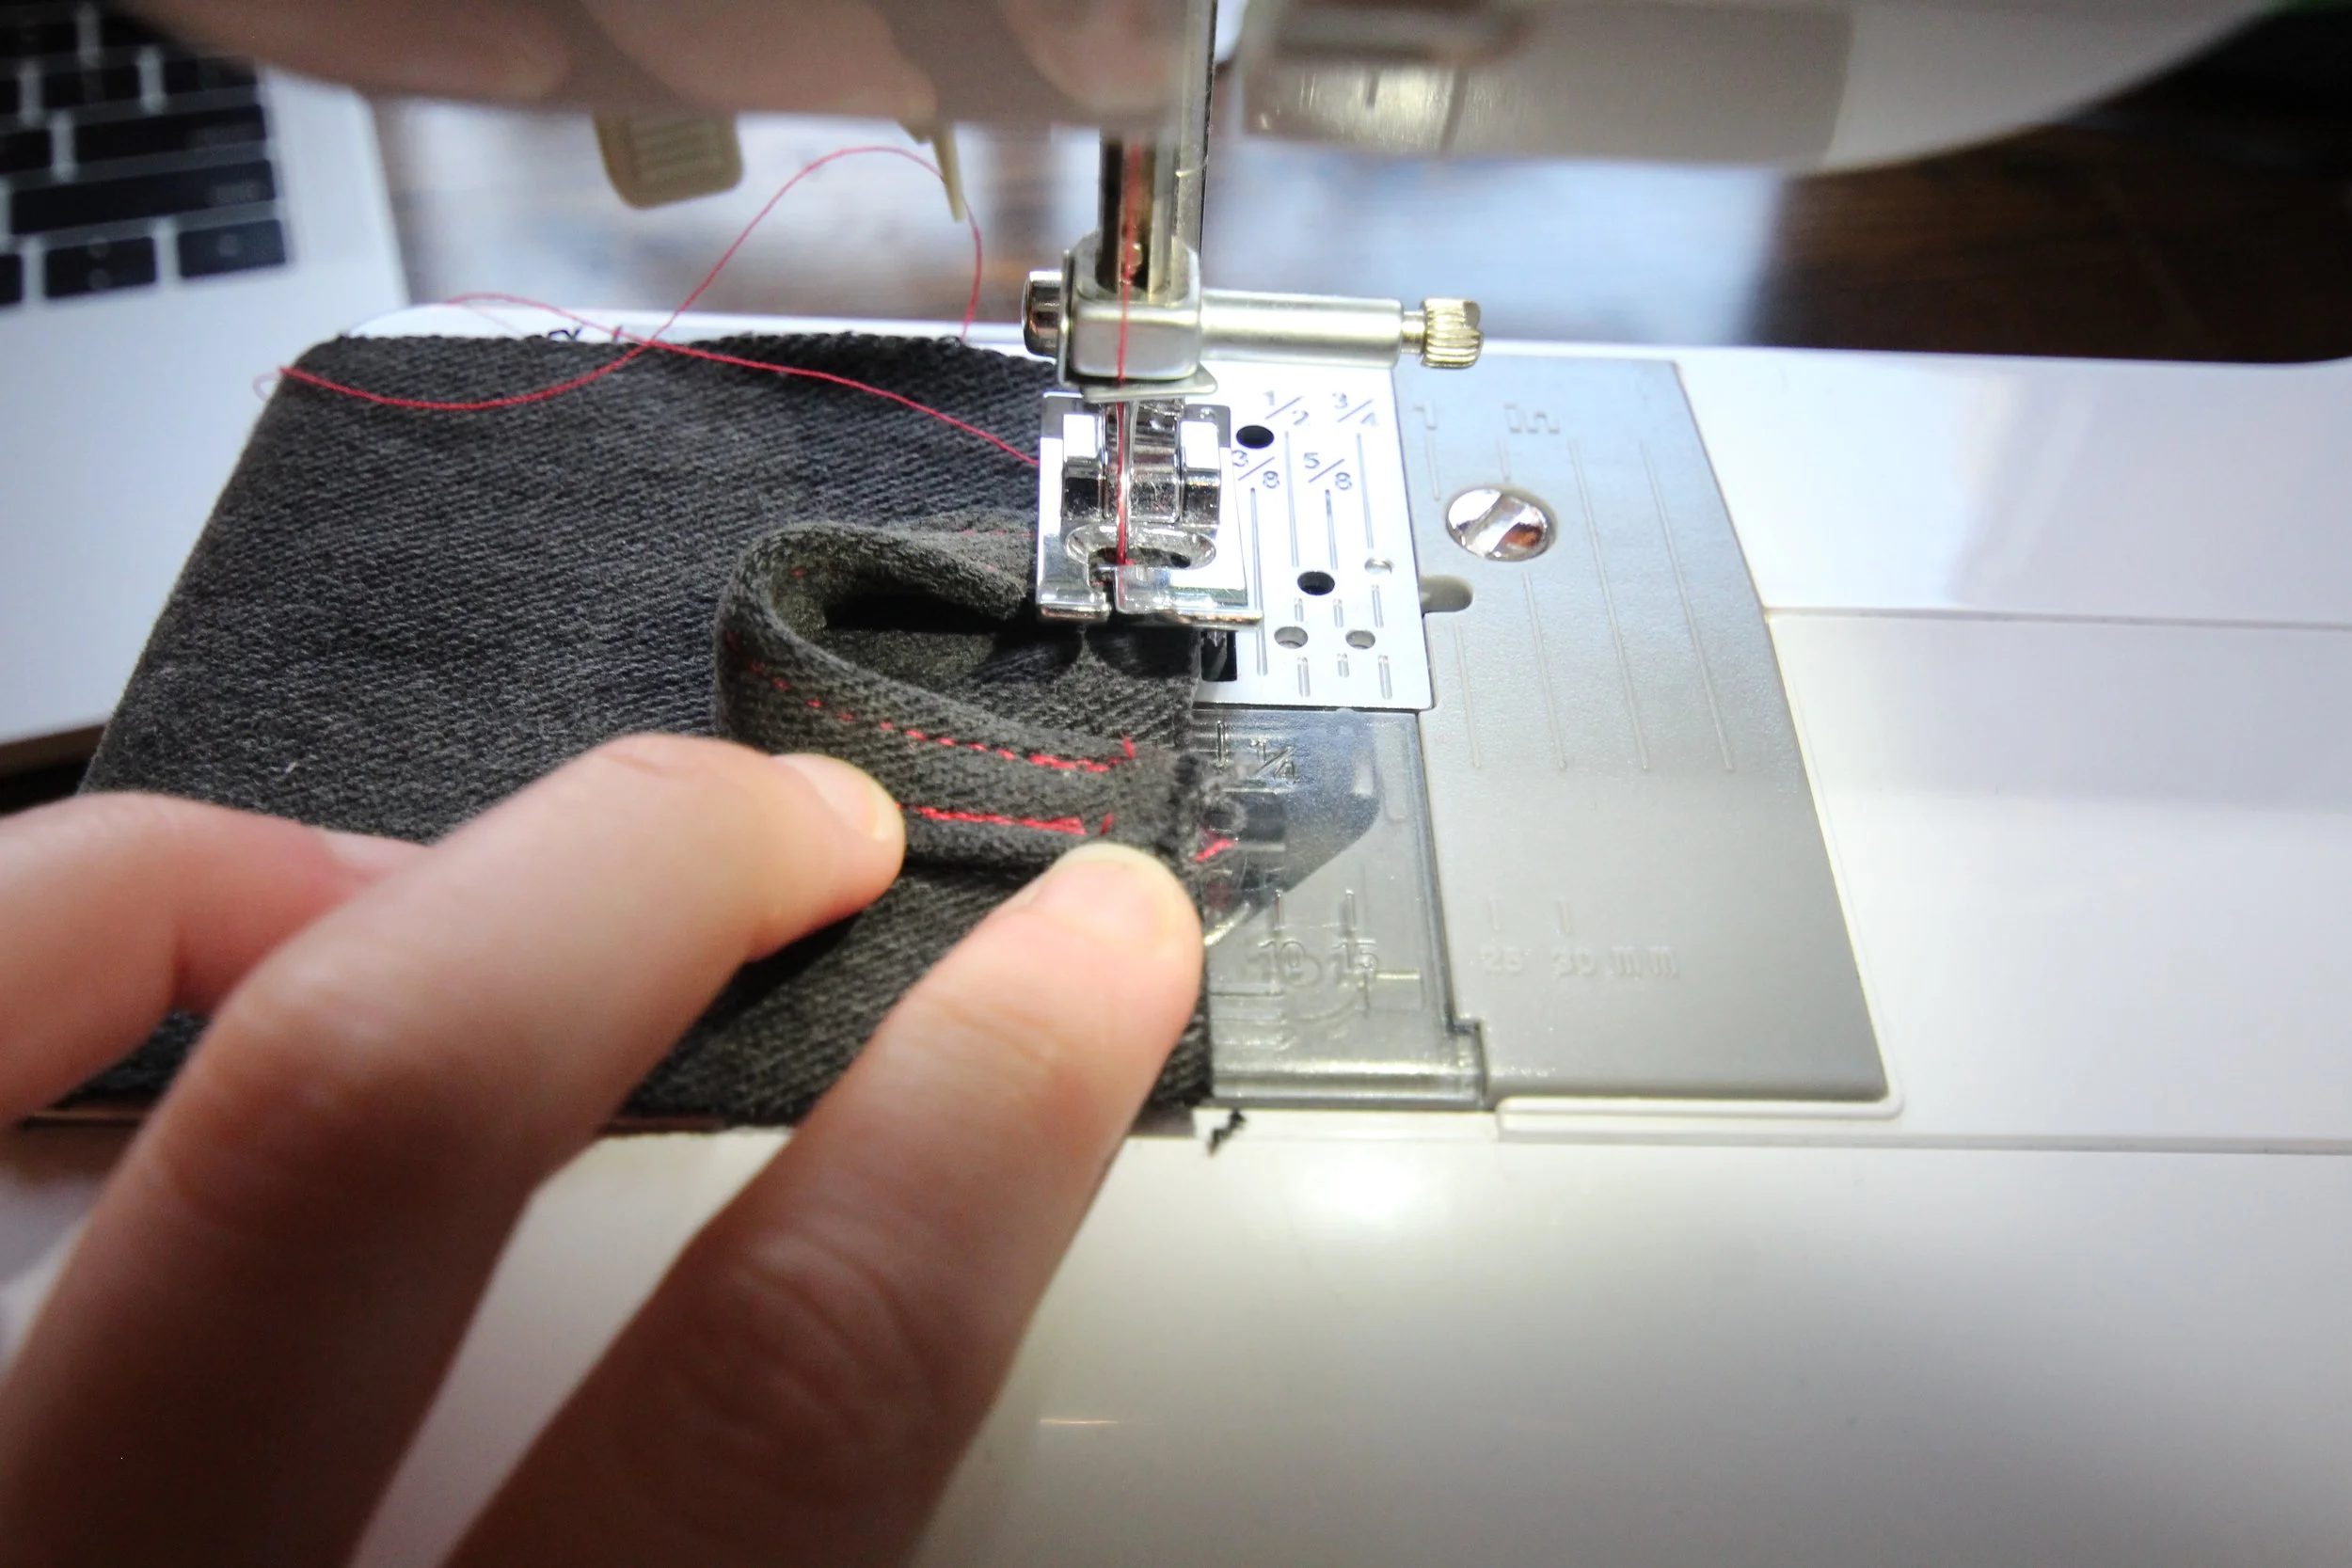
step 8: Attaching the Strap Tabs & Gusset
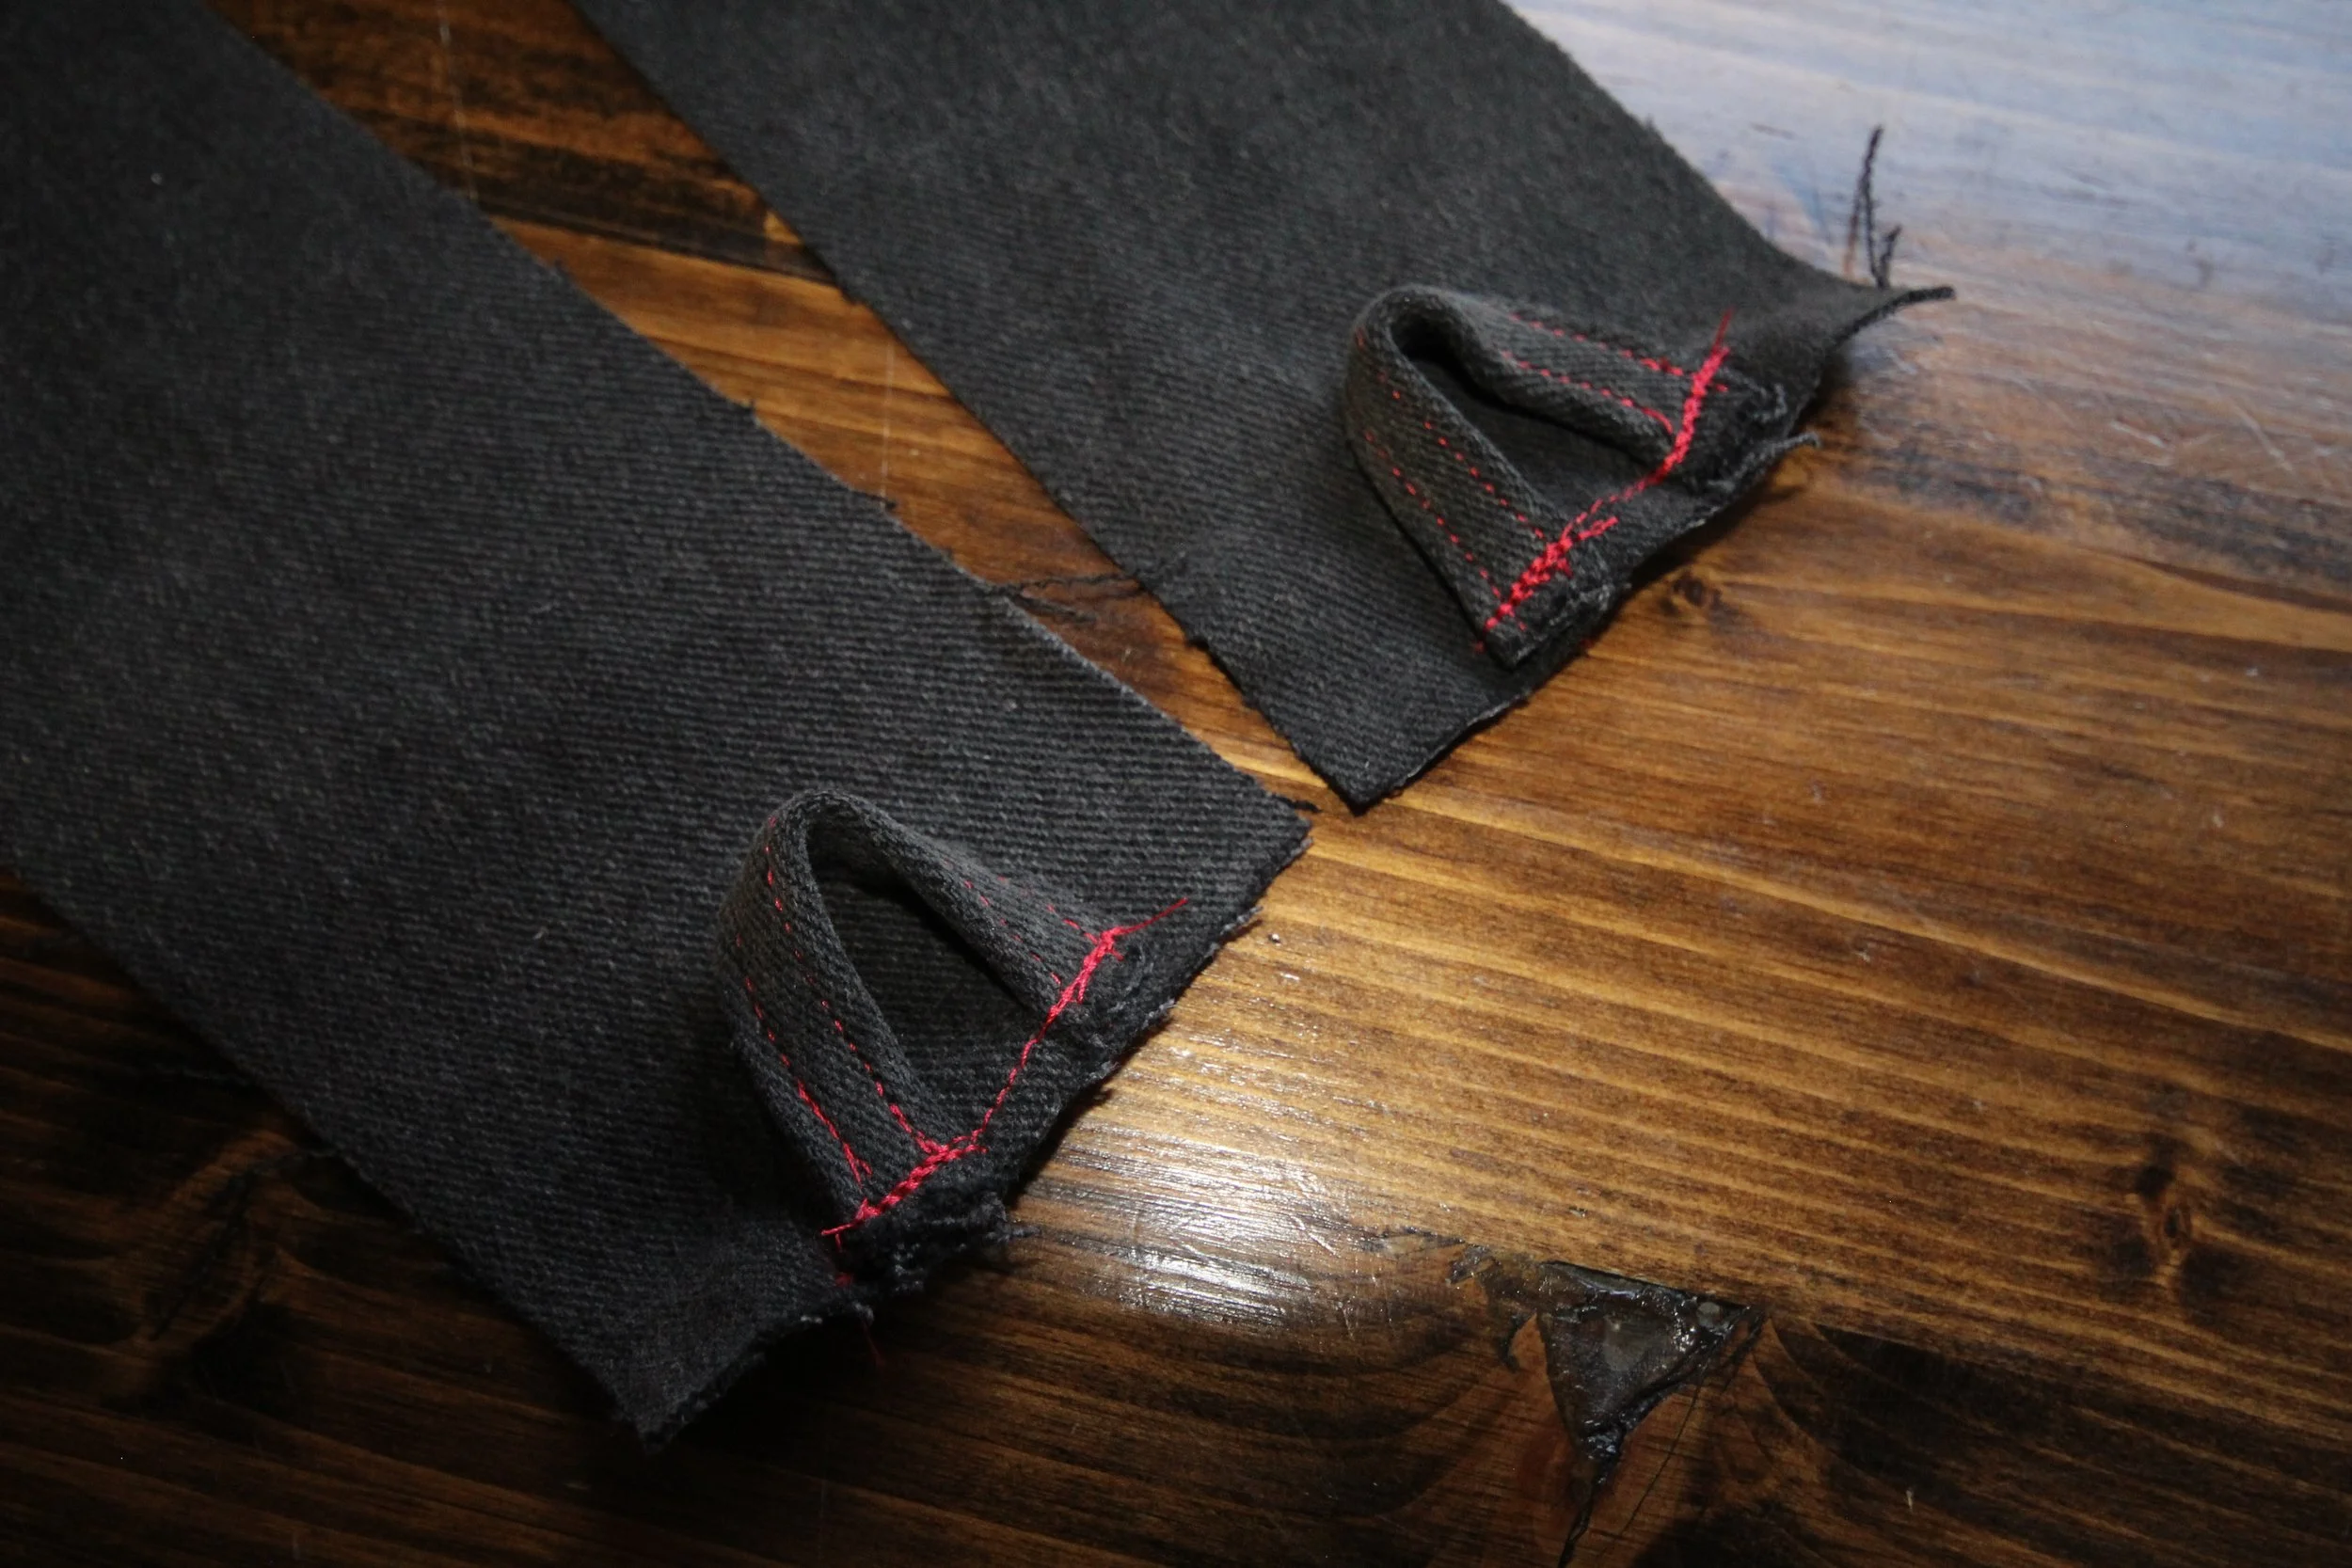
Take the strap tab you prepared earlier, fold it in half to find the center, and cut it in half.
1. Place and pin the strap tabs on the right side of the gusset, pinning each side of the strap tab about an inch apart so that it forms a loop and is facing the inside of the gusset panel. Pin one strap tab on each side of the gusset
2. Sew the strap tabs down at about ⅛ seam allowance. Make sure to backstitch several times as the tabs are bulky
3. Place and pin the zipper panel right sides together to the gusset, ontop of the strap tabs so that the tabs are sanwiched inbetween the gusset and the zipper panel - the loops going towards the inside. This will make the gusset and the zipper panel form one big circle.
4. Sew the zipper panel and gusset together at a ¼ seam allowance. Make sure to move the zipper pull out of the way so your zipper panel is nice and flat when sewing.
5. Trim the seam down and run a zigzag stitch or use an overlock foot to finish the inside seam.
Step 9: Assembling the Bag
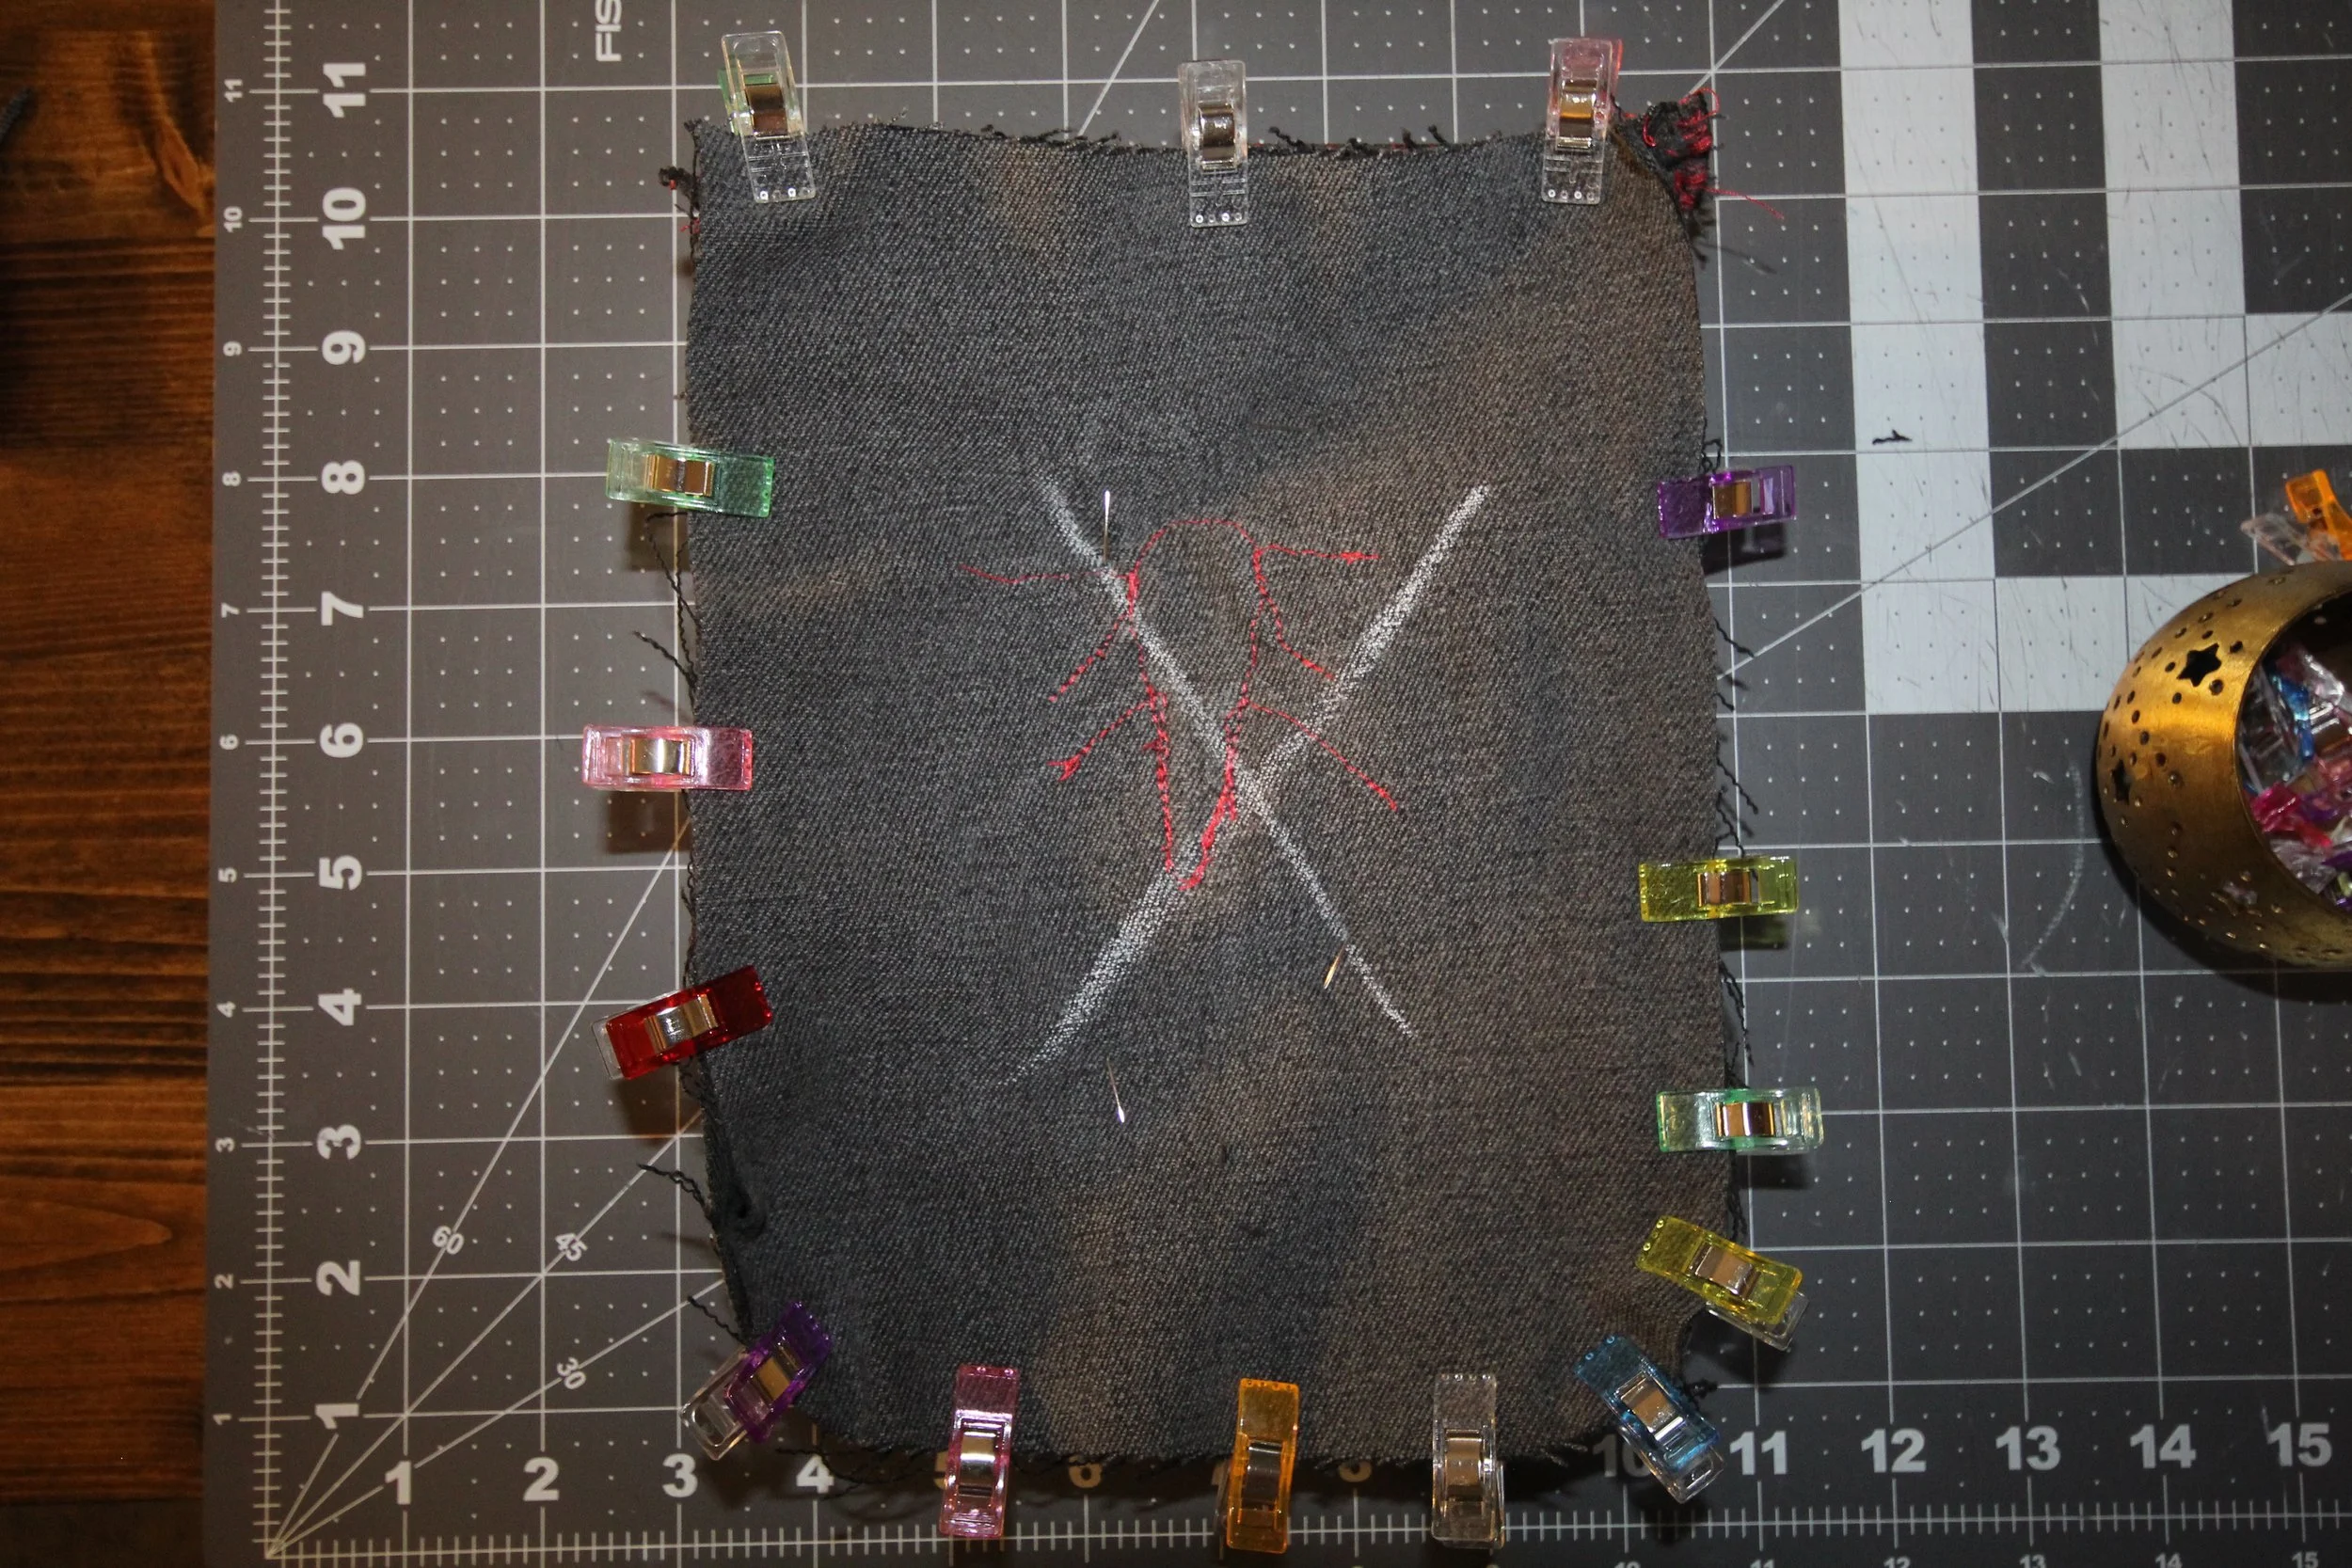
1. Attach the Pocket – Pin the pocket to the back panel, aligning the bottom curves.
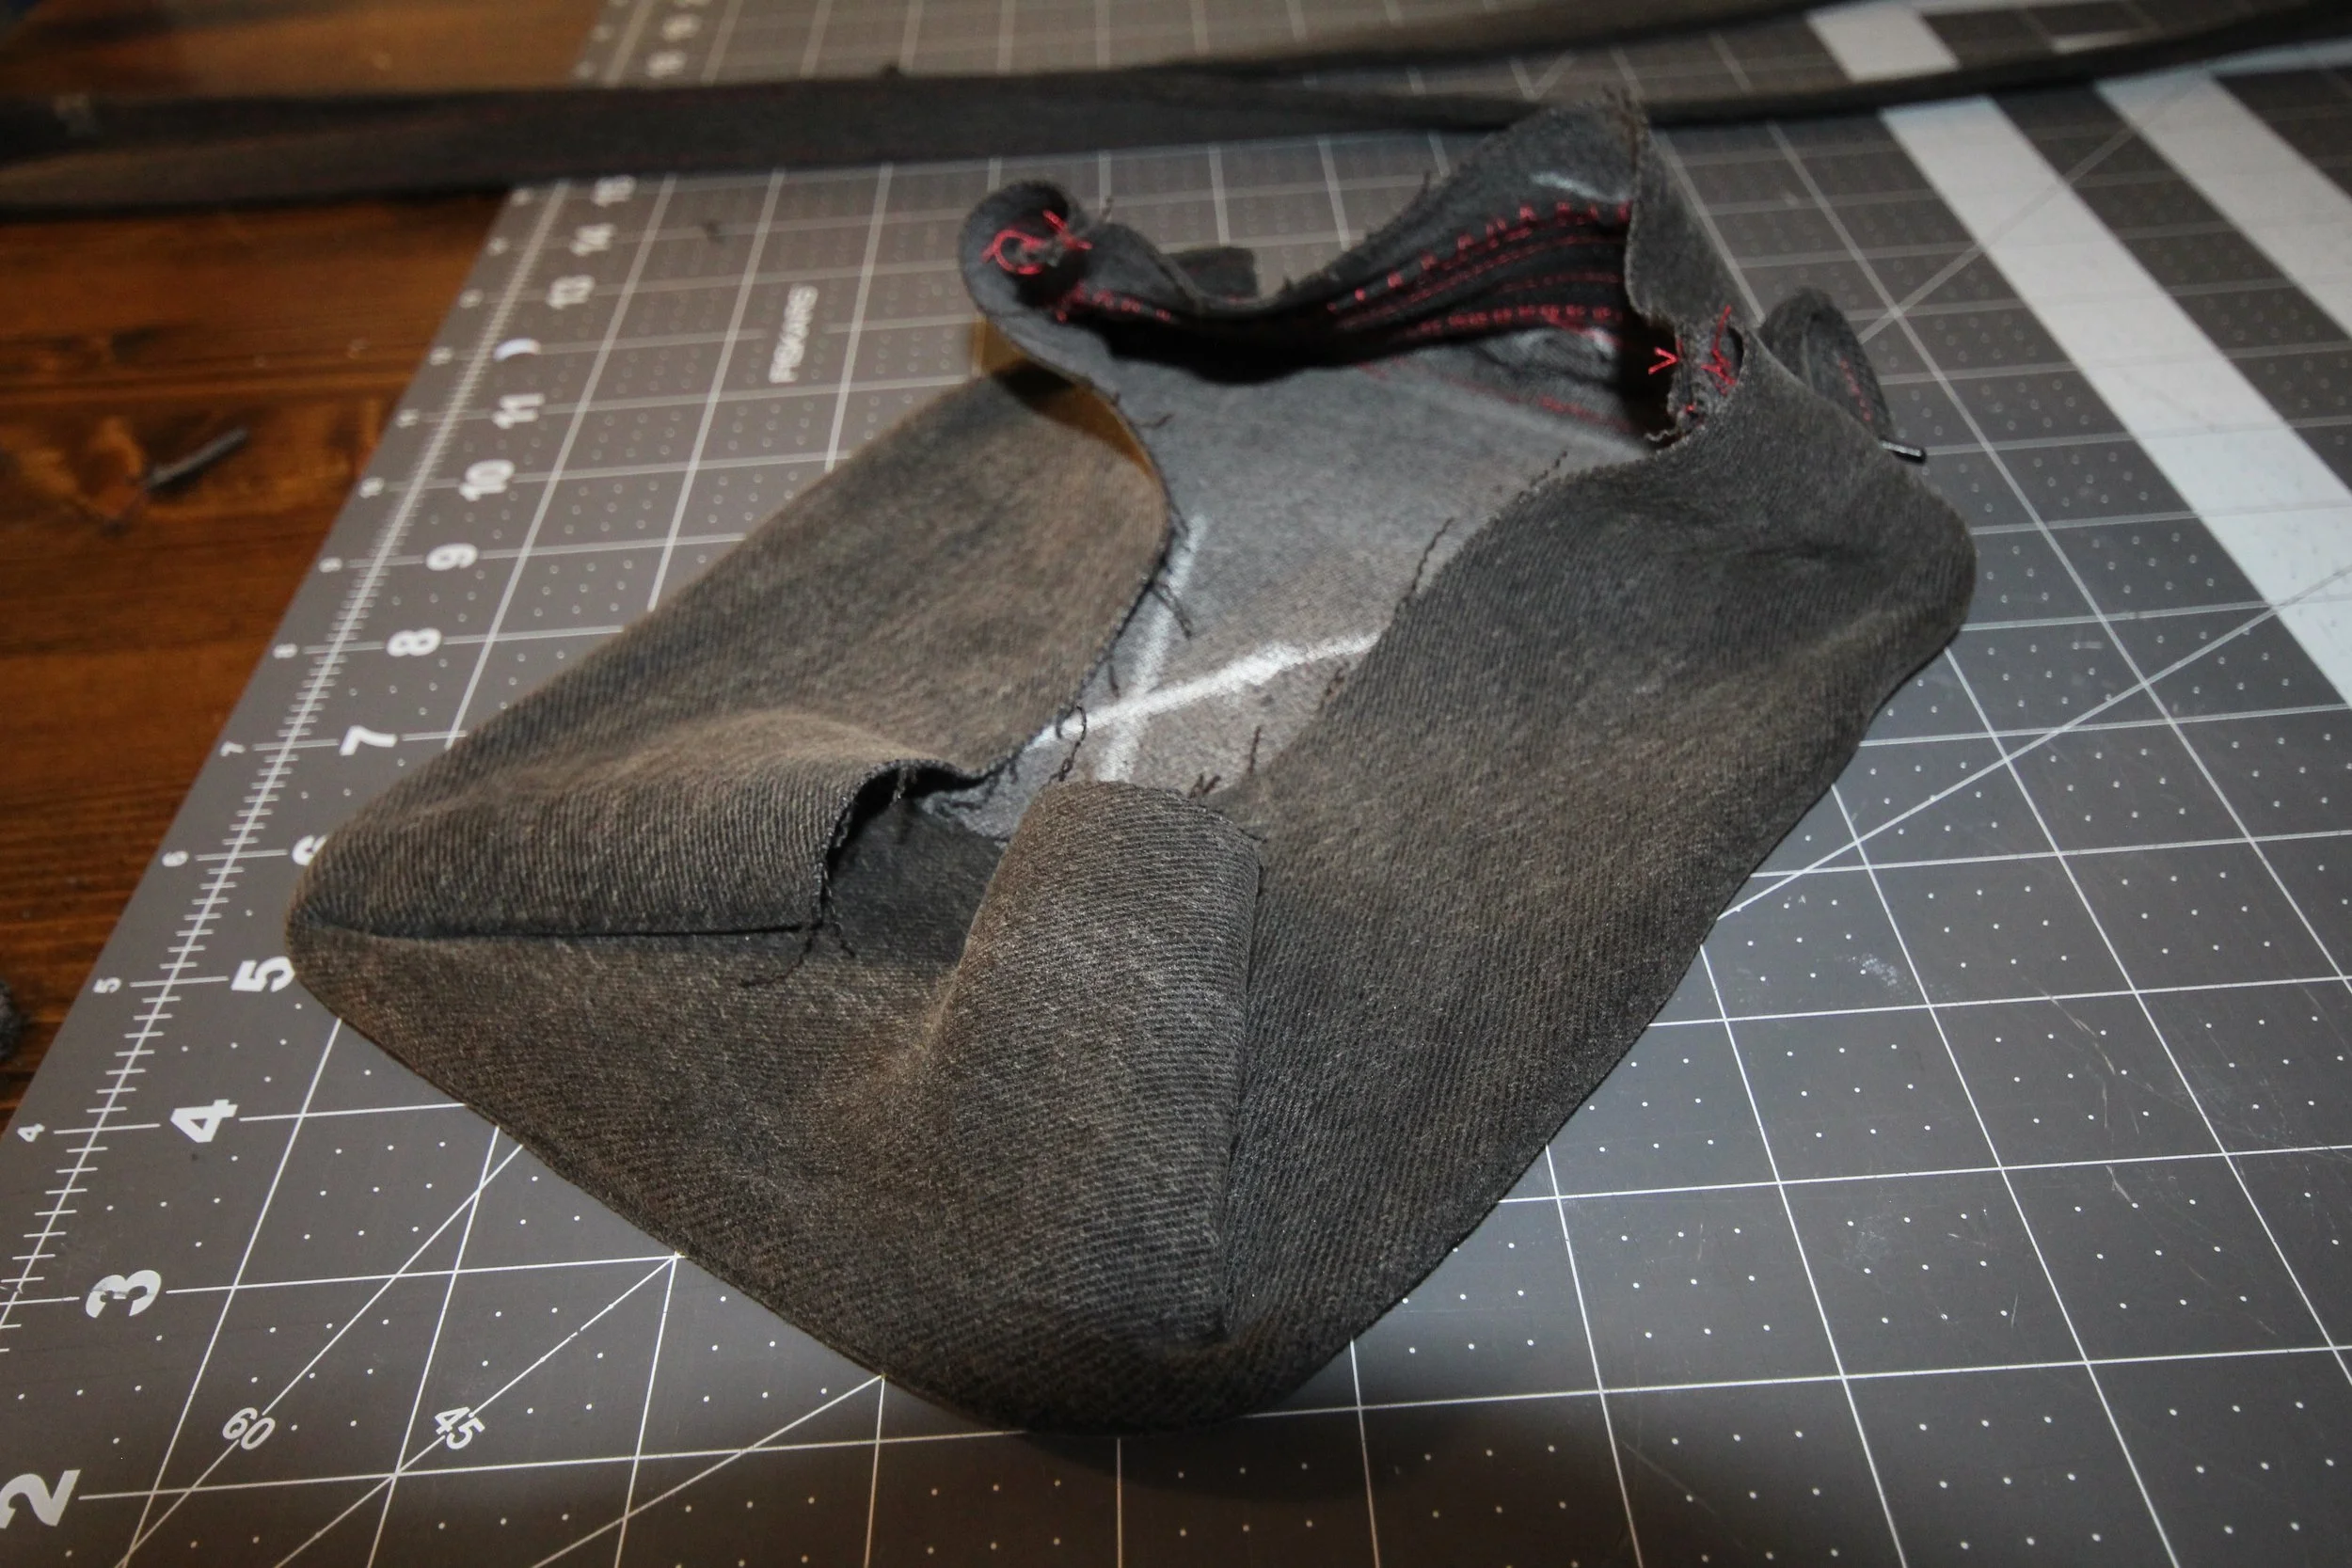
2. Attach the Gusset & zipper – Pin the loop we created before to the back panel, right sides together. Align the top corners of the bag to the seams where the zipper panels and gusset meet
Evenly Distribute the Gusset – The gusset should wrap smoothly around the back panel without any excess fabric. Taking your time to pin evenly will ensure the best results.
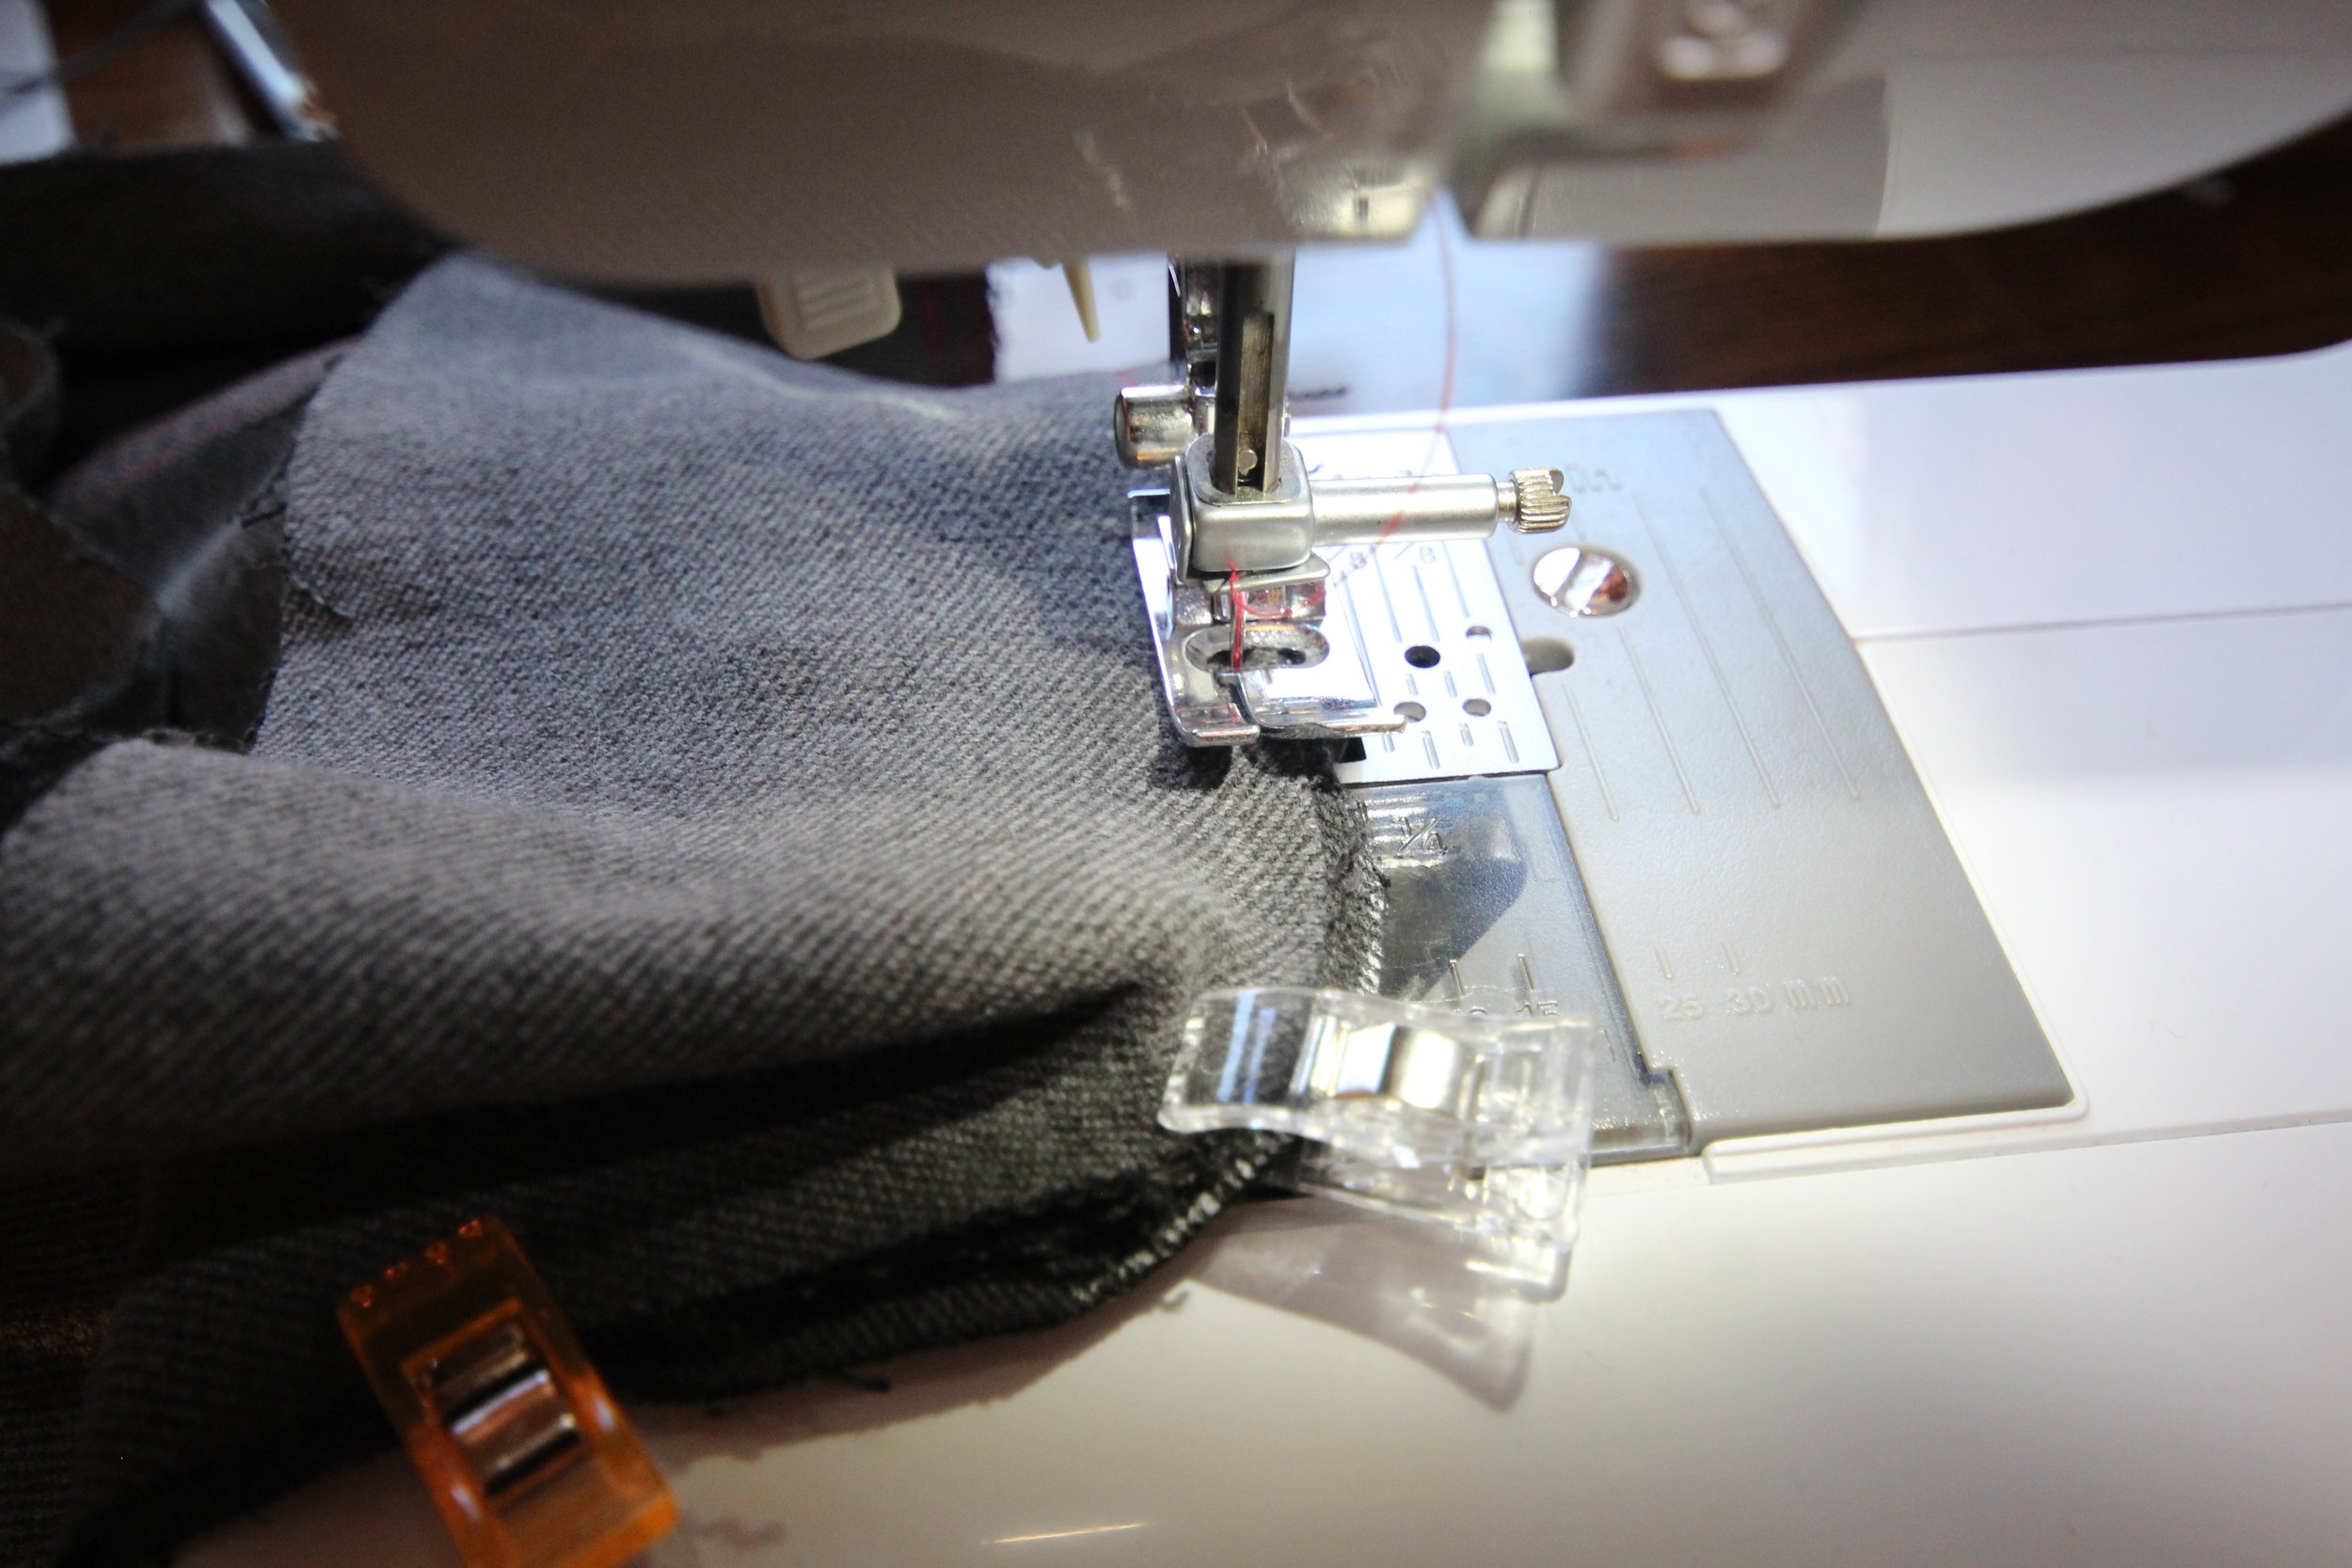
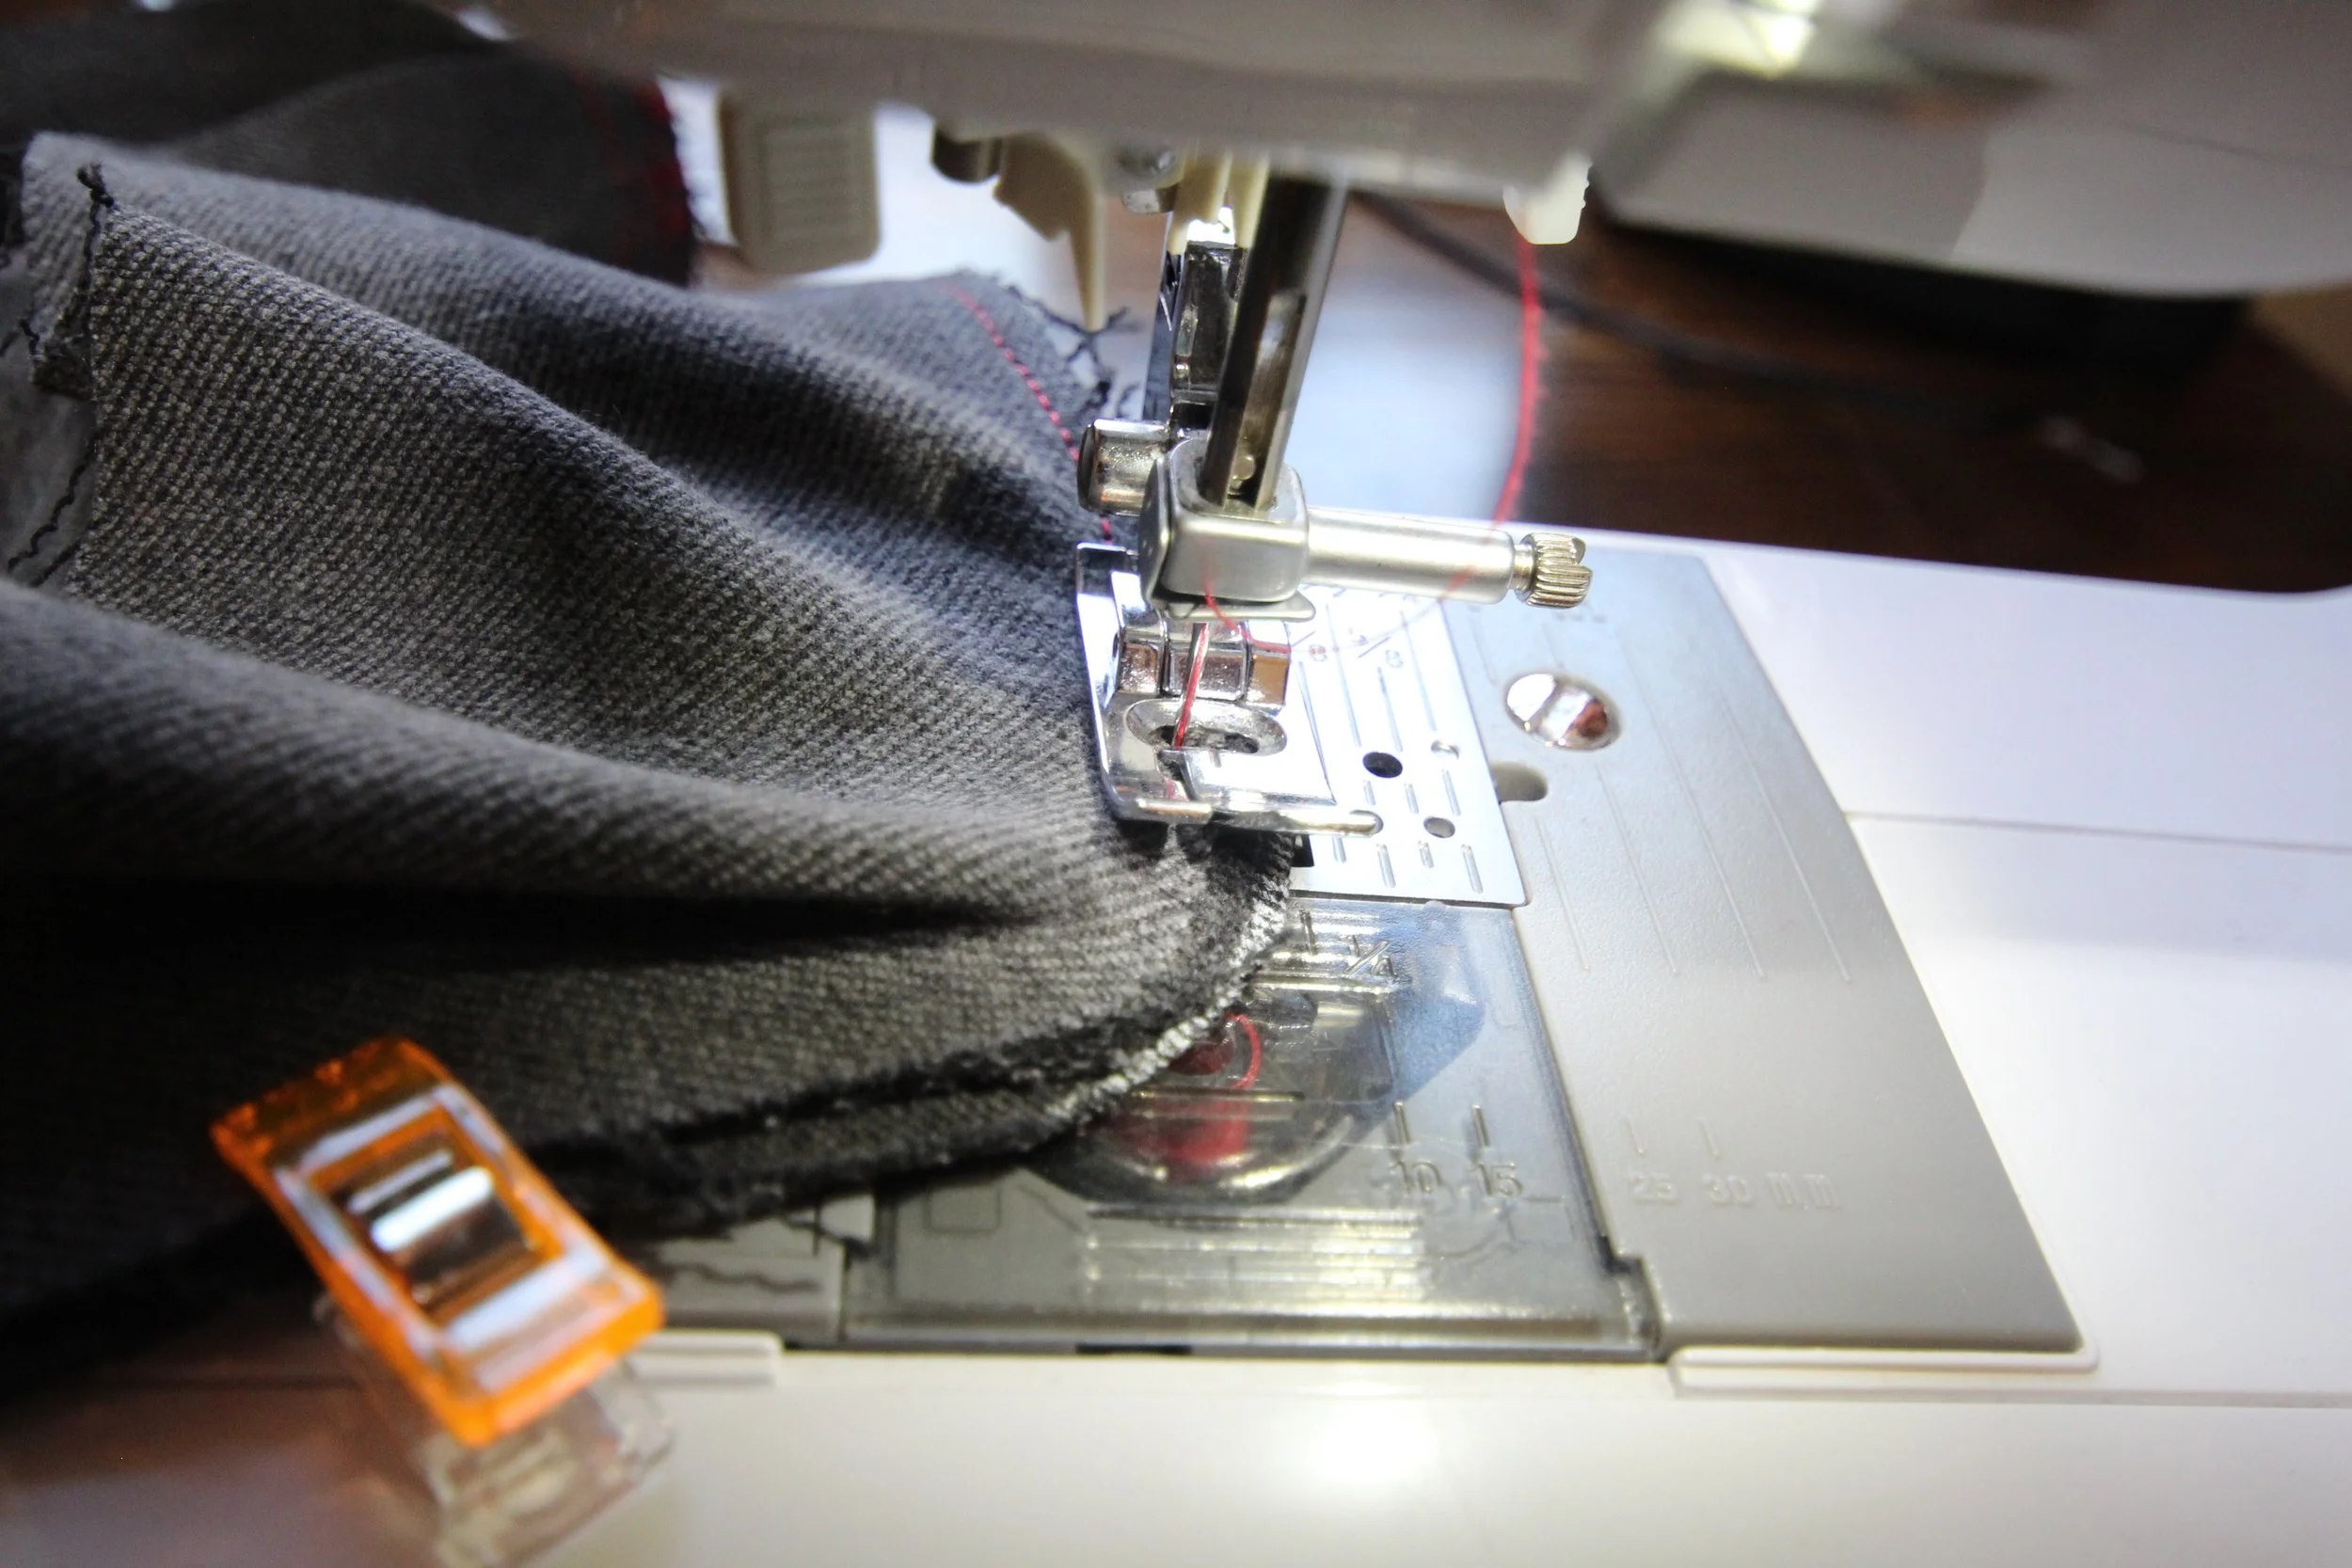
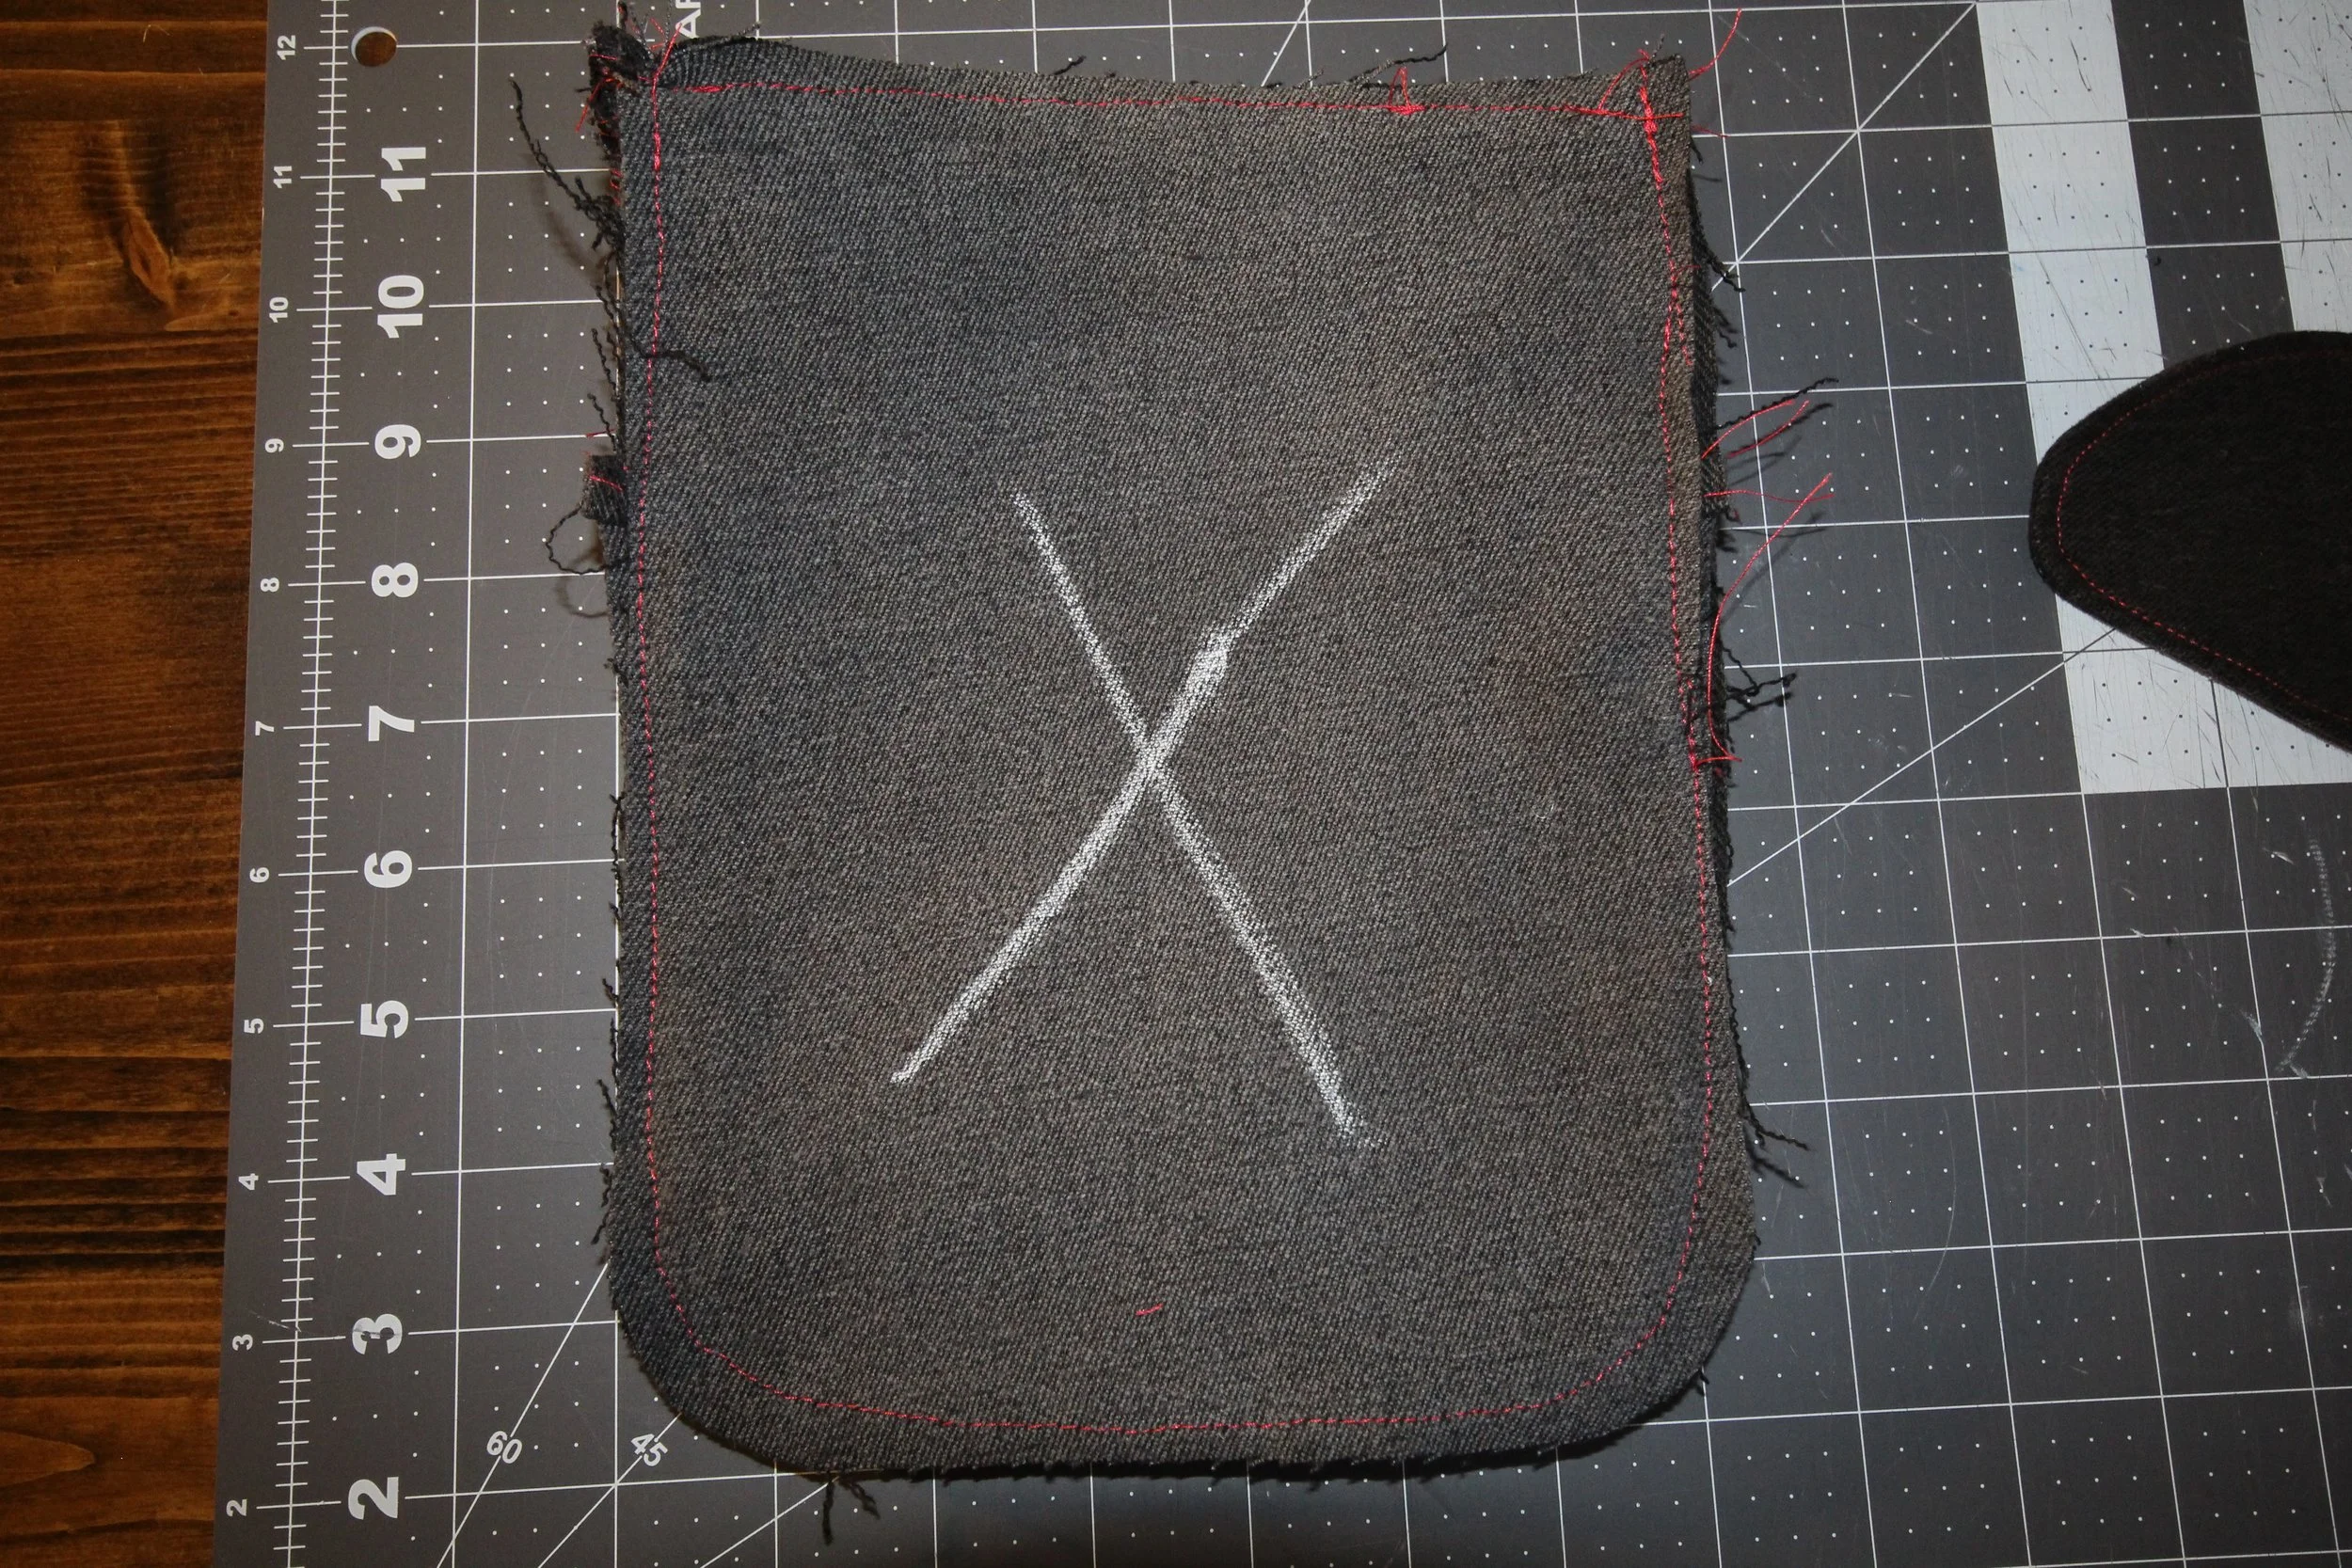
3. Sewing the French Seams (Inside Out Method) – This project uses an inverted French seam technique, which adds structure by taking advantage of the seam’s bulk to help the bag hold its shape - the finished seam is exposed on the outside.
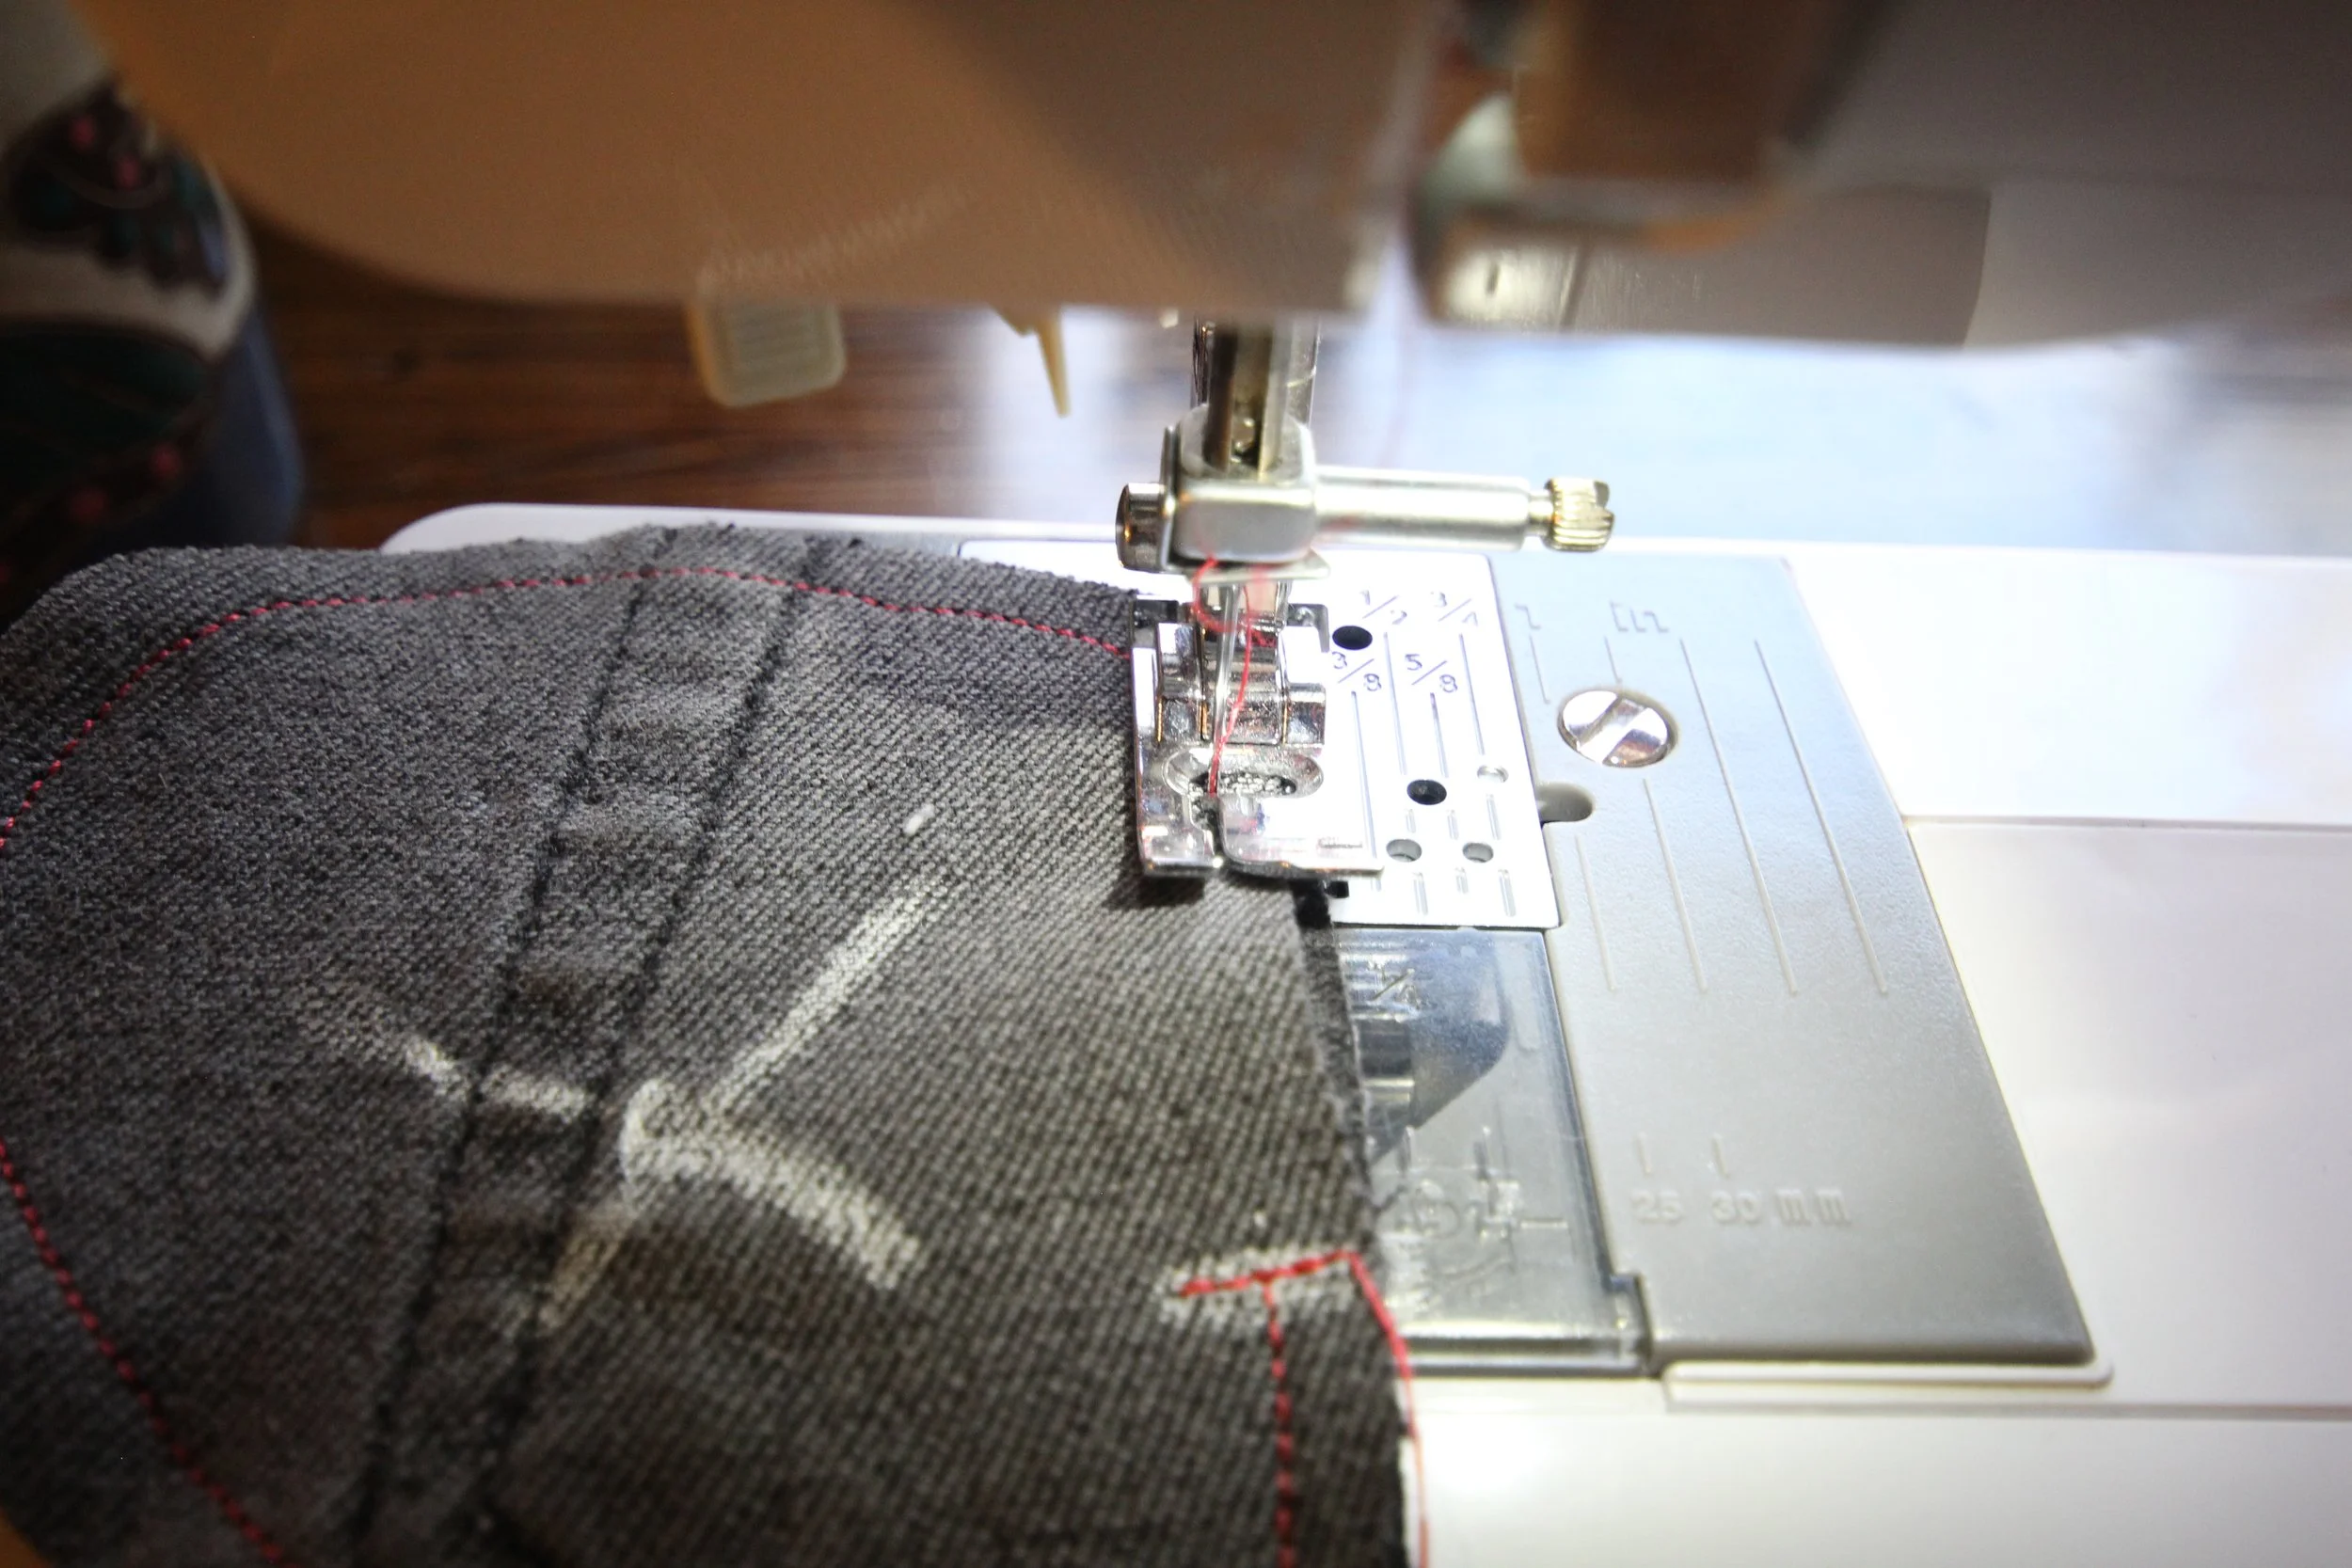
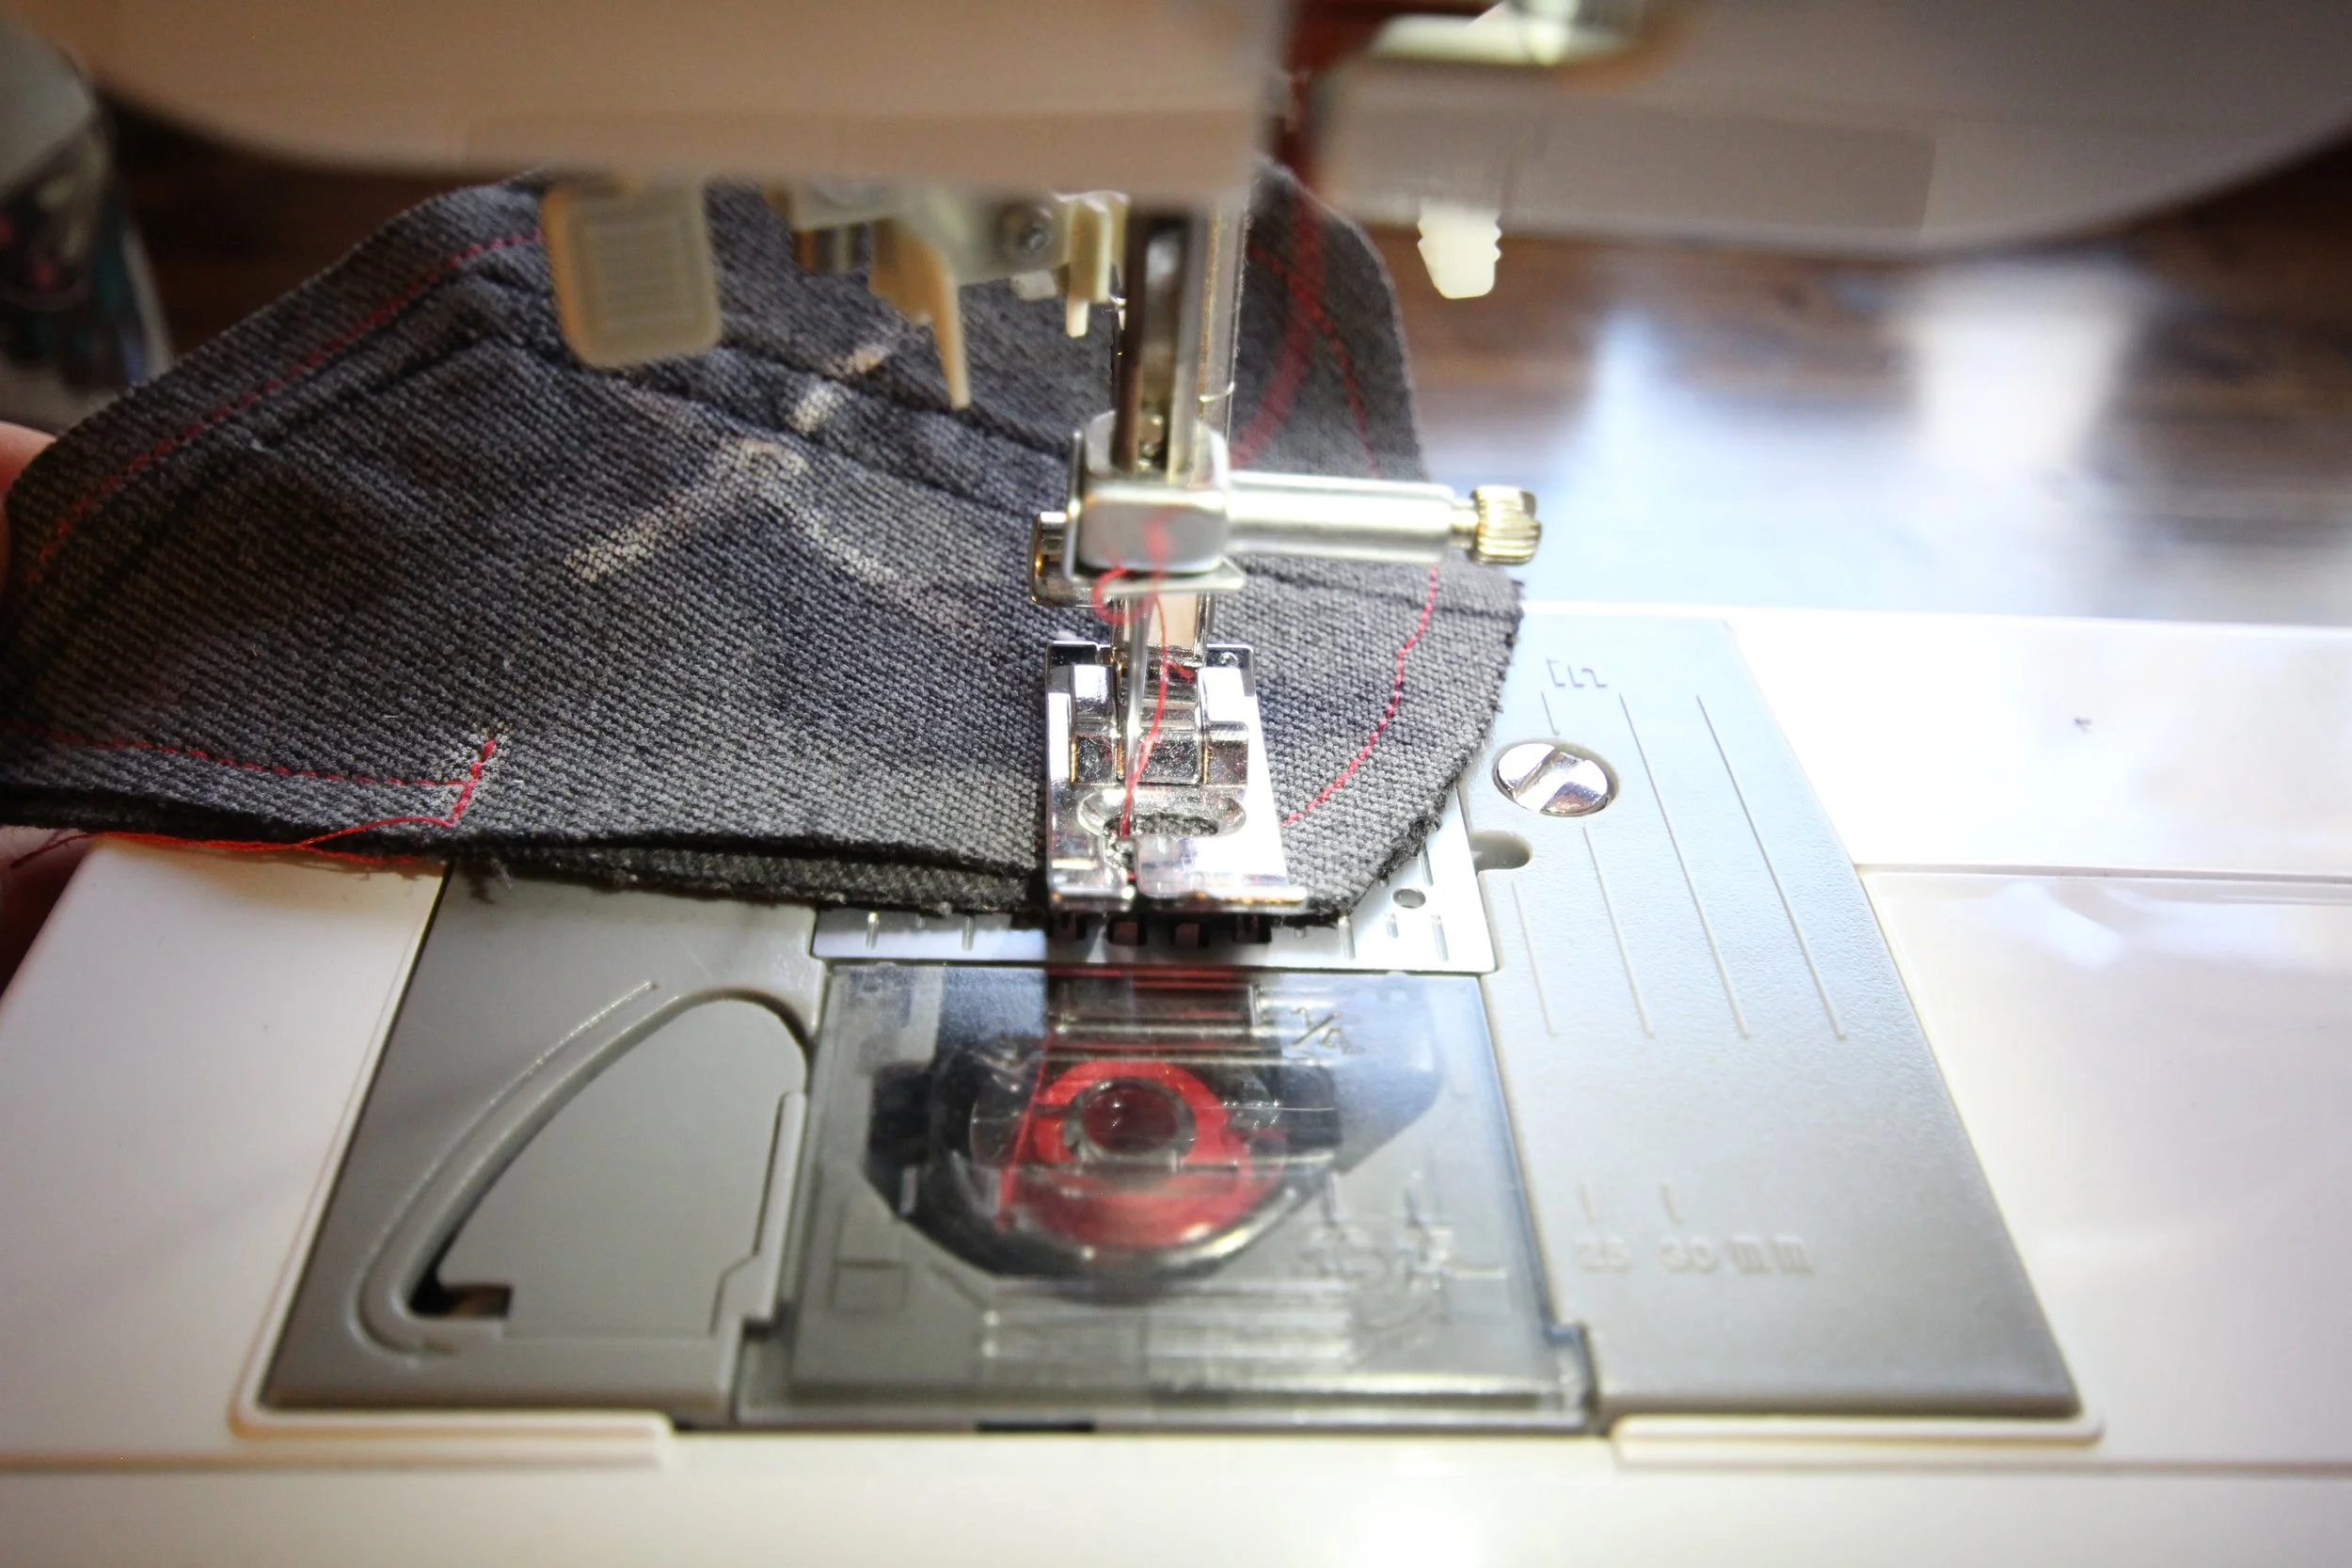
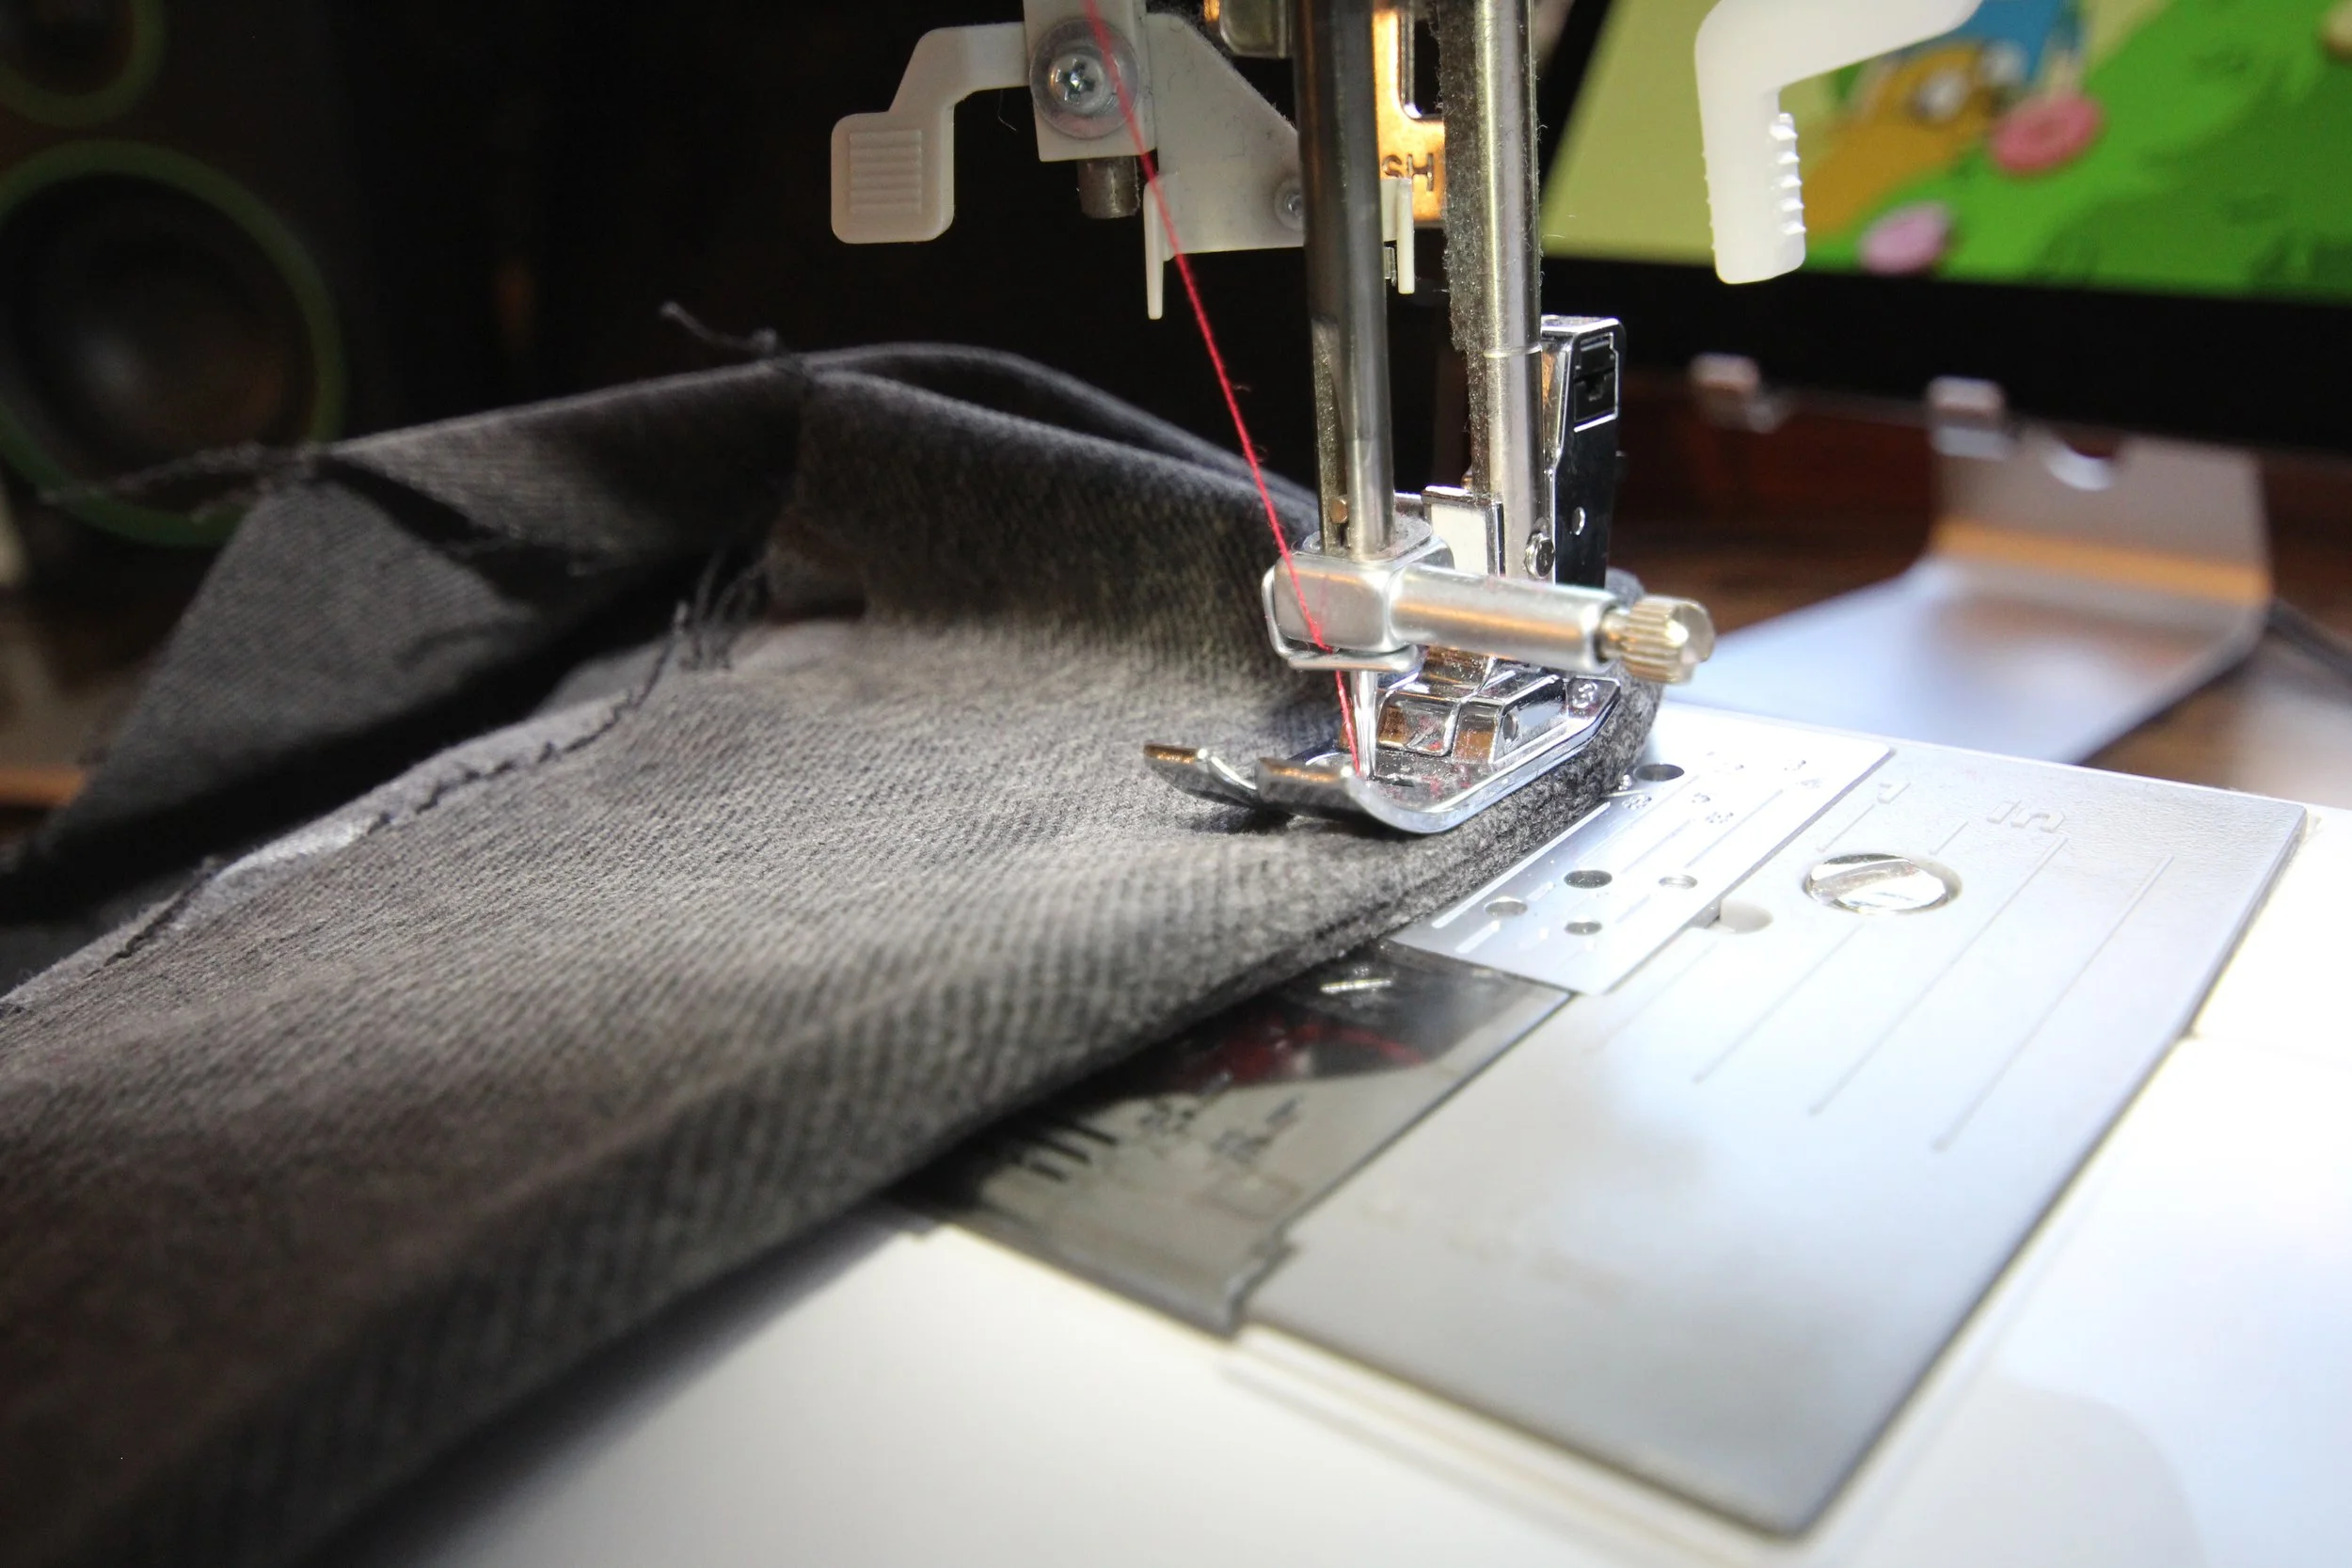
Sew around the gusset with a ⅛" seam allowance, stitching close to the edge. Work slowly around the curves, lifting the presser foot (with the needle down) as needed to smooth out the fabric.
Trim the seam allowance as close as possible without cutting into the stitches.
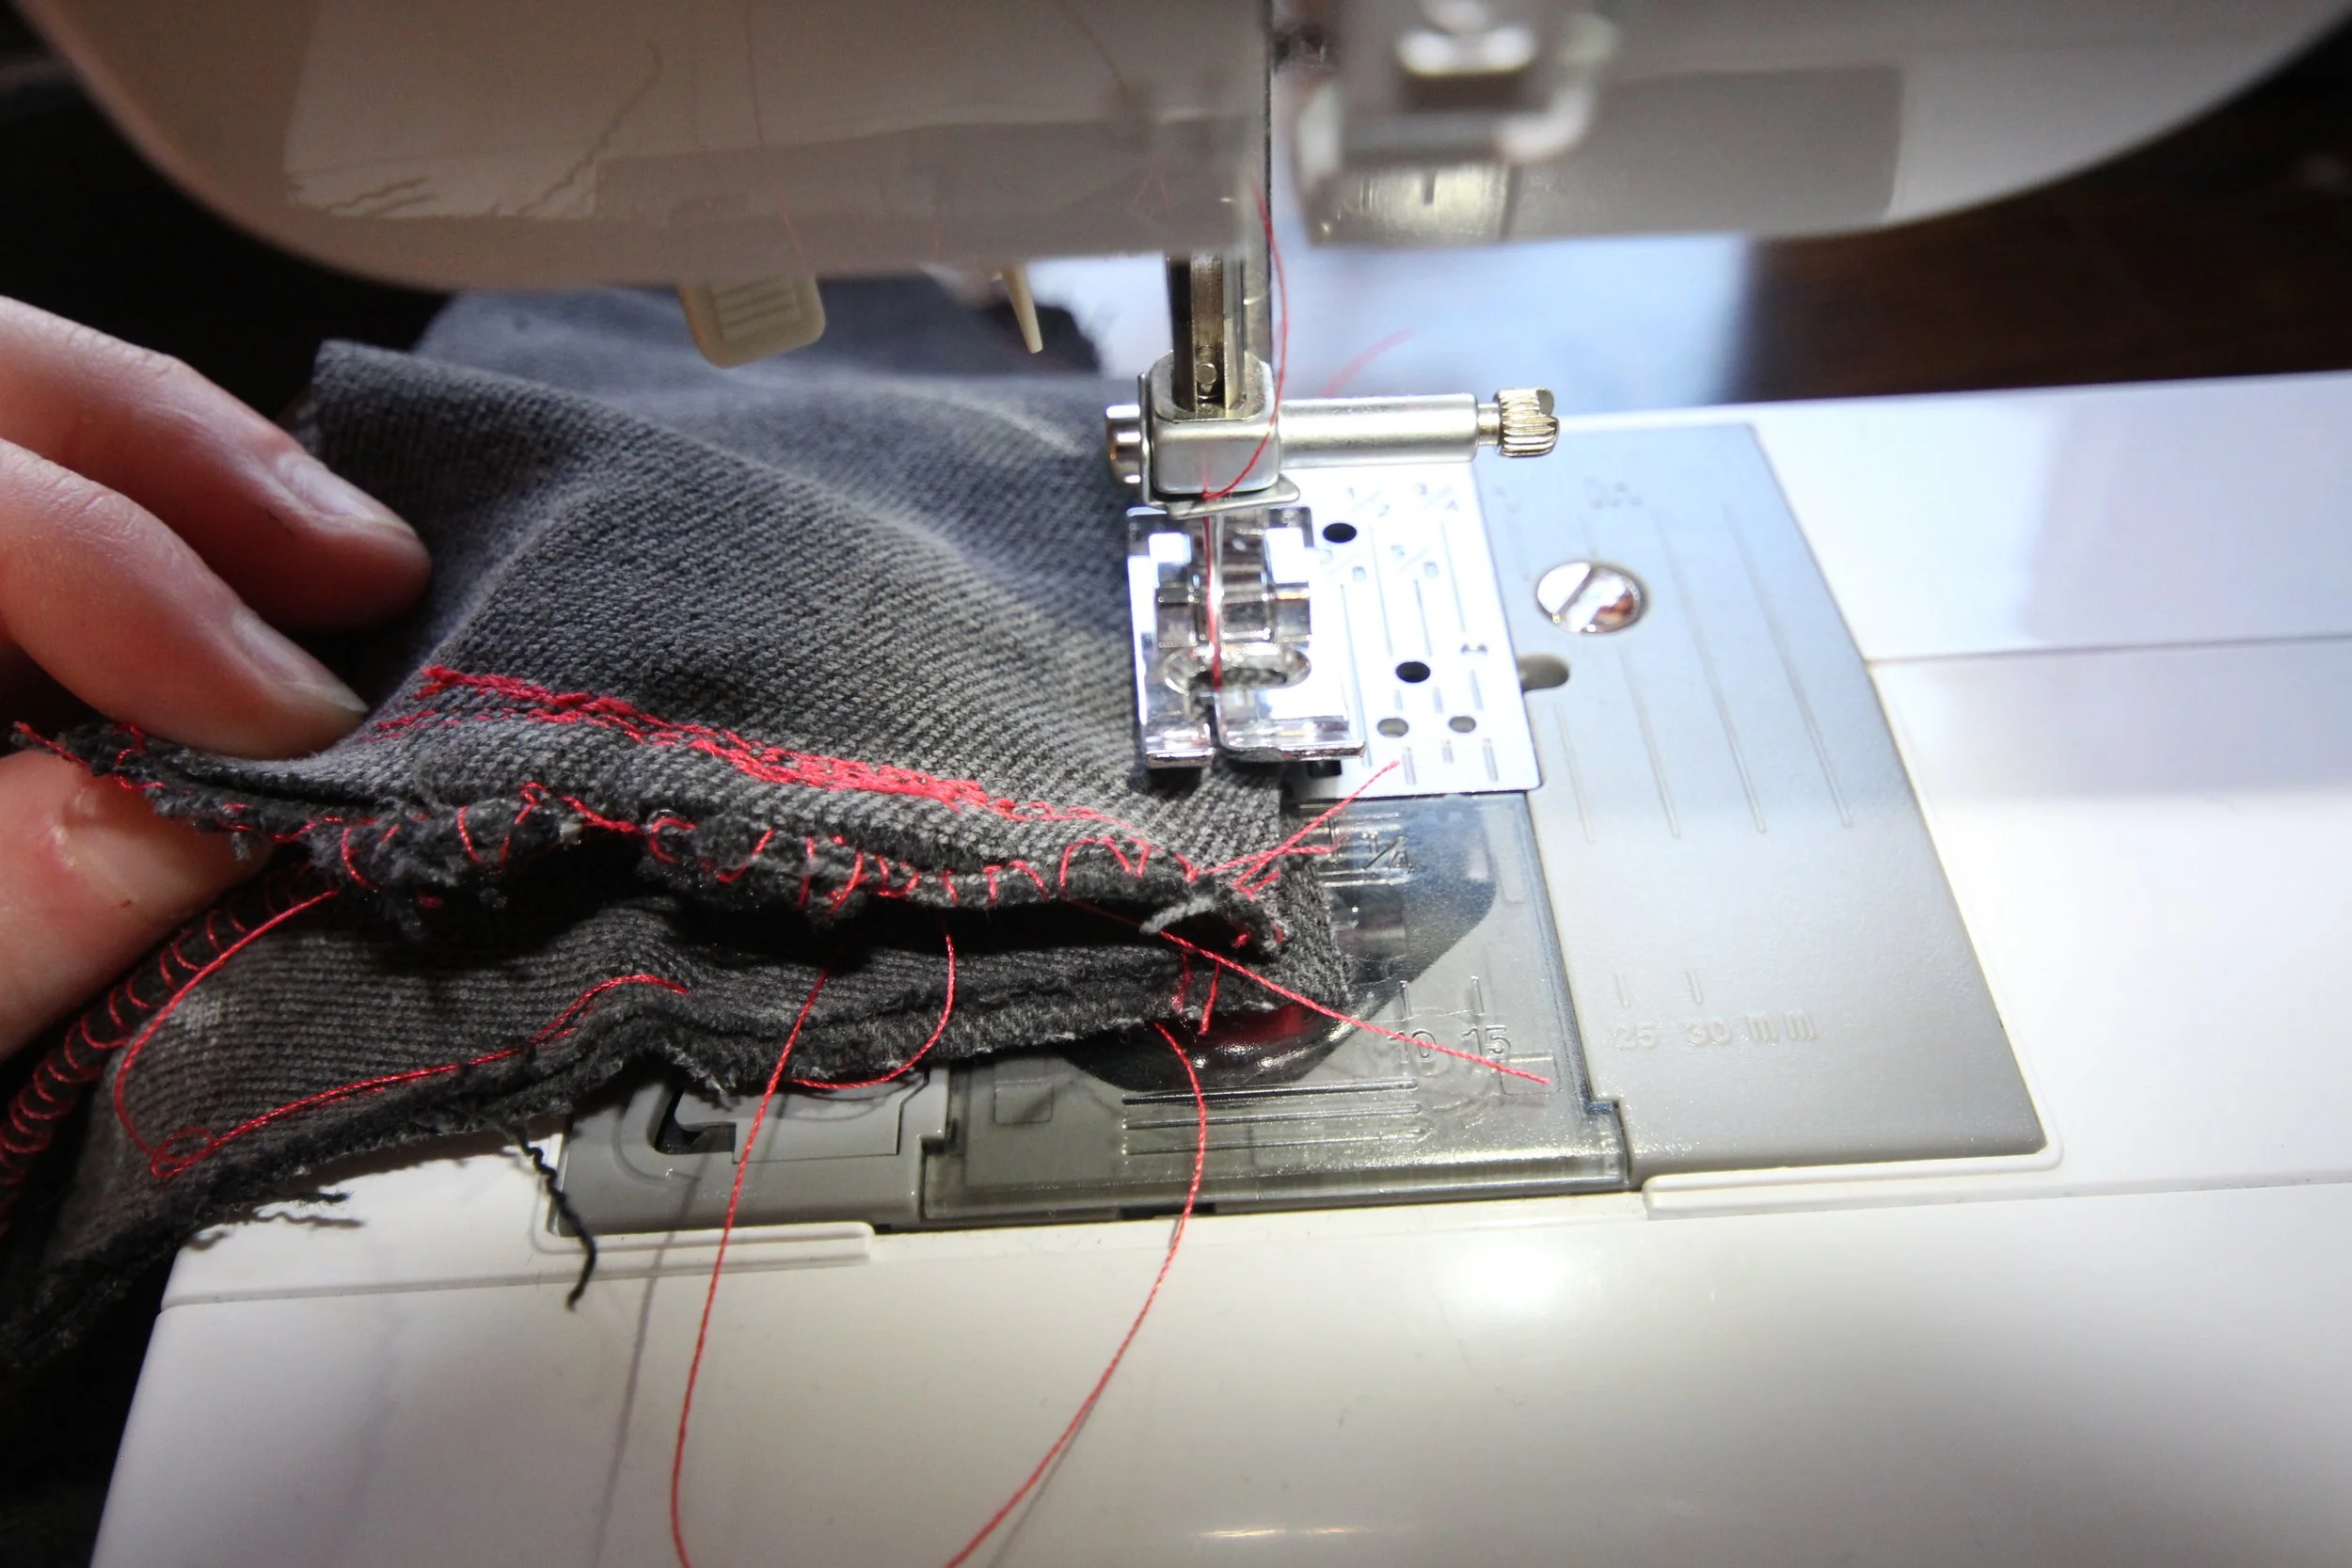
4. Turn & Press – Flip the seam right side out and press it flat. Use a point turner (or a similar tool) to fully push out the seam, then press it again for a crisp edge.
5. Encase the Seam – Stitch around the seam again with a ¼" seam allowance to enclose the raw edges, reinforcing the structure of the bag.
6. Repeat for the Front Panel – Follow the same steps to attach the front panel. Be sure to:
Pin the wings out of the way before sewing.
Leave the zipper open so you can turn the bag right side out when finished.

Step 10: Attaching the Straps
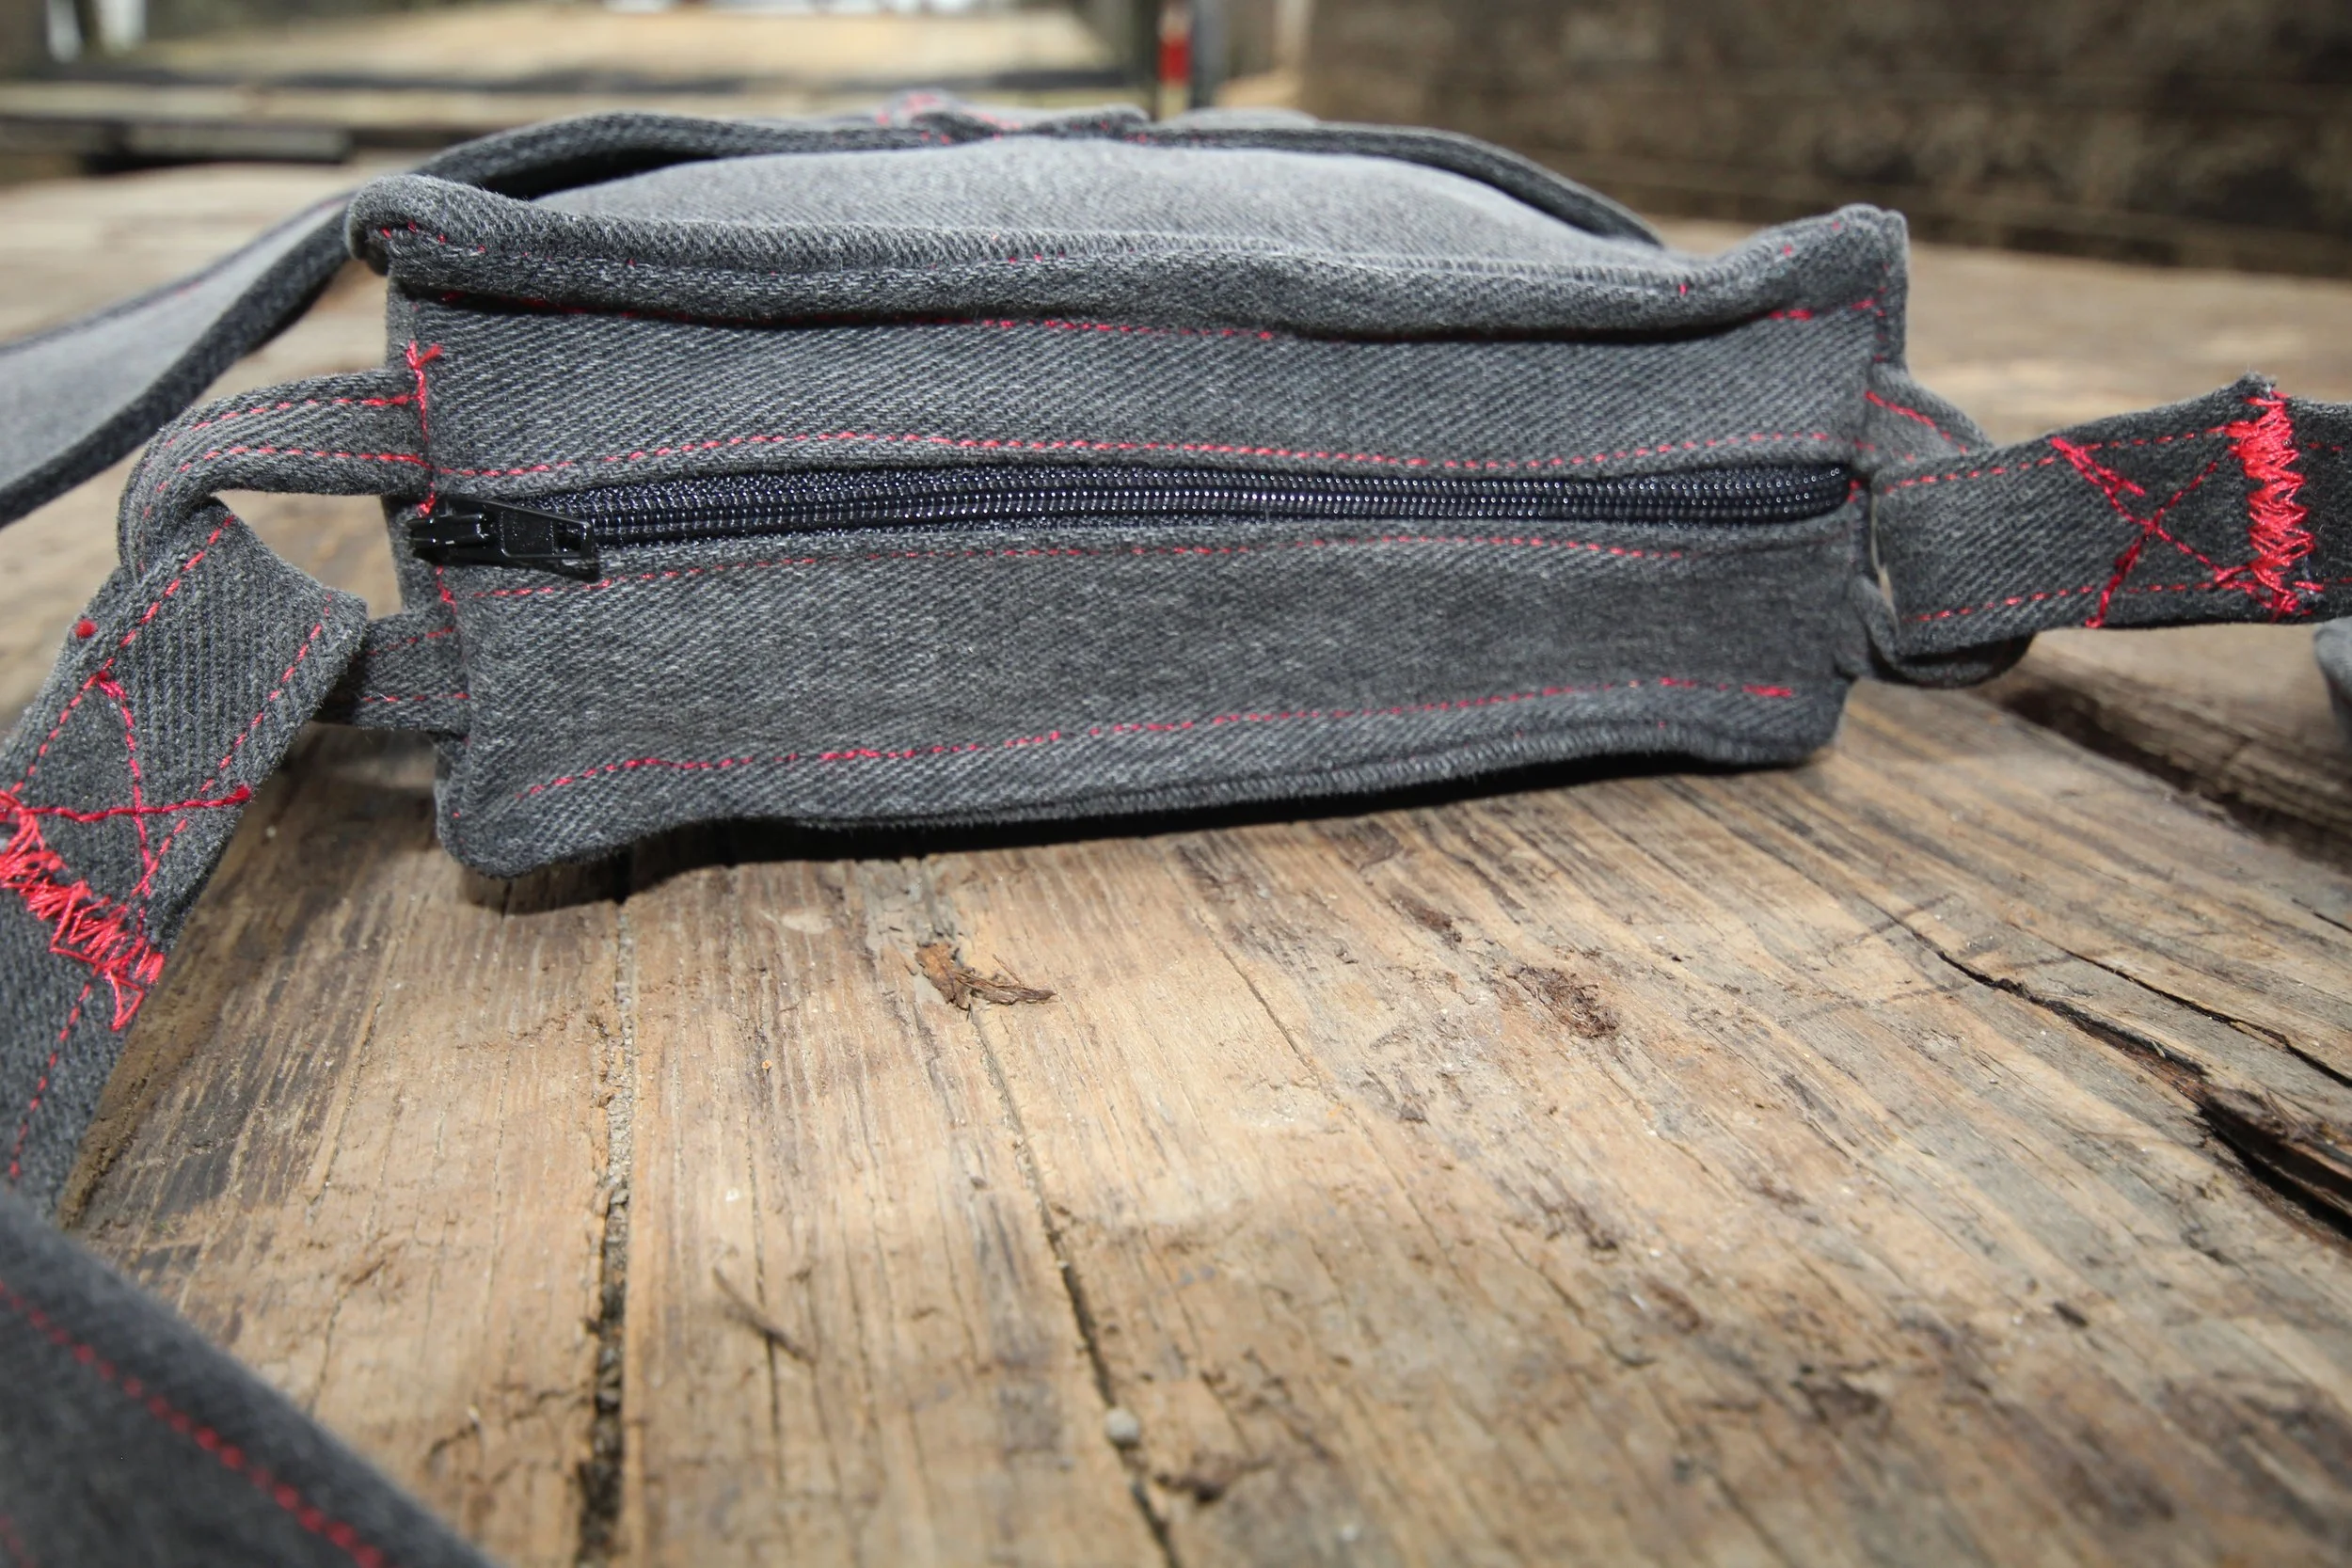
Trim the ends of your straps to ensure a clean, straight edge. If you are attaching a strap slider, do so now.
Feed one end of the strap through a strap tab, starting from the outside and pulling it inward toward the bag center.
Fold the strap end up by 2 inches from the strap tab.
Sew a zigzag stitch along the raw edge of the strap, securing the loop around the strap tab.
To reinforce the strap, sew two diagonal lines from each end of the zigzag stitch, forming an “X” shape.
Repeat these steps for the other strap, ensuring the strap is not twisted before sewing.
Final Thoughts:
And there you have it—your very own Moth Bag! I love how this project lets you play with fabric scraps and creative stitching, making each bag one of a kind. Whether you keep it for yourself or gift it to a fellow moth lover, this bag is sure to turn heads.
If you try this tutorial, I’d love to see your version! Share it with me on Instagram @RainsReworks or drop a comment below. Happy sewing!